Flowerpots from concrete (from cement) do-it-yourself
 Flowerpots from concrete
Concrete products have long been known for their durability and practicality. You will always meet them in every park, on city streets and squares; they adorn many buildings and gardens. From this article you will learn how to make them with your own hands to decorate them with your country house or summer cottage.
Manufacturing options
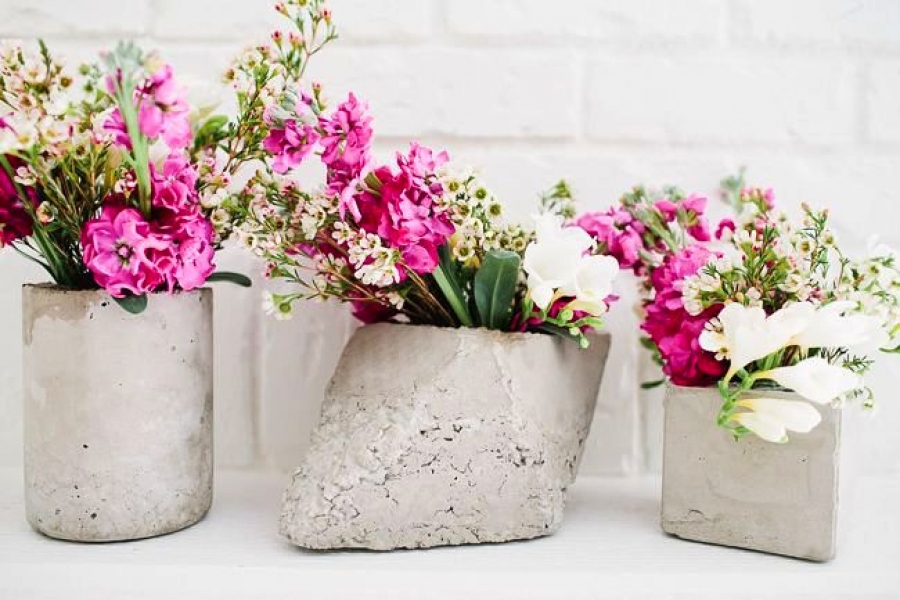
Concrete mortar is a fairly plastic material, so there are a lot of ways to create products from it. You can make flowerpots of the most various shapes and sizes. Take a look at the photos below to see for yourself.
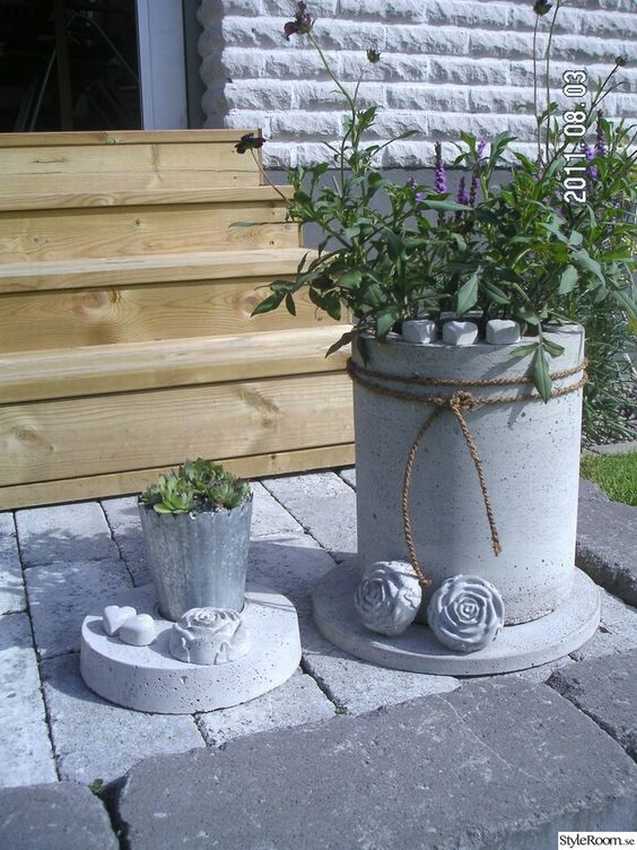
Decorate finished products to your taste
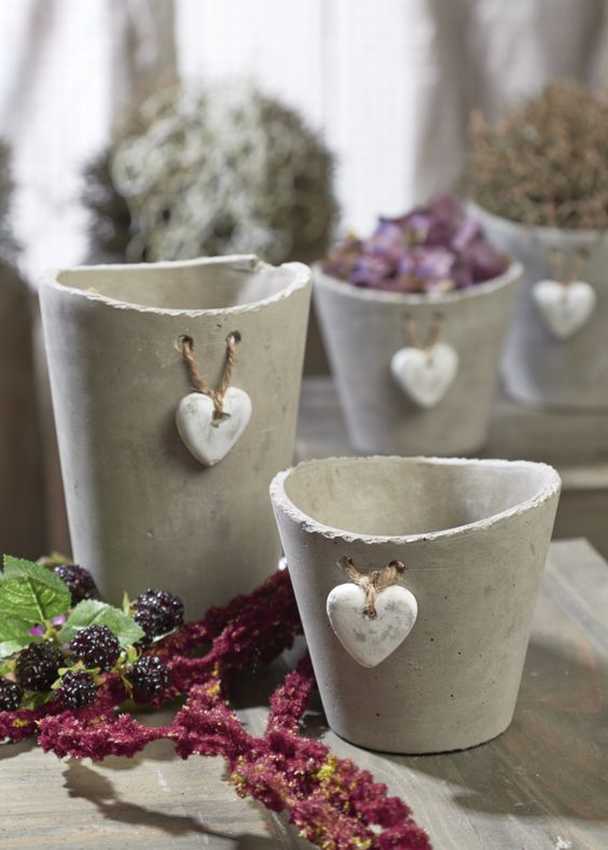
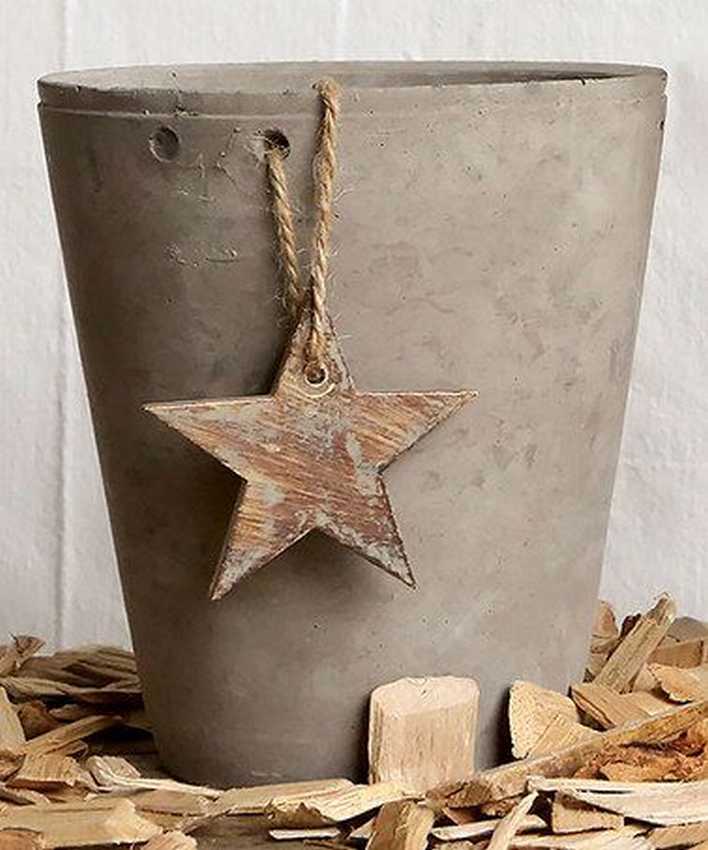 Decor option
Let's consider several options for creating such flowerpots
Option one
 Necessary materials:
- ordinary or white cement grade M 400;
- sifted sand;
- gravel from 3-7 mm;
- pure water;
- wire for wall reinforcement;
- a container for mixing the solution;
- paint (optional);
- polyethylene film;
- grease, grease, or special grease to separate the mold from the finished product;
Forms for filling. You can choose any form for the solution, it can be plastic bottles, pots, buckets and even cardboard boxes, the corners of which are glued with adhesive tape for strengthening.
Mixture preparation
- Take 2 parts of cement, 3 parts of sand and 3 parts of gravel, then mix sand and cement, add gravel and mix well. To reduce the weight of the product obtained, part of the gravel can be replaced with fine expanded clay.
- In the resulting mixture in small quantities, gradually add water and mix everything again. If you want to get the product in color, you should add a coloring pigment for concrete to the solution. The finished mixture should be homogeneous and thick.

Flowerpot filling
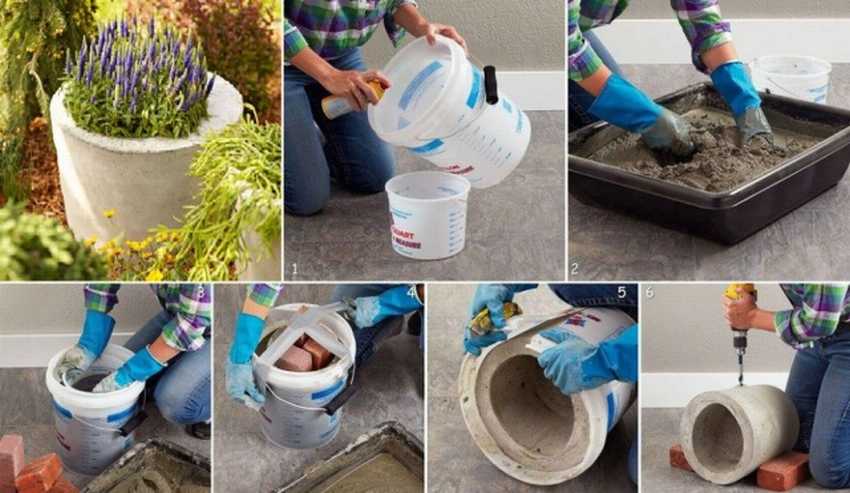
- For convenience, the surface of the internal form and the external form from the inside should be covered with solid oil or a release agent, some use vegetable oil.
- We cover the bottom of the external form with a solution layer of 5-6 cm thick, level the surface and set the internal form. If the internal shape does not provide sufficient wall thickness, it is necessary to strengthen them with reinforcing wire, place it in the center of the proposed wall, then fill it with a solution.
- We cover the form with a film or a damp cloth and leave it in the shade for 3-4 days, during which time the solution should completely set. In order not to complicate the work and not to drill the necessary drainage holes in concrete that has already hardened, several tubes can be placed before pouring the mortar, their height must be equal to the thickness of the walls and bottom.
- After a few days, we remove the product from the external form (if thin plastic or cardboard was used, it would be easiest to carefully cut it) and leave it in the shade for final drying. It may take up to 2 weeks, it is advisable that at that time the flowerpot be wrapped in plastic wrap or wetted with water to avoid cracks on the surface.
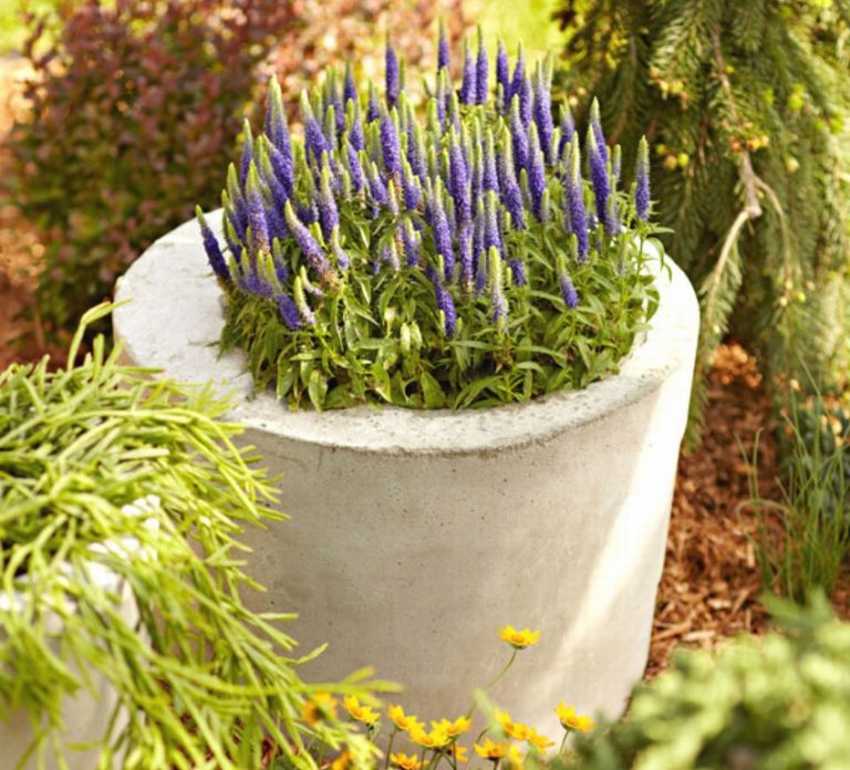
- The finished flowerpot can be painted with special paint or decorated with pebbles, mosaics, as well as sea and river shells.
Second option
 We make a flowerpot using a wide round bowl, this option is much easier to execute than the first, so it will not cause you any difficulties.
To do this, we line the bottom and walls of our cups with a film, apply a prepared solution in several layers on top and leave it to harden. Then the bowl can be separated, and the film removed and allowed to dry completely.


https://i.expert-h.com/en/vazony/984#sigFreeId8c18550d5a
Third option
 In this option wide round bowl also used, and it also does not seem complicated.
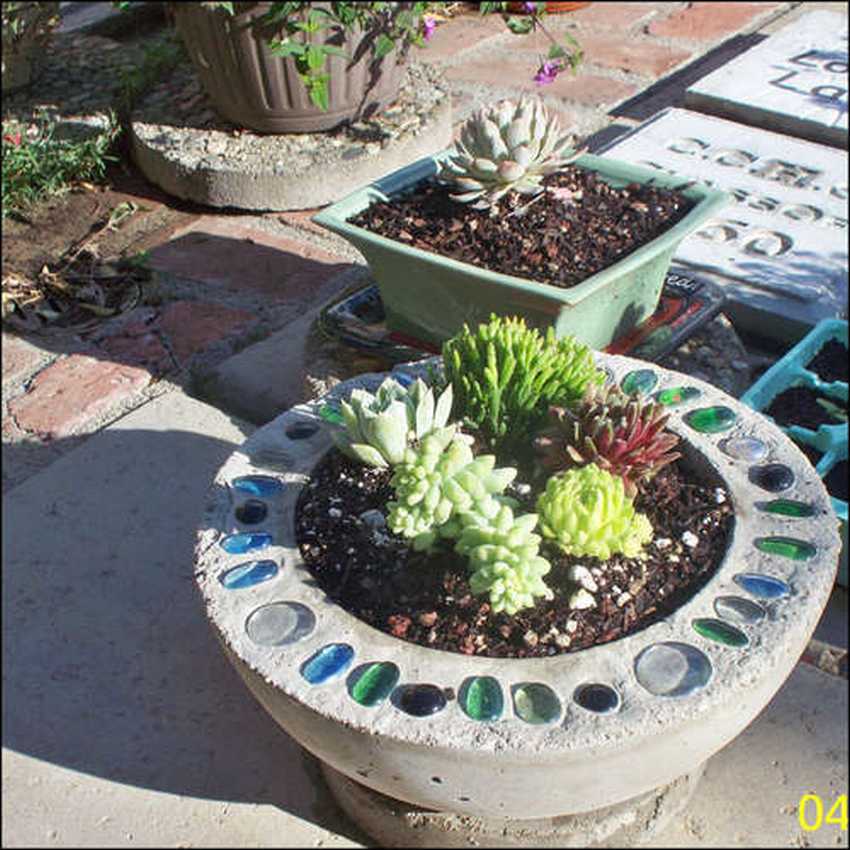
- At the bottom of the bowl, install a short tube with a wide hole, take a ball or ball (the bowling ball is used in the photo below) and put it on top.
- Next, we prepare the solution and pour it into the bowl, until the solution has set, you can decorate the future flowerpot with decorative pebbles or any other jewelry you have, for example, shells. After a while, when the solution gets stronger, the ball can be removed and the pot itself removed from the bowl. Everything is ready!


https://i.expert-h.com/en/vazony/984#sigFreeIdd548ece017
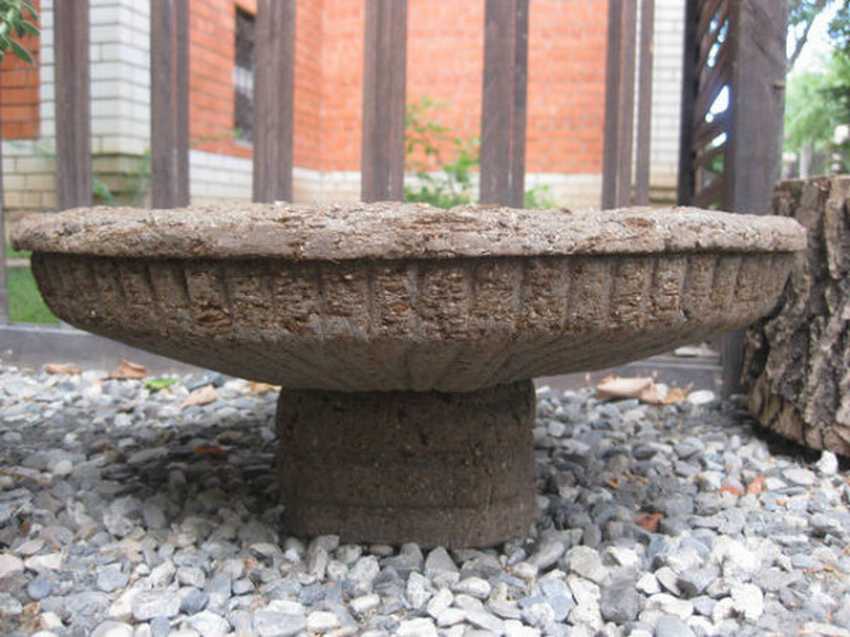
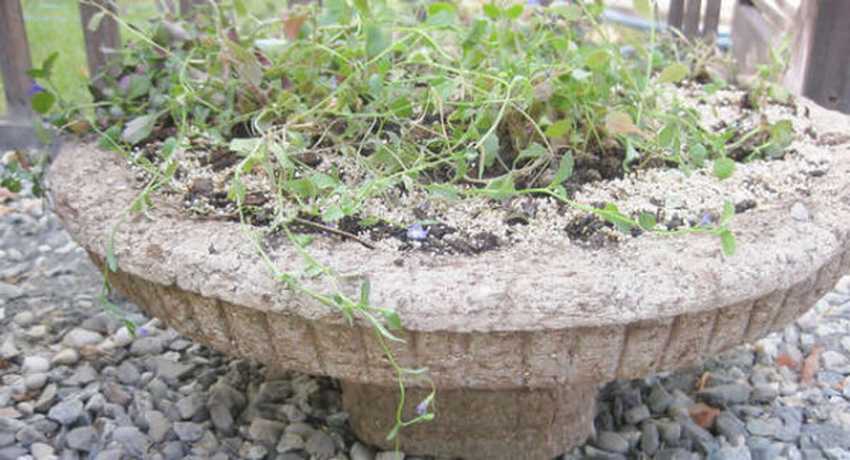
Flowerpot on a leg with a corrugated surface
You can make such a flowerpot yourself using a solution consisting of the following components:
- one part of gray cement;
- part of vermiculite and two parts of peat.
The basis here is taken wire frame from the fan and a five-liter plastic bottle, which is trimmed to the desired height. Next, the frame is lined with a film and covered on top with several layers of the prepared solution. When the solution hardens, treat the surface with a wire brush.
On a note!
- Decorative material for flowerpots, resembling tufa or sandstone, you can prepare yourself, for this add peat to the solution. For 1 part of cement, 1 part of sand and 2 parts of peat are taken, then the mixture is diluted with water, and the resulting mass is given the desired shape.
- The modern material for the manufacture of small architectural forms is polymer concrete, it is also called art concrete. The composition of the cement mixture includes polymer additives, thanks to them the products are much easier, but they do not lose their strength.
Flowerpots of geometric shapes
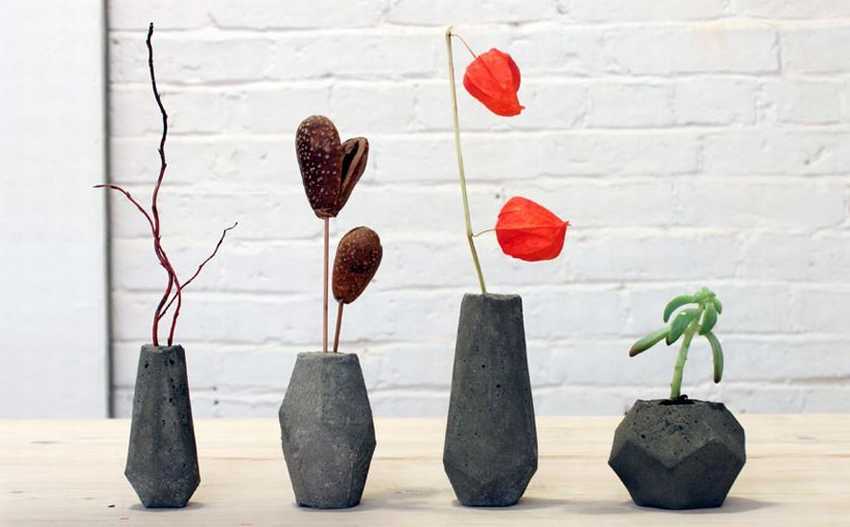 Concrete or cement allows you to create not only simple shapes, but also products of a wide variety of shapes. It is possible to make the form itself from both cardboard and thick paper.
Progress
- Make a drawing and cut the shape you want on it (you can think of it yourself or use ready-made templates, you can find them on the Internet and just print it), then glue the resulting shape, glue its surface on the outside for better reliability or paint.
- Prepare the mixture, it should be thick enough not to spread, and fill out the forms. Place a thin-necked bottle, pen, or any other object in the center to create a depression in the pot.
- Leave the concrete poured into the molds for a couple of days, then carefully cut the mold and remove the installed container or object. The flowerpot is ready, however, for the concrete to solidify completely, it will take more time.


https://i.expert-h.com/en/vazony/984#sigFreeId49da4fa385
Open palm shaped flowerpot
You can create such a flowerpot if you fill the latex gloves with a solution and give them the desired shape before solidification.

Flowerpots decoration
- The easiest way to decorate concrete products (cement) is to paint them, weatherproof acrylic paints are best used for outdoor applications. You can give the product a color if you add pigments to the solution, the color will be more saturated when using white cement.
- Before painting, the product must be well dried and a primer applied, for example, such as concrete contact. On the surface, you can perform decorative painting. Flowerpots with carved ornaments look good, they are applied to fresh concrete with a hand or power tool. The bas-relief made in the form of a sheet on the outer surface will also look beautiful. For example, you can take a sheet of burdock and stick it with tape on the inside of the external form, when the solution is poured, just hold the sheet with your hand. As a result, a relief print of the sheet will be obtained on the surface of the flowerpot.
Flowerpots made with glass and plastic bottles
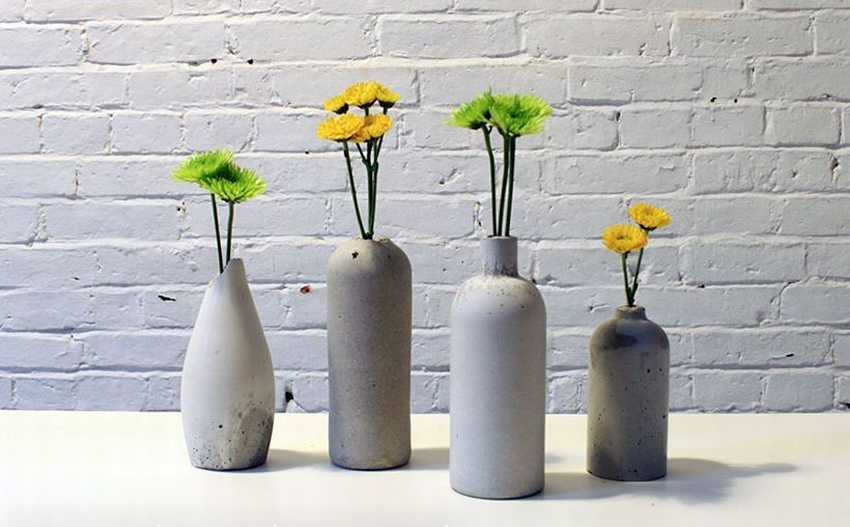 Such flowerpots look especially smooth, as if carved from stone. Use bottles of various shapes and sizes, the main thing to remember is that:
- in plastic bottles it is better to cut the bottom, so it will be easier to fill them with a solution;
- if you use glass bottles, choose those with a wider neck.
So, you will need: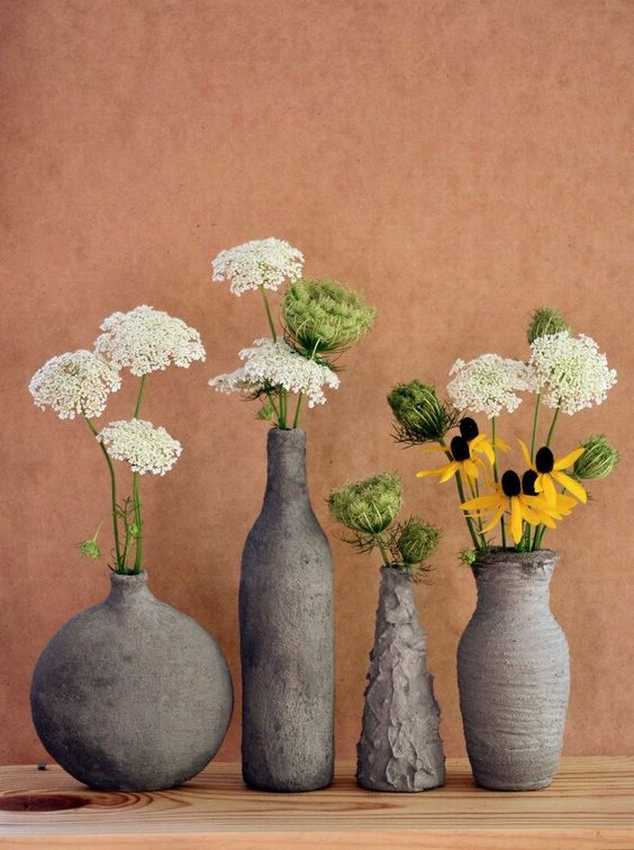
- concrete mix and mortar tank;
- plastic or glass bottles;
- drill, knife and pliers.
Progress
- Close the bottles with lids, make holes in them and place the selected object: test tube, candle or pencil, this will create the necessary space for flowers. If the bottle is large, use a smaller bottle instead of these items.
- Prepare the concrete mix.Screw down the plastic bottles with the bottom cut off, then turn them over and put them in a jar. Pour the mixture through the hole. Pour the solution into the glass bottles first, and then insert the tube.
- Leave to harden. It is left in a plastic bottle for a day, after which it can be cut and removed, it should stand 4-5 days in a glass solution. Glass will need to be broken with a hammer through a fabric folded into several layers.
- Remove the object placed in the center, if it matches the size of the vase, you can leave it. The finished product can be further decorated.


https://i.expert-h.com/en/vazony/984#sigFreeIdff426d4739
Advantages and disadvantages
- Such products maintain soil temperature and retain moisture.
- The materials used are of low cost.
- Resistant to temperature extremes, unlike plastic products, their appearance remains unchanged even when exposed to various weather conditions.
- The undoubted advantages can also be attributed the properties of concrete (cement), before hardening it can be given any shape and very diverse shapes can be made.
The main disadvantage of such products is their significant weight, in connection with which there are difficulties when moving them.
And finally ... Hungarian flowerpot technology
Instead of forms, in this case, patterns from plywood are used. Each of the templates has a semicircular recess, and on the side - wire loops. This solution consists of:
- dry fresh cement - one part;
- sand - from three to five parts;
- water.
Manufacturing process
- In the center of the plywood sheet (you can also use roofing material or thick polyethylene), pour a mixture of sand with cement and mix, spread the mixture with a slide, make a hole on top and gradually add water.
- We place the metal rod, we attach to it the loops of the first template, which will be needed for the inner walls, and begin to rotate it. You should get something resembling a hemisphere, cover it with a film, then apply the next layer of the mixture and a metal mesh, after which the solution is laid again.
- The final step will be the installation of a second template, it will strengthen the outer walls of the pot. The final step will be the installation of a second template, it will strengthen the outer walls of the pot.
- We take out the rod and allow the product to dry.
Photo Gallery: + 100 photos for inspiration


https://i.expert-h.com/en/vazony/984#sigFreeId084b66c58a
- Do-it-yourself wooden veranda: 300 photos, step by step, master classes
- DIY wooden bench: photos, drawings, master classes
- DIY hanging flowerpots and flowerpots
- Do-it-yourself room flowerpots for flowers: master classes +223 photos
- Flowerpots from bottles with their own hands. +300 photos. Master classes