Do-it-yourself room flowerpots for flowers: master classes +223 photos
 Mosaic-style room flowerpot
It is successful to place your favorite plants in the apartment and the house, as well as to emphasize the created interior with the help of flowerpots made by yourself. You yourself can decide what materials to use for this and, since it can be almost any household items, you will not have to incur any material costs.
The content of the article
- Manufacturing options
- Flowerpot from an old plate
- Flowerpots in mosaic style
- Wicker flowerpot, master class
- Features of flowerpots materials
- Plaster flowerpot: ways to create
- Flowerpots with egg mosaic
- Antique decor
- Flowerpots from wooden sticks
- Large photo gallery: + 150 photos of unusual photos
Manufacturing options
Indoor flowerpots can be made of the following materials:
- clay;
- ceramics;
- a tree;
- glass;
- and even metal and plasticif you decide to supplement the purchased pots.
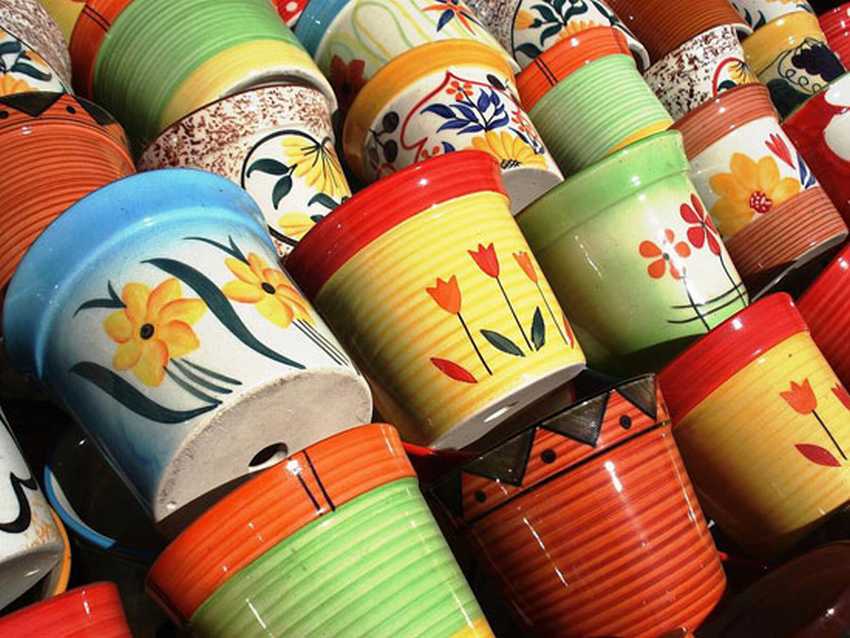
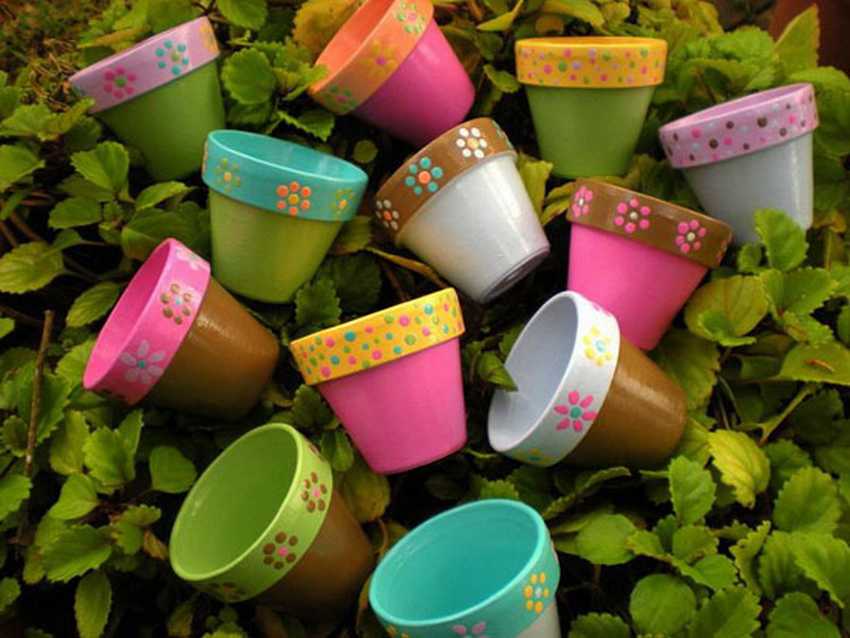
The easiest way to get a flowerpot in your own unusual design is to use existing flower pots as a base and decorate them with your own hands the way you like.
You can paint the pot with acrylics and varnish it.
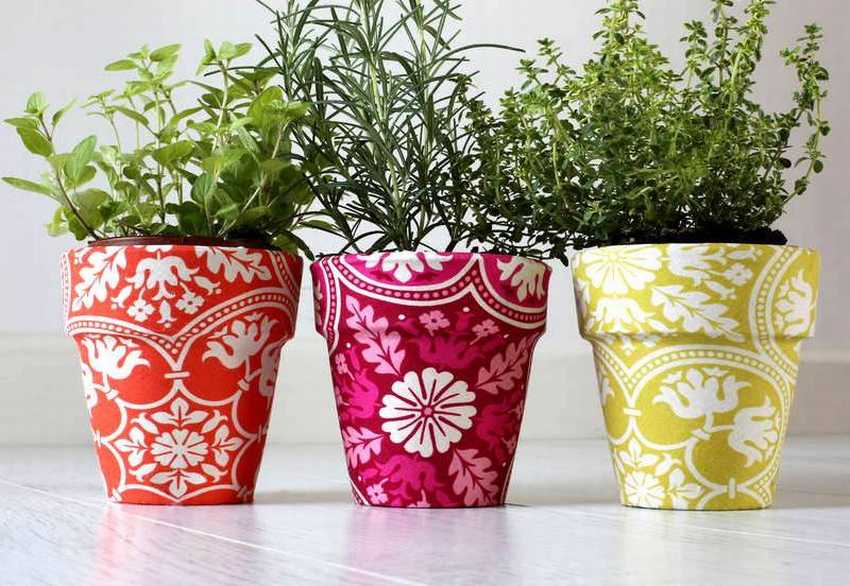
You can decorate plastic pots with bright fabric.
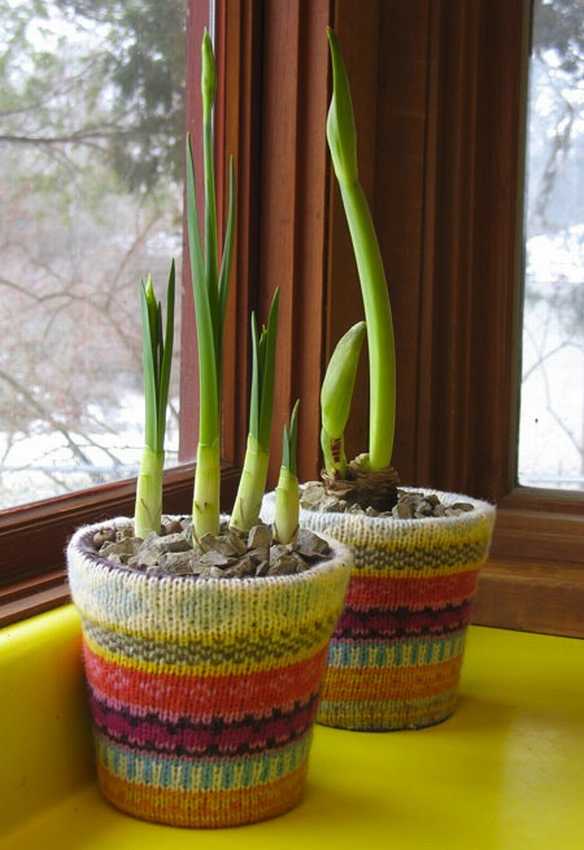
Or knitted covers. You can use both plain yarn and several different colors

Tape partly or fully your existing container with tape, twine, lace or bright threads
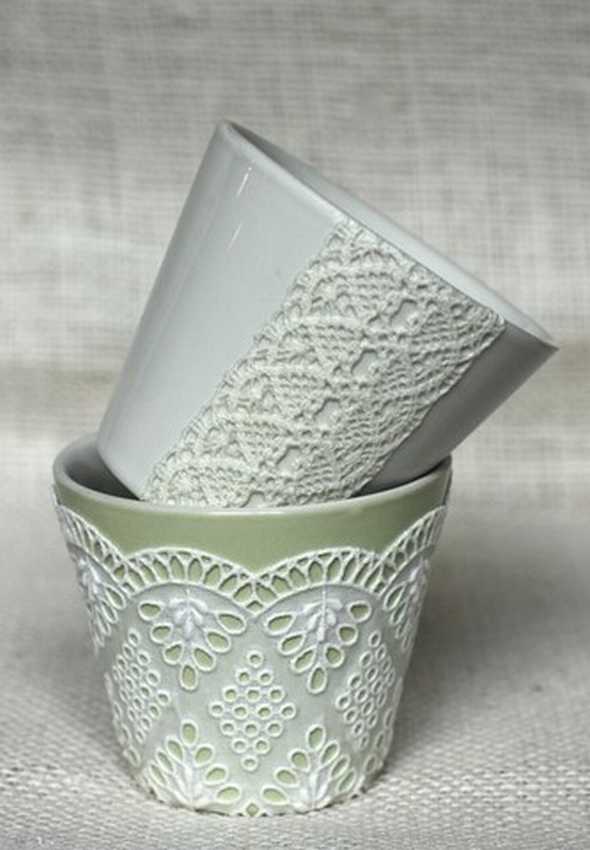
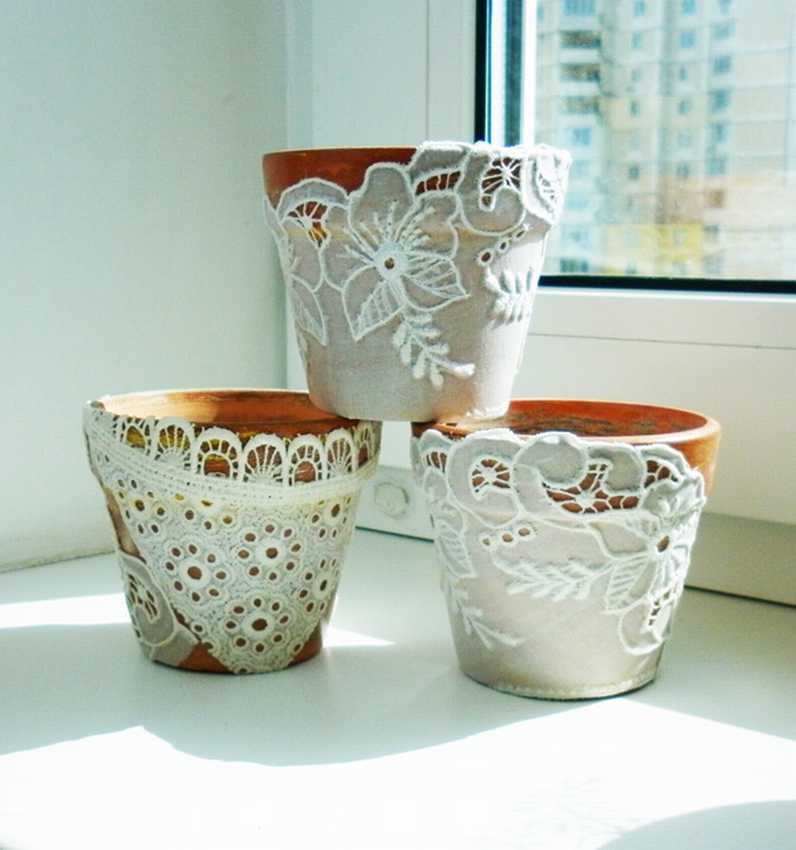
Lace
Twine and twine need to wrap the surface pre-treated with glue, starting from the bottom and gradually moving up
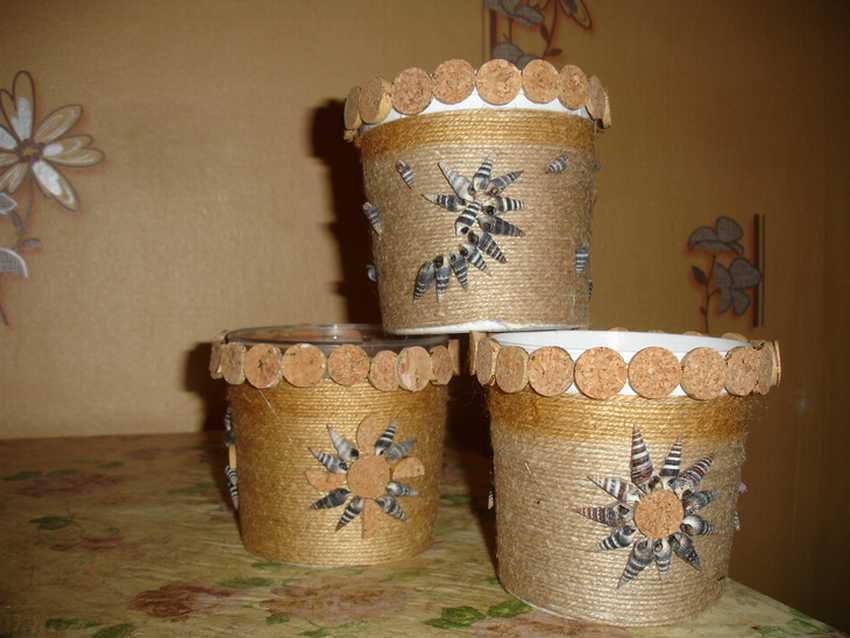
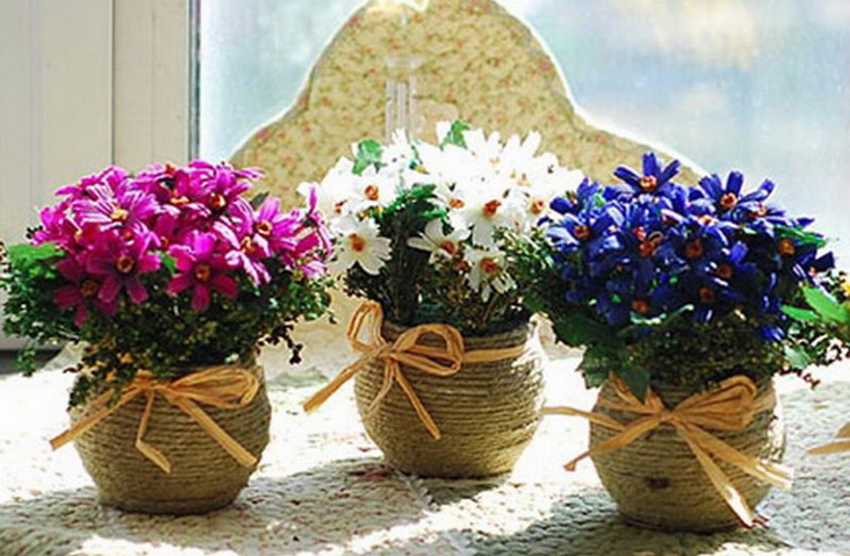
Twine and twine
The decor with buttons, shells, pebbles, coffee beans, cereals or beads also looks very original
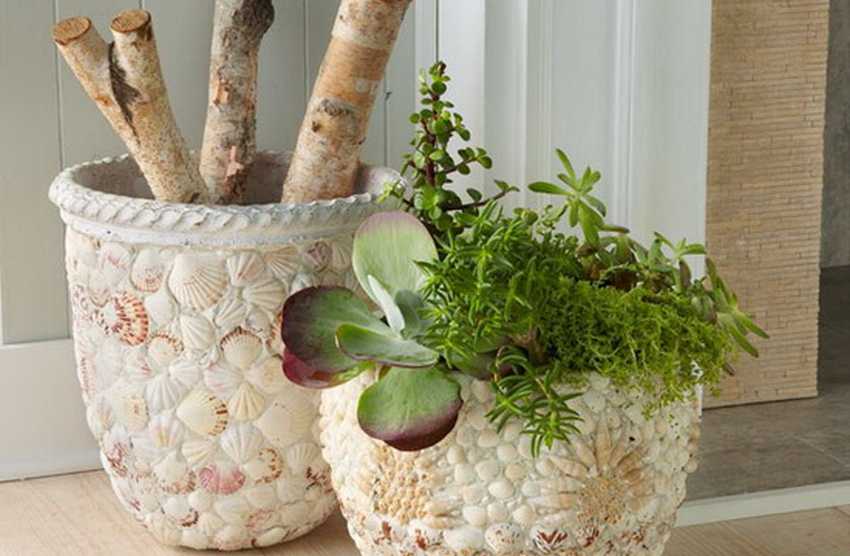
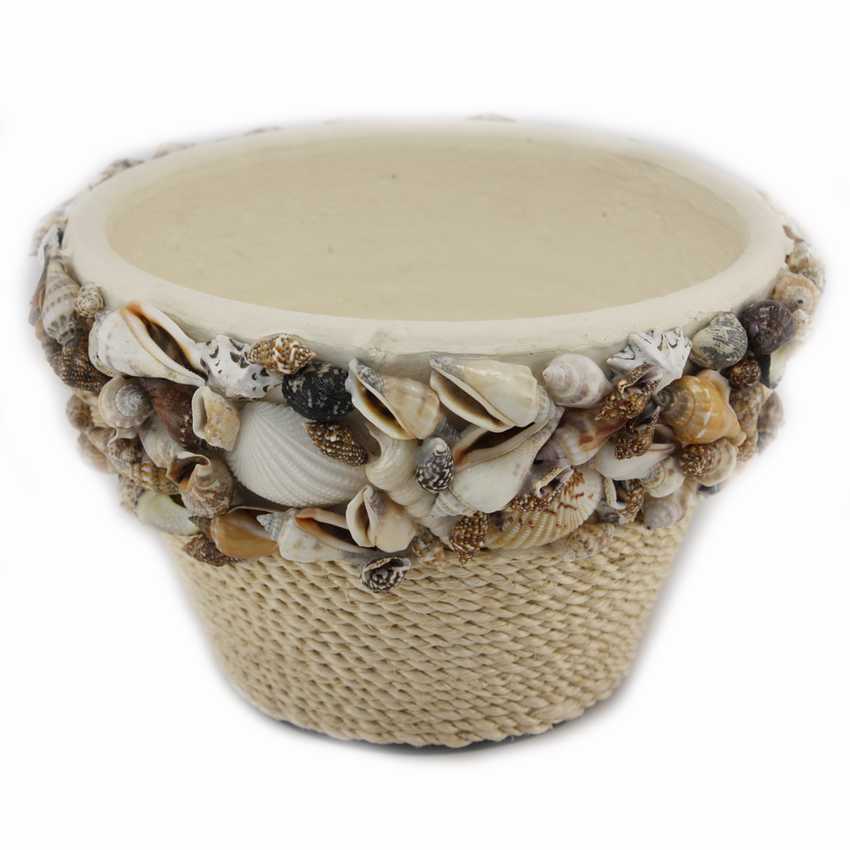
Sea and river shells
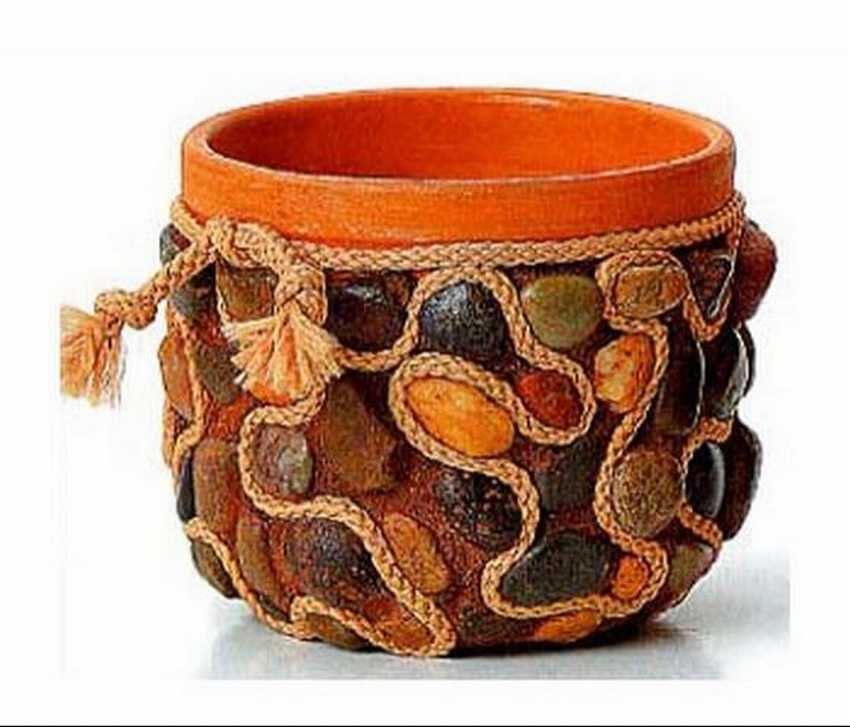
Stones
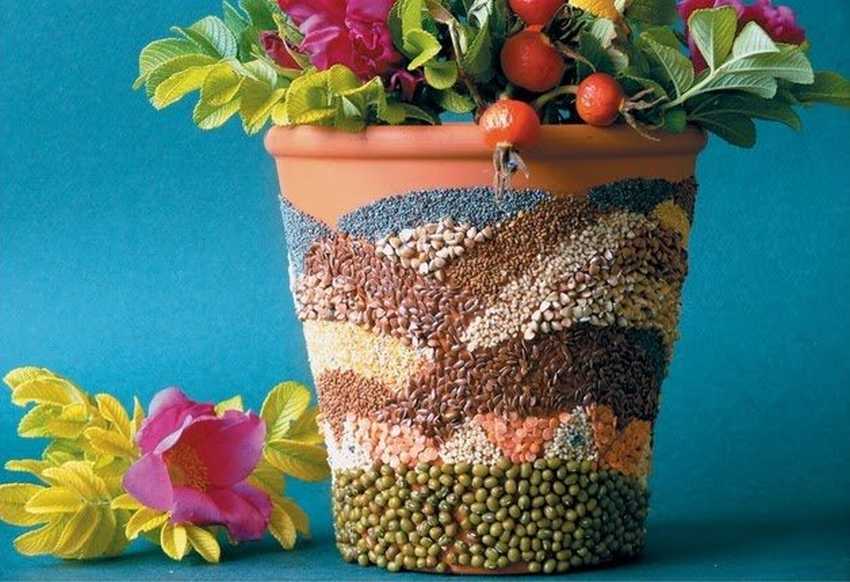
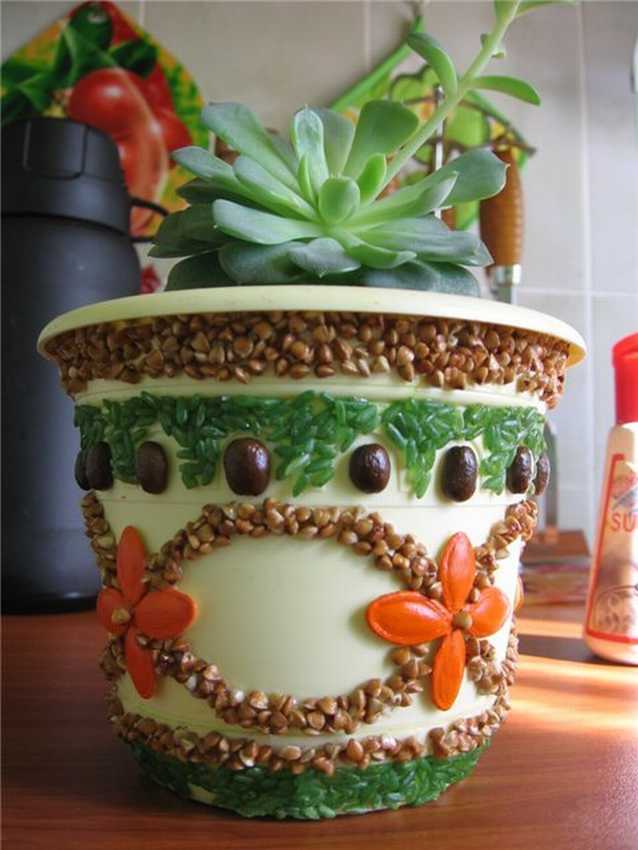
Using various types of cereals
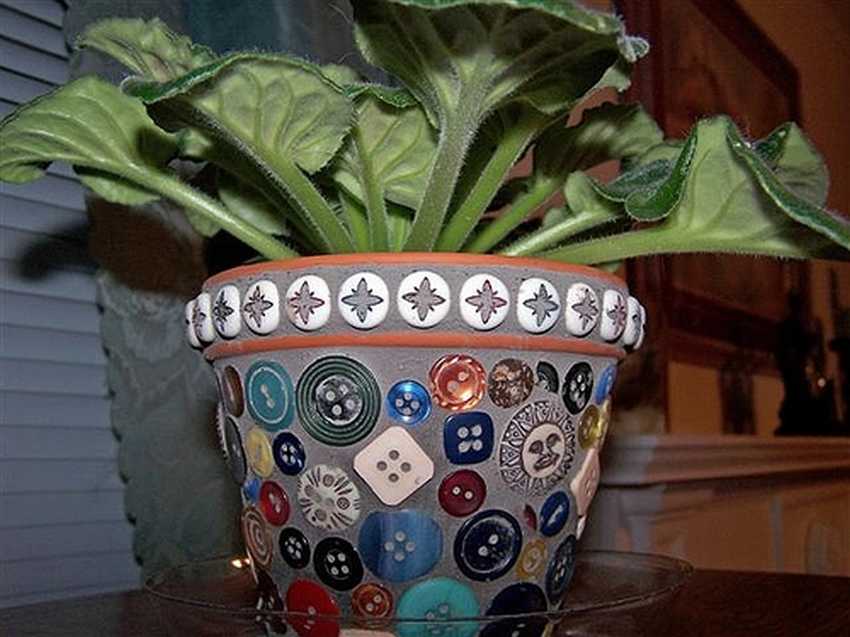
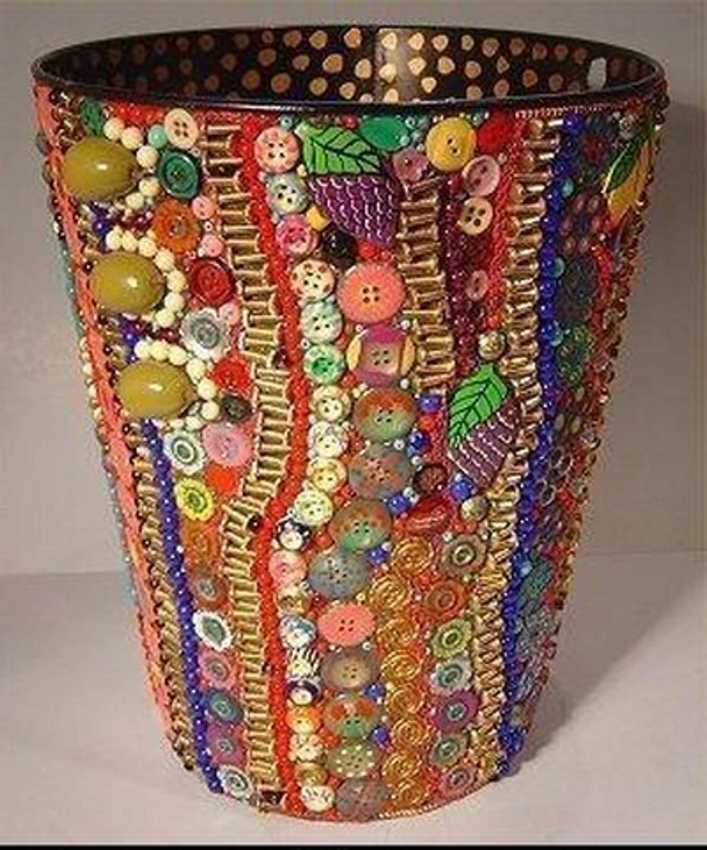
Buttons
Flowerpot from an old plate
To get an original and easy-to-make room flowerpot, take one old plate and hold it over a fire or any heating device. After heat treatment, the material will gain plasticity, and you can give it any shape. As you can see, everything is very simple, the main thing here is not to get burned.

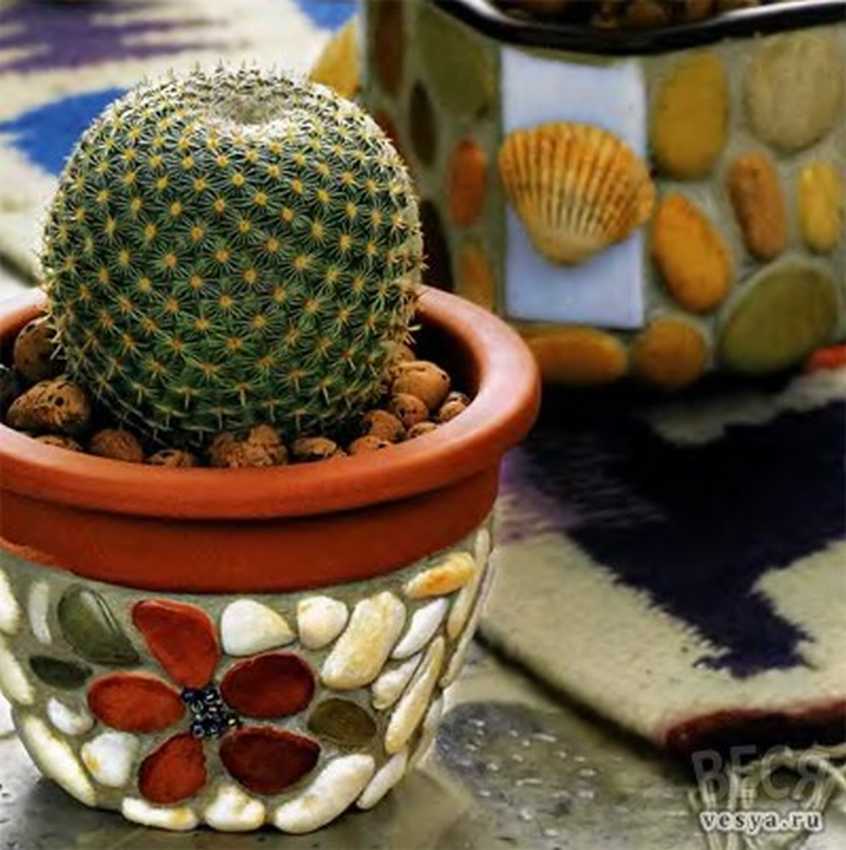
Flowerpots in mosaic style
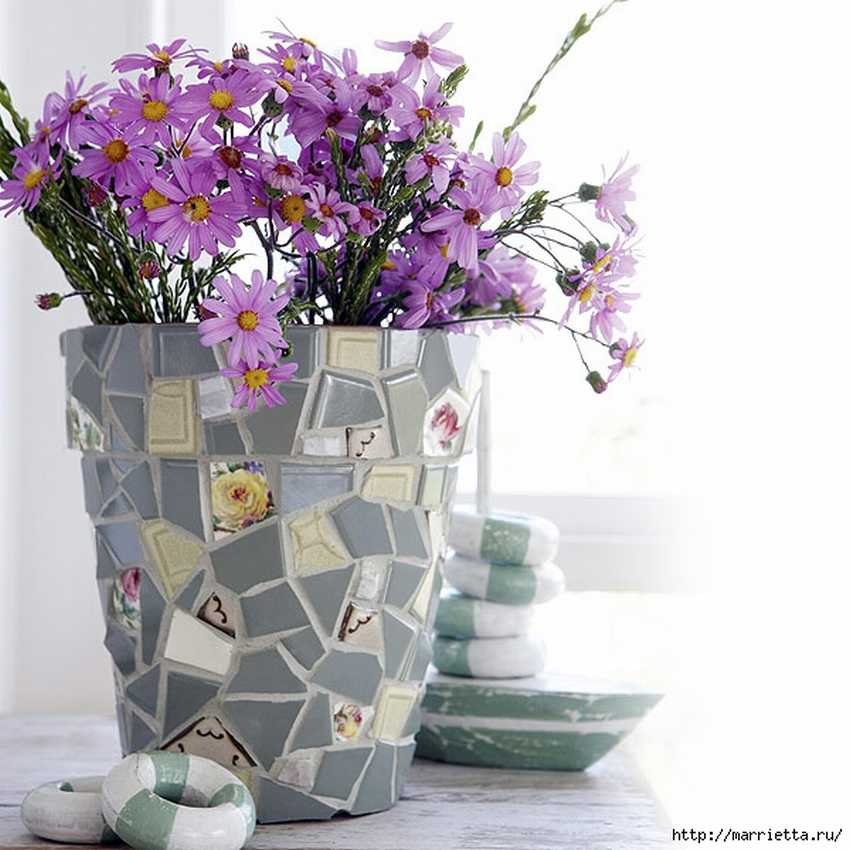 As a "mosaic" can be used small pebbles, shells, fragments of dishes, tiles or mirrors, it all depends on the availability of certain materials.
In addition to a mosaic of any of the above items, You will also need:
- a container that will serve as the basis for you (it can be plastic pots or buckets, products from tin or even wood);
- plaster or tile adhesive;
- grout for tile.
Manufacturing steps:
- apply the prepared solution to the previously sanded surface of the required capacity and level it with a spatula;
- cover the walls of the flowerpot with mosaic details (slightly push them into the applied solution) and leave to dry completely;
- then you can grout the product to avoid gaps between the parts themselves, as well as to give smoothness. Wipe away any grout with a soft cloth.


https://i.expert-h.com/en/vazony/komnatnye-vazony-dlya-tsvetov-svoimi-rukami-master-klassy#sigFreeIdef607e51d9
Wicker flowerpot, master class
Creating a flowerpot from willow vines is a rather time-consuming process, but the result is well worth the effort.
You will need: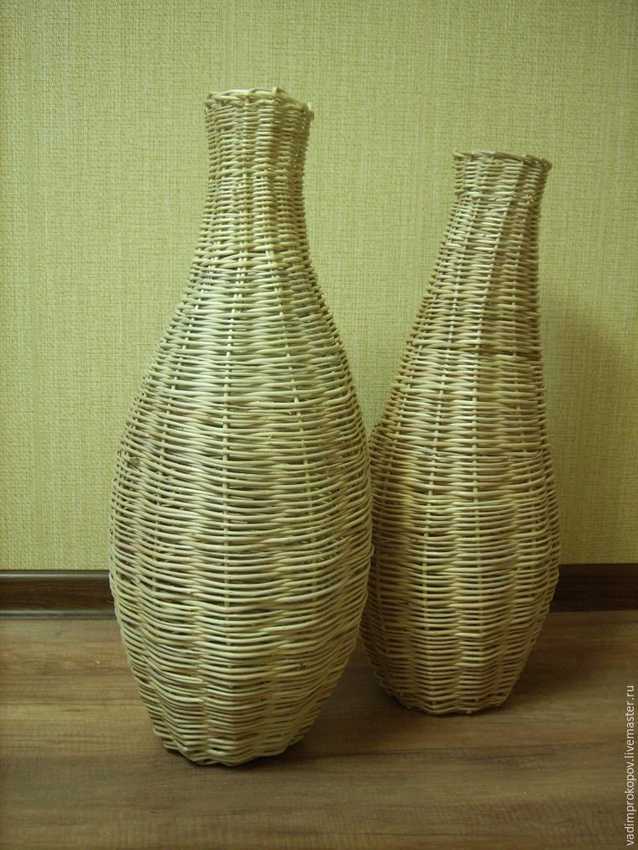
- willow rods longer than 50 cm;
- side cutters;
- sharp knife;
- clamp for fixing.
Progress
- In the largest saucepan, boil the cut rods for an hour, so they become more elastic, and you can easily remove the bark.
- Weaving always starts from the bottom, that is, from the bottom. Take six short rods and make in three of them through cuts with a sharp knife, then insert the three remaining rods into them.
- Now select the thinnest rods and begin to braid the bottom with a simple weaving "rope" in two twigs, gradually add new ones until you reach the desired diameter of the bottom.
- Next to each protruding ray, stick the rods, you later raise them up, then to begin to braid. Inside, you can install any container that is suitable for the size of the future flowerpot, into which the flowers will be planted, it is also better to make a drainage hole in advance.
- The rods at the top for convenience can be fixed with a clamp. Each row is desirable to start with twigs of equal lengthso that they end at the same time, you can trim the excess after fixing the ends.
- Closer to completion, it will be necessary to use the thinnest rods in order to be able to gently secure them. The shape of the product and its height will depend on the capacity you have chosen, if the flowerpot will perform only a decorative function, and you do not plan to plant flowers, then focus on the amount of material left.


https://i.expert-h.com/en/vazony/komnatnye-vazony-dlya-tsvetov-svoimi-rukami-master-klassy#sigFreeIdb6e5abb74e
You can make a flowerpot using rods in your work in another way, such as here:

The rods are interconnected by twine and wrapped around the base
You can do it even easier and just tie them at the base

Features of flowerpots materials
- Clay and ceramics: due to the porosity of the material, excess moisture can evaporate through the walls of the pot, which allows plants to be saturated with oxygen.The main disadvantage of clay products - the formation of salt deposits on the surface, which is extremely difficult to get rid of.
- Metal: gives the product a modern and stylish look. The downside is that metal corrodes over time and quickly heats up in the sun.
- Tree: natural material well protects the roots of flowers from hypothermia and drying out, Suitable for both a city apartment and a summer cottage.
- Glass: glass pots and flowerpots always harmoniously fit into the interior, but are most suitable for home than for garden.
- Plastic: one of the advantages is lightness, therefore, such products are well suited for vertical gardening. Besides such pots do not allow any leakage of water when watering plants.
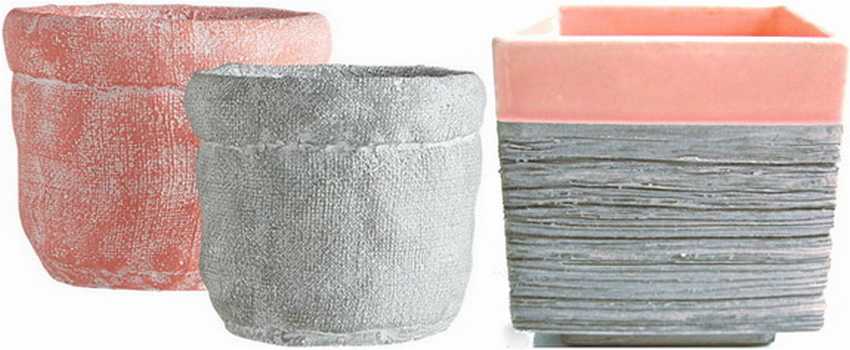
Gypsum flowerpot
The procedure for creating a gypsum flowerpot is similar to cement technology, there are several ways to make such products.
Method number 1
Material Required:
- square boxes;
- plaster or medical bandage;
- brush;
- white acrylic paint and enamel.
Stages of work:
- the necessary capacity (box, can, bucket) is installed on the surface covered with a film and is sanded for better connection with the solution;
- after that, plaster bandages are applied to its surface (you can use strips of cloth soaked in a thick solution or ordinary bandages);
- when the walls have reached the desired thickness, the product is left to dry.
To do without prolonged application of bandages, use a piece of dense fabric, such as knitwear or burlap, and fasten to the selected container with glue or pins. Then apply the gypsum mortar in several layers.
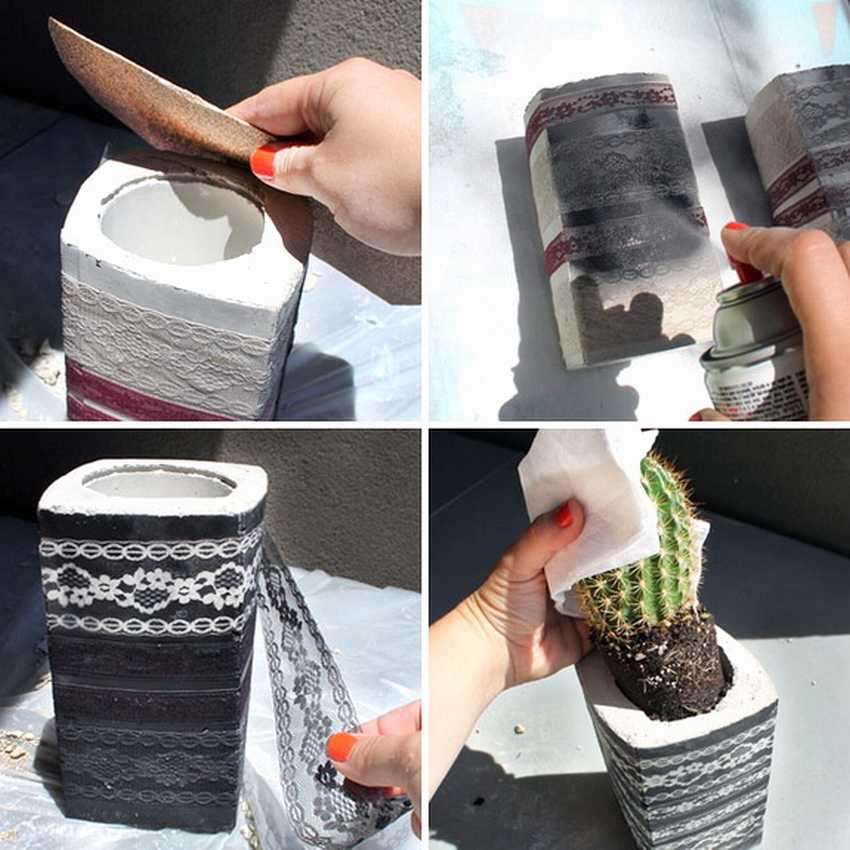
Method number 2
Most similar to the method of creating concrete products.
Stages of the work:
1. take two forms: internal and external, then fill the external with the prepared solution and insert the internal one into it (pre-lubricate it with solid oil and plain vegetable oil on the outside, and lower some stones or broken brick fragments inside to make it heavier);
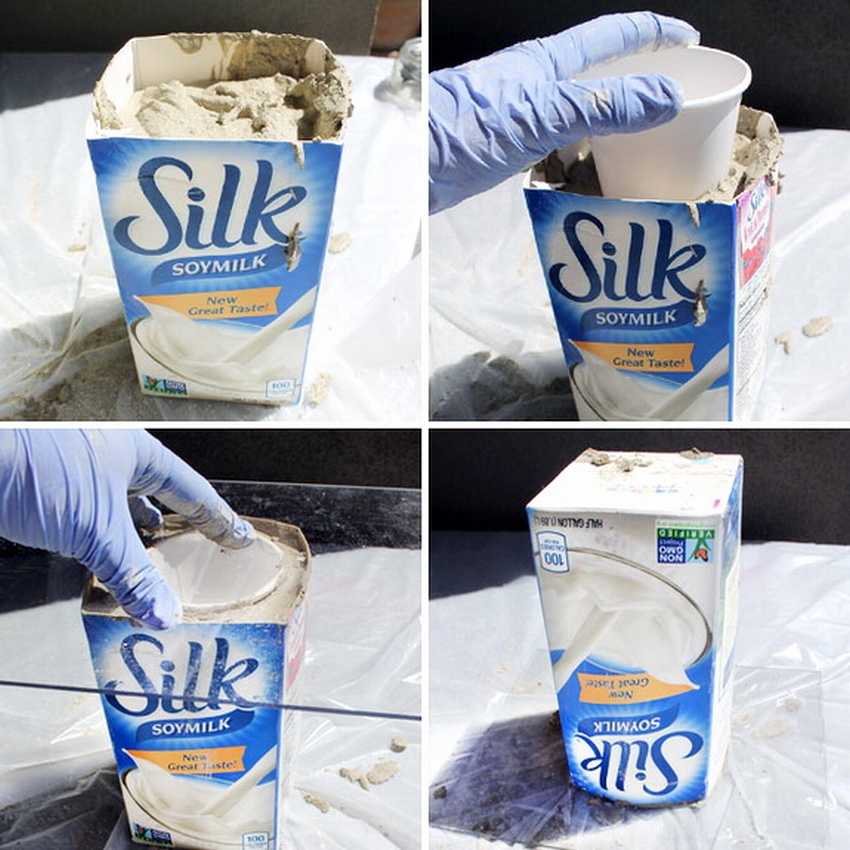
2. after that you can apply white after the solution has solidified, remove the external form and remove the internal one, treat the surface of the product with sandpaper, then you can apply white acrylic paint;
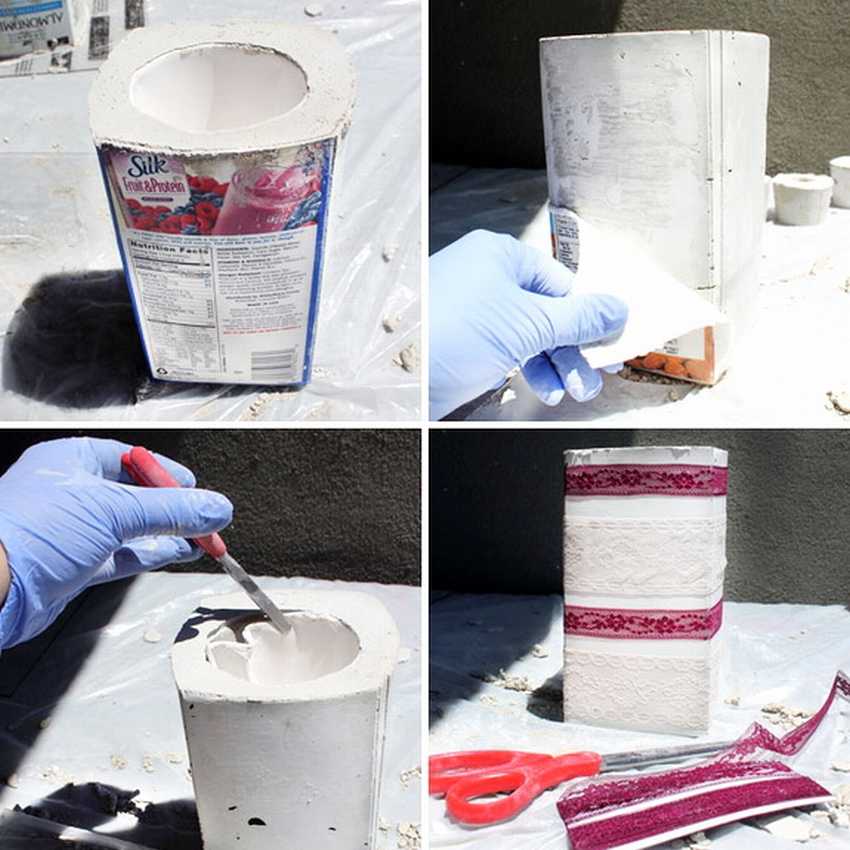
3. Before painting, you can stick on the lace, as for example, in the photo below, or after applying the primer, simply cover with any paint. As protection for the product, you can use acrylic varnish.
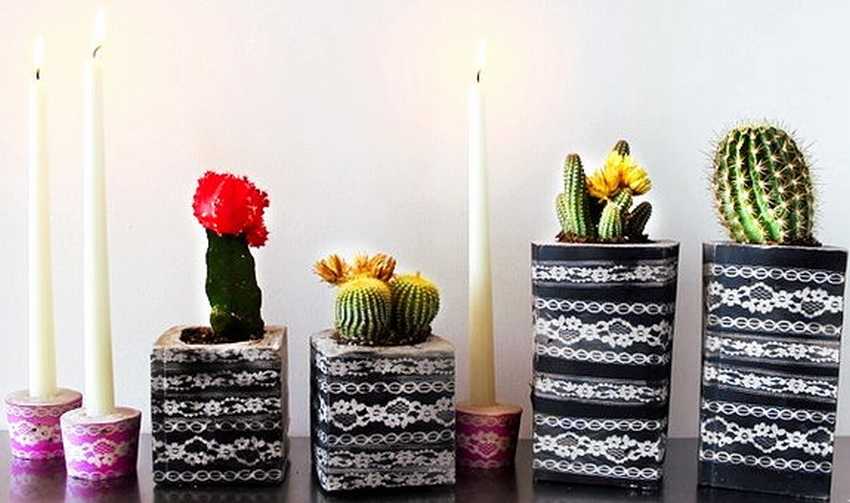
However, the decor option only depends on your imagination.

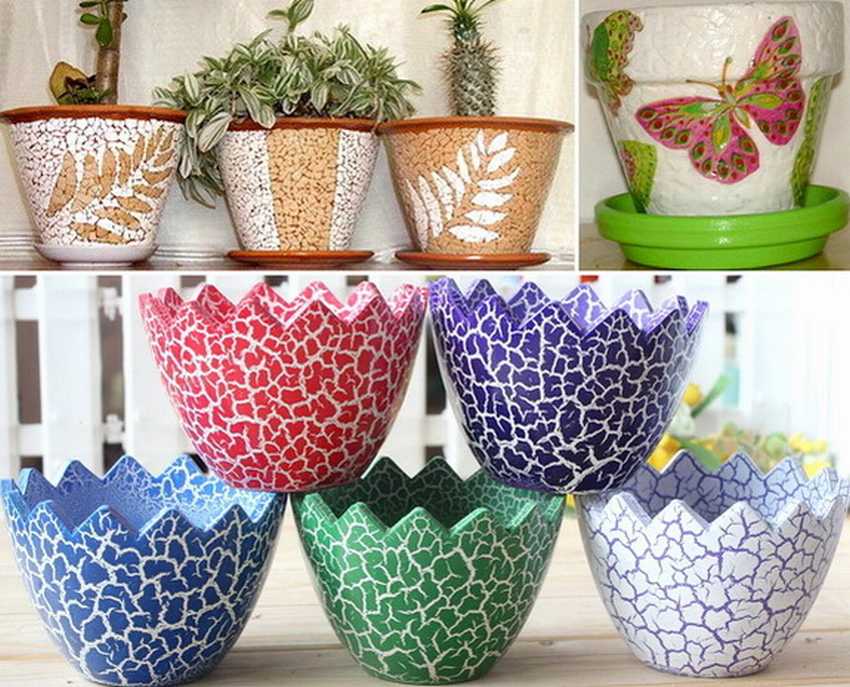
Flowerpots with egg mosaic
 Materials for the manufacture of:
- shell from boiled eggs;
- acrylic paint;
- baking soda;
- glue;
- ink;
- varnish.
If you use white and beige shells, cover the pot with dark acrylic paint, this tone will highlight the elements of the mosaic.
Progress
- Remove the inner film from the shell of boiled eggs, then wash the shell itself in a liquid solution of soda and let dry. If you plan to paint it in any color, this stage is the time.
- Now gradually apply glue to the surface of the selected container and put dried shells on it (do not immediately cover the entire surface with glue, it should be applied to small areas), cover with paper and press lightly on top, then you can go to the next section.
- Cover the product with mascara, the excess can be removed with a damp cloth (the glued shell will not change color).
- Cover the finished flowerpot with varnish to strengthen the mosaic.


https://i.expert-h.com/en/vazony/komnatnye-vazony-dlya-tsvetov-svoimi-rukami-master-klassy#sigFreeId6791d8d026
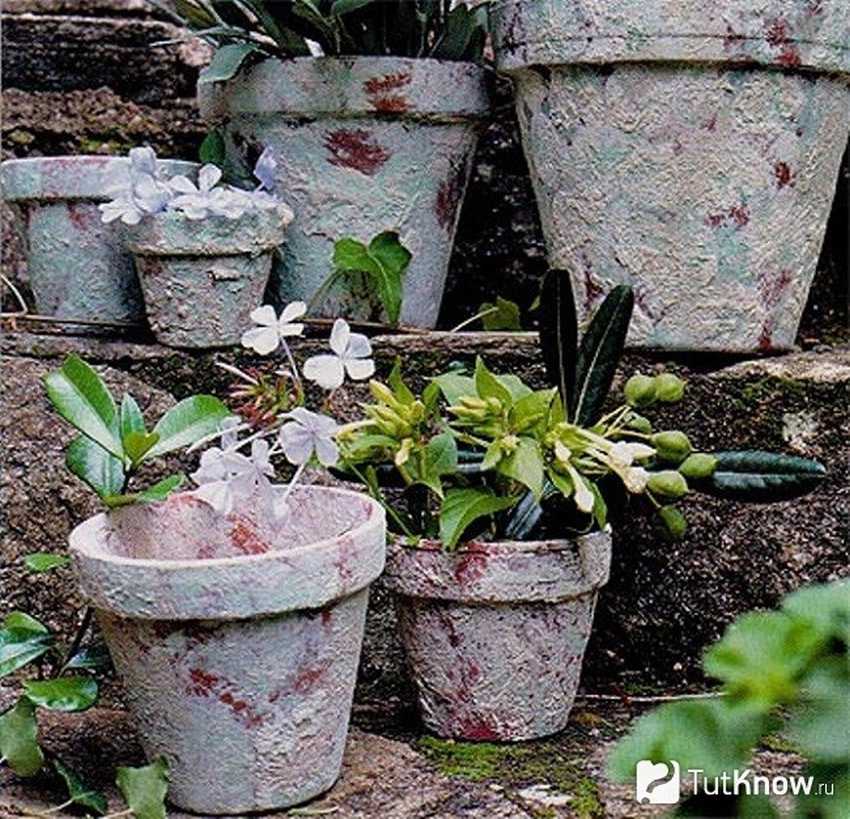
Antique decor
Such a flowerpot can look very original, for this you will need to create an artificial aging effect reminiscent of the style of shabby chic.
 You will need:
- any flower pot;
- alcohol-containing liquid;
- sandpaper - grain size 70 and 100;
- moisture resistant putty • acrylic paint.
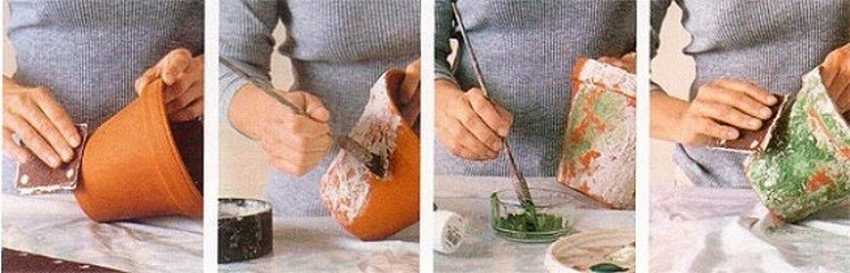
Work stages
- wipe the flower pot with alcohol-containing liquid to clean it well, then sand the surface with sandpaper;
- cover with putty and let it dry;
- apply paint on top (in the photo below it is pistachio-colored, but you can choose another one), when it dries, sand it again with sandpaper.
Flowerpots from wooden sticks
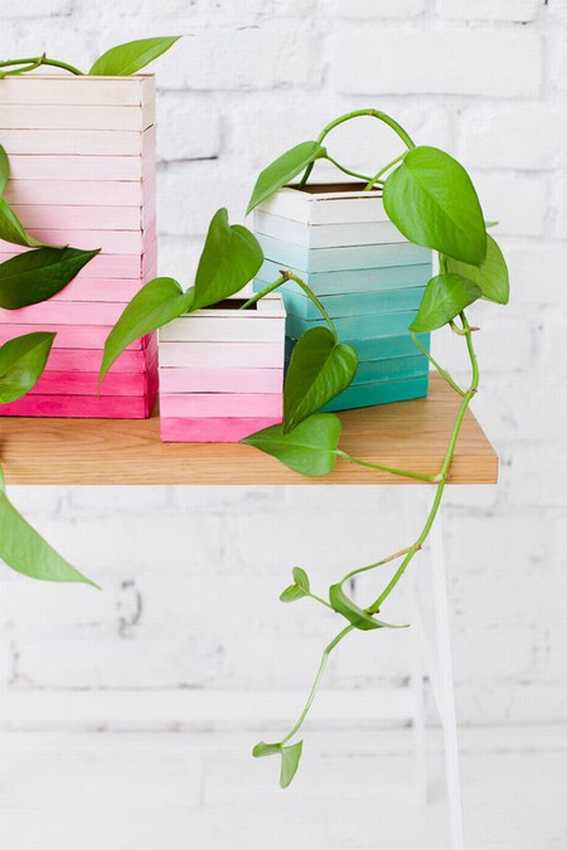 To create it, you will need thin sticks, for example, from ice cream.
Manufacturing process:
- prepare a few wooden blocks and alternately fasten the sticks to them with glue, as in the photo below, so make all four sides of a rectangular flowerpot.
- connect them together, you will get a kind of frame, on top add a couple more sticks on both sides.
- Sand the resulting workpiece and paint. Use any glass or plastic container of the appropriate size as the base.


https://i.expert-h.com/en/vazony/komnatnye-vazony-dlya-tsvetov-svoimi-rukami-master-klassy#sigFreeIdec2b7a1f3e
Photo Gallery: + 150 photos of various ideas


https://i.expert-h.com/en/vazony/komnatnye-vazony-dlya-tsvetov-svoimi-rukami-master-klassy#sigFreeId833ad61cfb