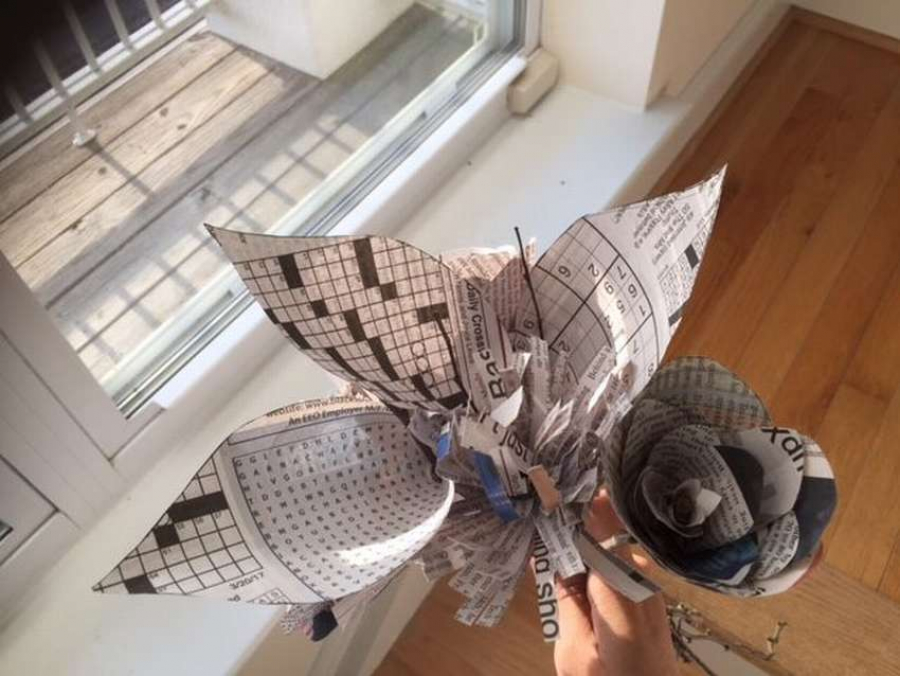
Bouquet of flowers from the newspaper: the idea of a gift when there is no time and money
 a bouquet of flowers from the newspaper
Here is a budget option for a pretty bouquet for all occasions. Urgently need flowers, but not a penny in your pocket? If you have at hand an old newspaper and a few minutes left, this is a good way to safely get out of the situation. Just do do-it-yourself paper bouquet. From the newspaper you can make any flowers, in this mini bouquet there are three types of them. This is an exotic type of chrysanthemum mum spider, elegant feces and traditional rose. Now take a couple of minutes and soon you will have the cutest bouquet.
First flower – chrysanthemum mum spider
What do you need:
- Newspaper
- Twig
- Scissors
- Glue
- A pen
By the way, instead of a newspaper, you can use the page from an old book or sheet from a music notebook. If there is no branch, you can use any kind of black wire. These materials are needed for everyone. three kinds of flowersso cook with a margin.
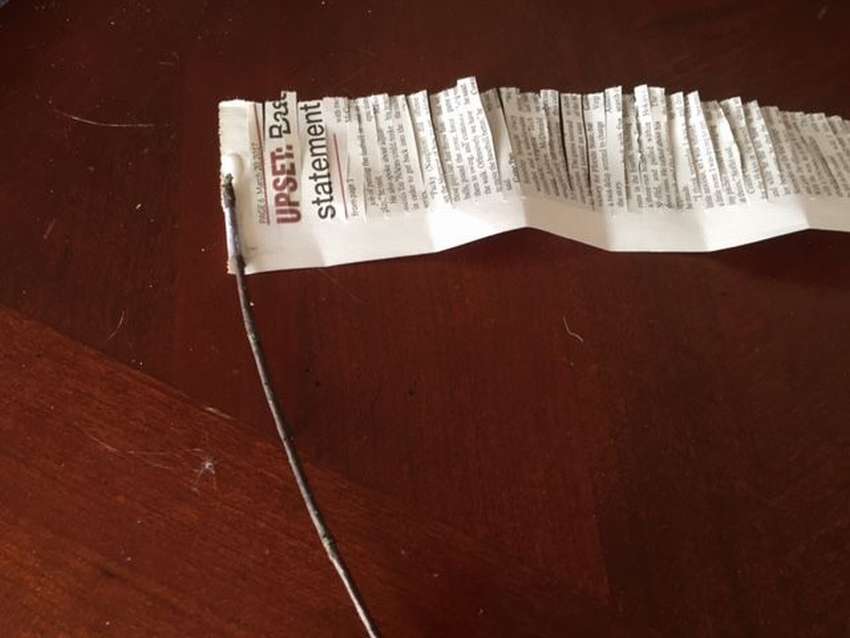
- Take the old newspaper and unfold. Cut a large strip of 8 - 10 cm wide along the page. After that, make scissors (fringe) with scissors, as shown in the photo.
- Wrap paper around the branch.
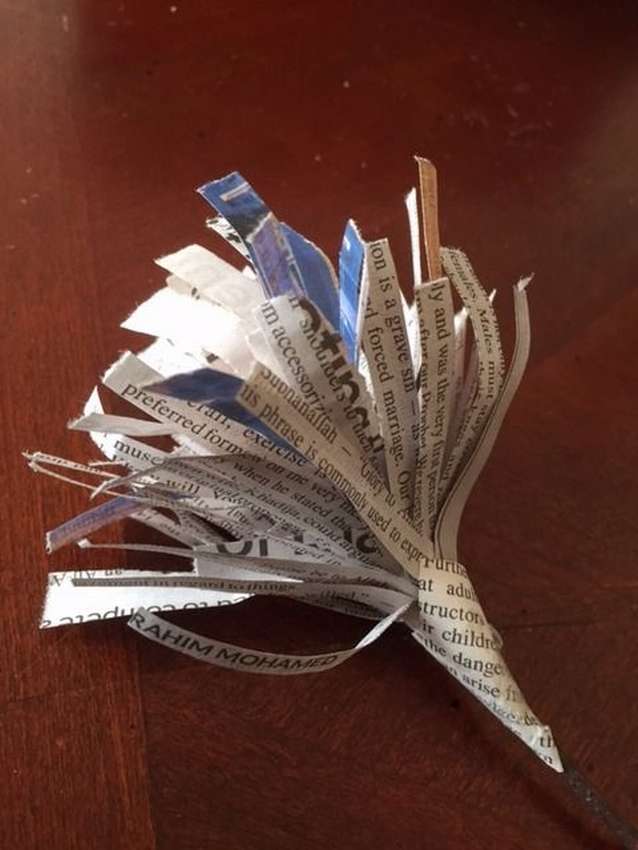
- Now take the paper strips of the bud and pull it out a little. Use your thumb or pen to create a small curve. The flower is ready, if you want, you can make a few pieces and collect a bouquet of chrysanthemums.
Second flower - Calla Lilies
It is much simpler, but for perfection some more tests will be required. The materials are the same but still need tape.
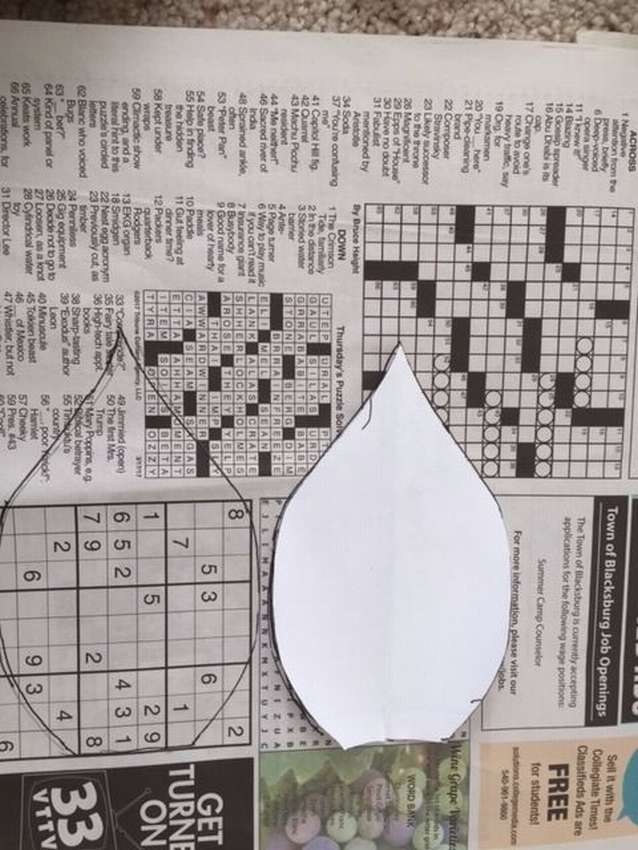
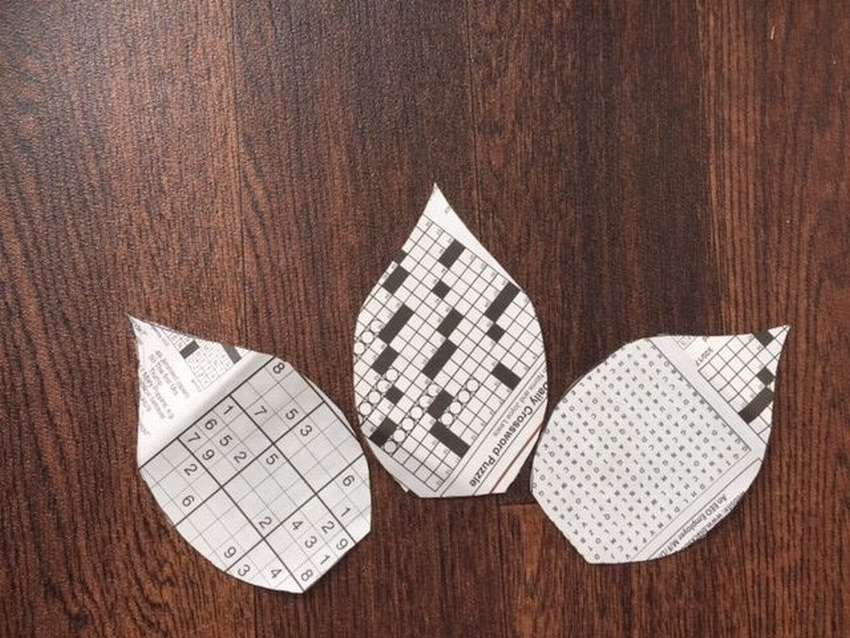
- Take a newspaper and a pencil, make an outline that looks like a drop of rain, as shown in the photo.
- The best way is to fold the paper in half and draw one outline so that it is beautiful and even. You can make a template and transfer it to a newspaper.
- Cut the outline.
- Then in the center, make a small gap of 2-3 centimeters, this will help to better bend the ends.
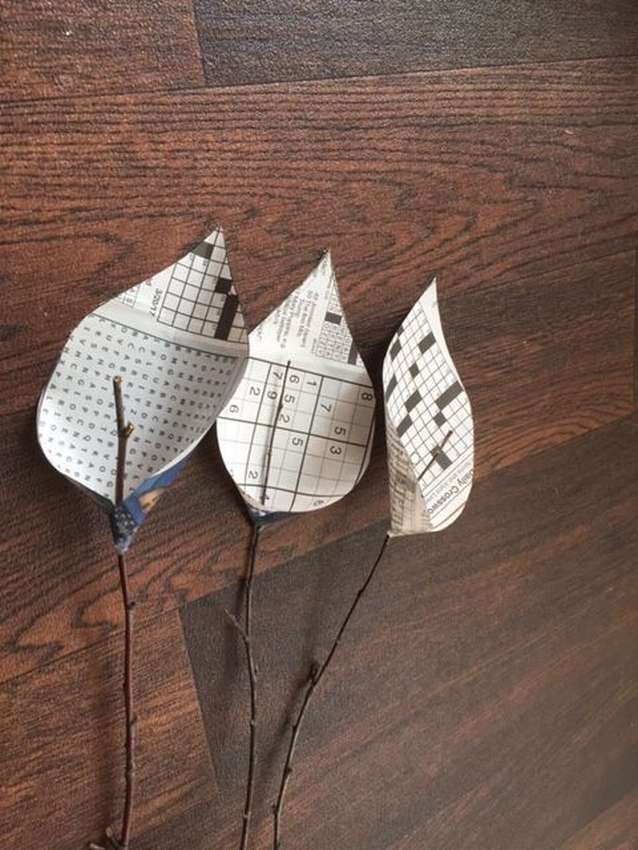
- Connect the two lower ends around the rod. Then bend the top for a smooth bend.
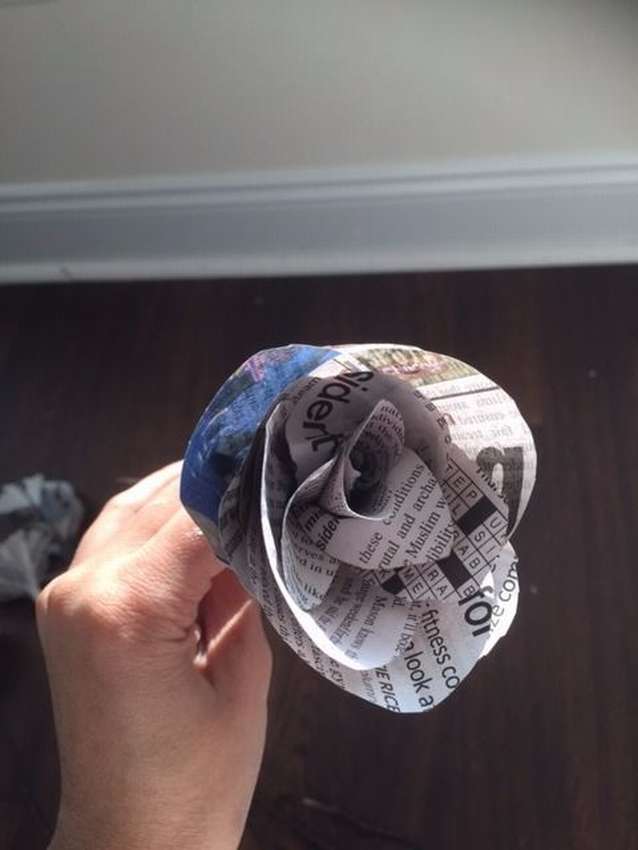
Third flower - Classic rose
This is a special way, a little more work, but the result is excellent.
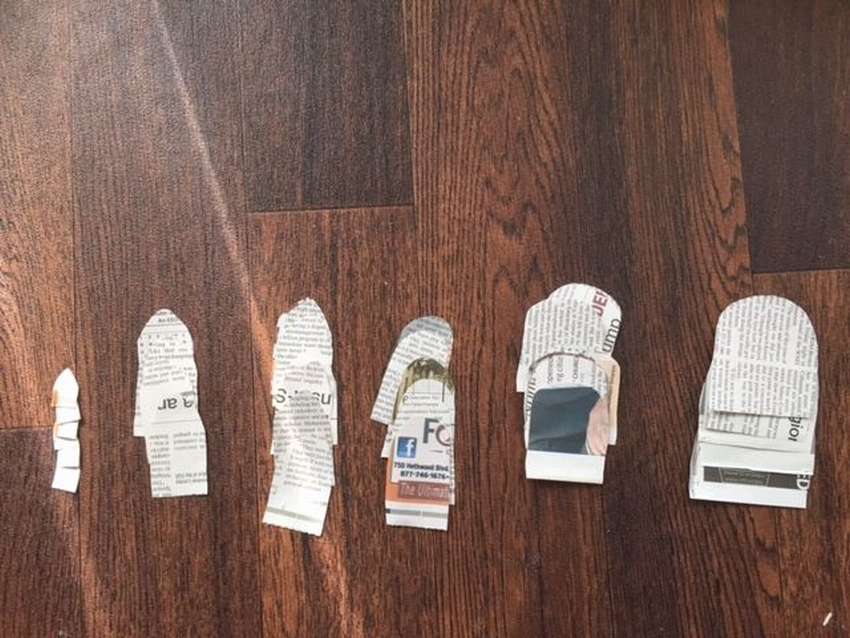
- It will be necessary at least 5 petals of different sizes, from 2 to 10 cm wide. It is better to cut by hand without patterns, so that each petal has a unique shape. All petals should be different, some pointed and some rounded.
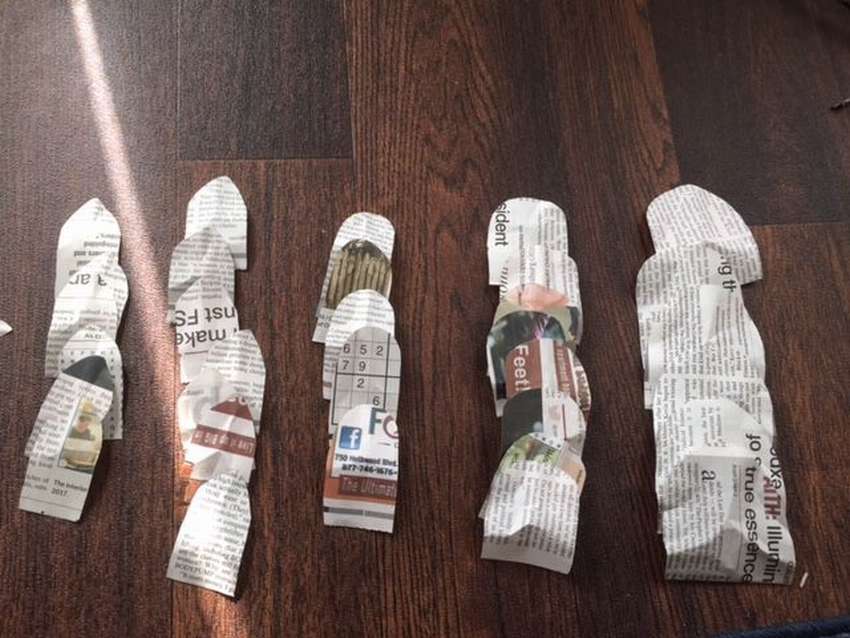
- Now an important step. Fold the edges of each petal with a pen or fingers and gently clamp the base. Each of them can be done in a slightly different way to give the petals a character and roundness. Better to shape the petals before gluing.
- You need to cut another shape for the spiral center of the rose. This shape should be approximately 6 cm long with a rounded tip. Turn into a tube, unfold and apply a strip of glue on the inside, wrap around the end of the branch. You can tie a ribbon on top.
- Attach the petals. Start with the smallest. Drip glue about 5 mm from the bottom of the petal to attach to the stem. The next petal should overlap the first.
- Continue adding small petals as you rotate the trunk as you move, blocking the last attached petal. When you start adding large petals, pinch the bases, as it is much wider.
Congratulations, you did it.! You can also make some artificial green leaves and tie all the flowers with a beautiful ribbon.

If you want to learn how to make luxurious bouquets of paper flowersread the article “Bouquet of paper with your own hands. Step-by-step instructions + 700 photos» https://i.expert-h.com/en/iz-bumagi/bukety. It provides detailed instructions for 25 examples of elegant and realistic do-it-yourself flower bouquets of paper flowers that will decorate any home or holiday event.
Hello, I am the author of this article, so I look forward to asking questions for this article in the comments below, I will answer all !!!
If you have questions on another topic, ask them on our forum, we will answer you
- Two baskets of paper in 5 minutes (Master class)
- How to make a simple and compact table for a milling cutter from plywood
- How to make a soft headboard tile (Instructions + step by step photos)
- Cinder block benches: a convenient bench in 55 minutes
- How to make a bed with a niche: saving space (Master class)