Flowerpots from bottles with their own hands. +300 photos. Master classes
 Flowerpots from bottles
As you probably already had time to make sure, flowerpots for the garden and the house can be made from any material at hand, whether it is the building material left after repair or old household utensils. Plastic products are also the best suited for this purpose, because ordinary plastic bottles are something that is always abundant in every summer resident, so you don’t have to buy something specially in this case.
Menu! articles about flowerpots:
- Options for making flowerpots from bottles
- Deep flowerpot of horizontally stacked bottles
- Flowerpot using a piece of roofing felt or roofing material
- The advantages of plastic products
- Flowerpot on the leg from plastic bottles
- Flowerpot with stand from CD
- Technique for painting plastic bottles inside
- Flowerpot in the form of cat face
- The choice of paint for decor
- Flowerpot in the form of little pig
- Flowerpot in the form of burro
- Methods for painting inside and out
- Flowerpot in the form of swans
- Big Photo Gallery: + 100 interesting photos
Options for making flowerpots from bottles
From glass
You can use bottles made of plastic or glass to create flowerpots, however in this article we will mainly consider options for plastic flowerpots, because of their strength and sufficient durability, they are most suitable for a garden or a summer cottage. Glass is a very beautiful, but rather fragile material, therefore it is better to use flowerpots made from it as indoor ones and put them in the house.
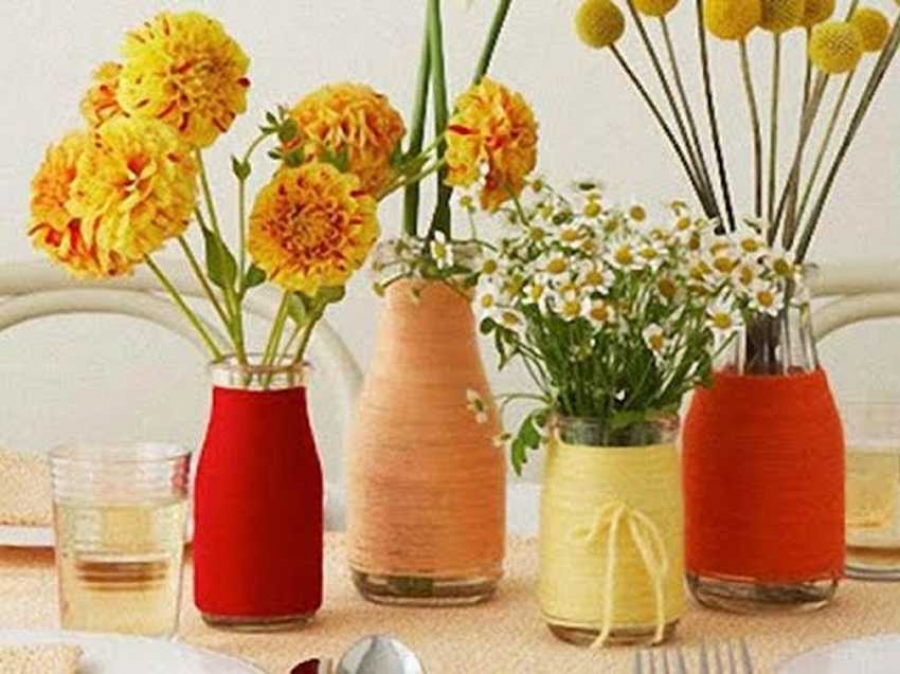
However, let's see what can be made from glass bottles.
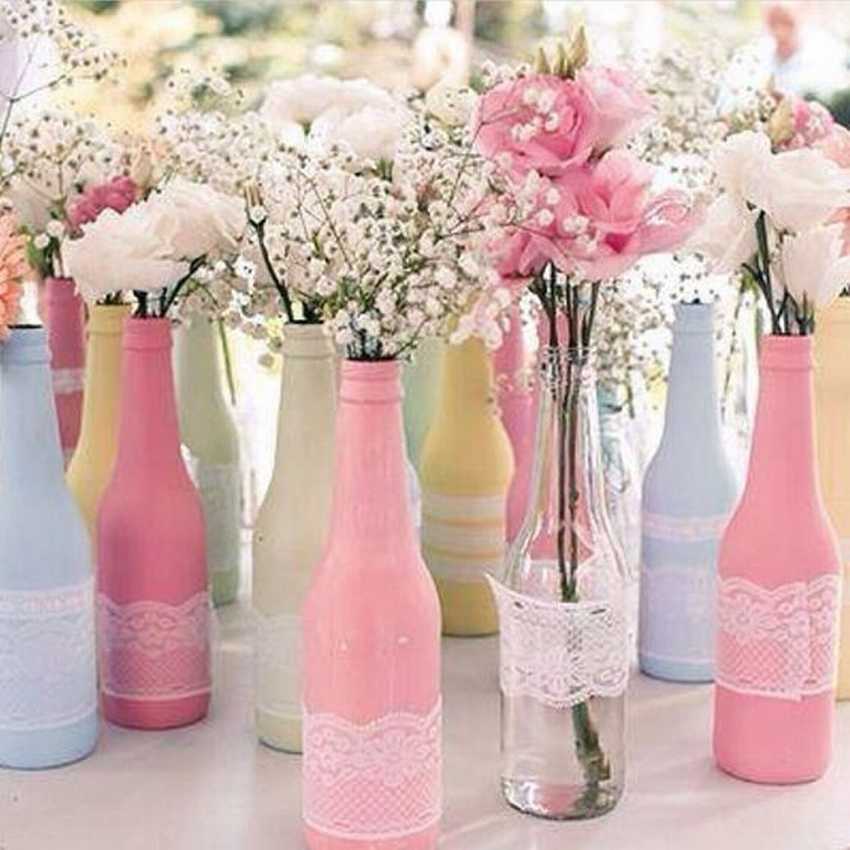 The bottles in this case are simply painted and decorated with lace
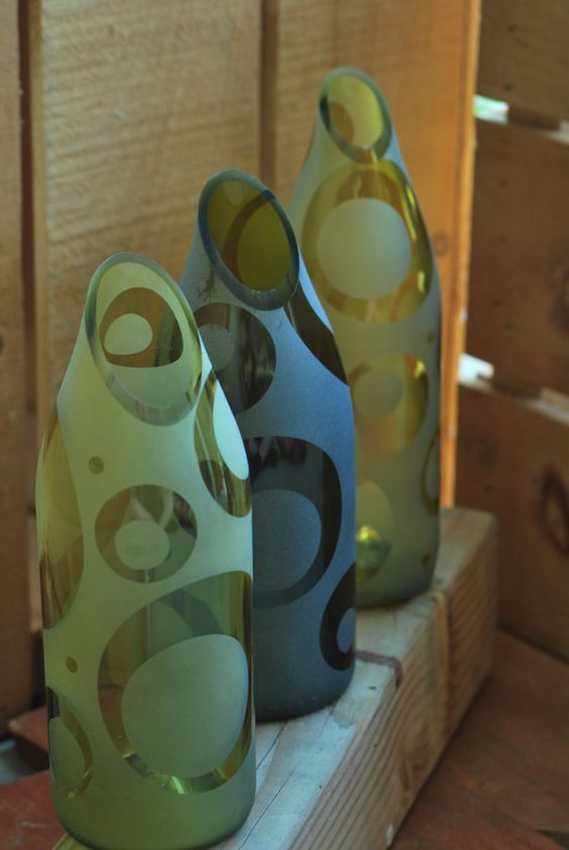 If you cut the neck, you get a completely different option
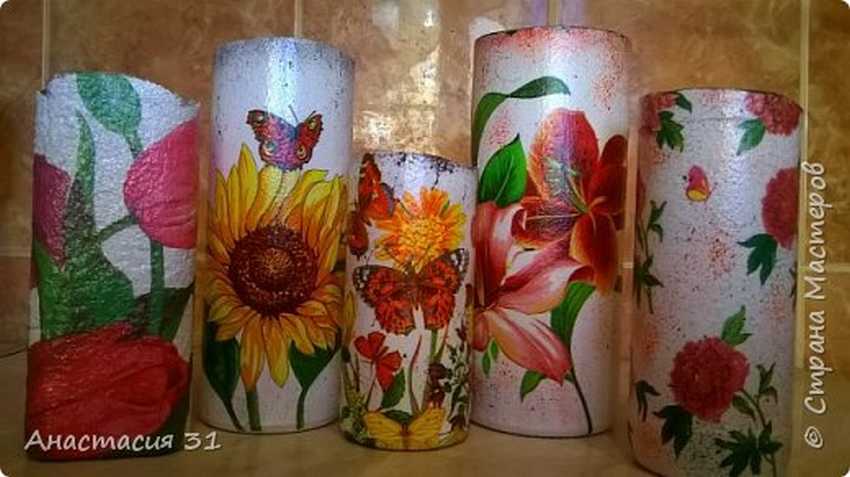
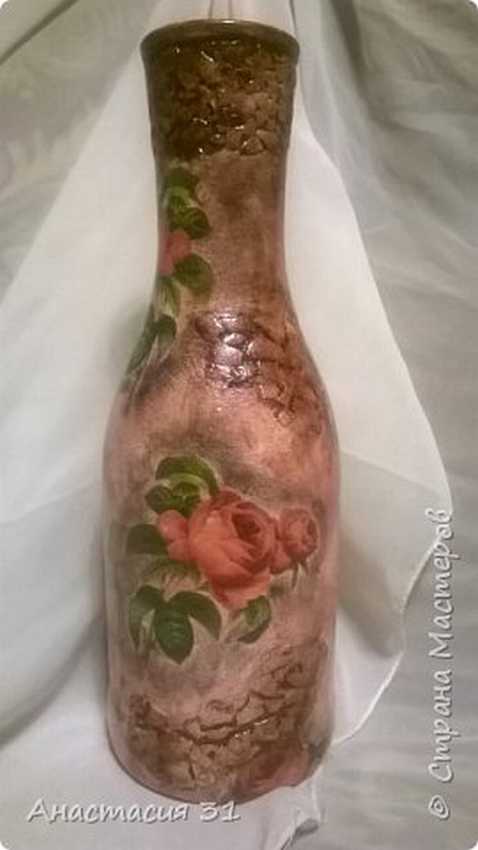
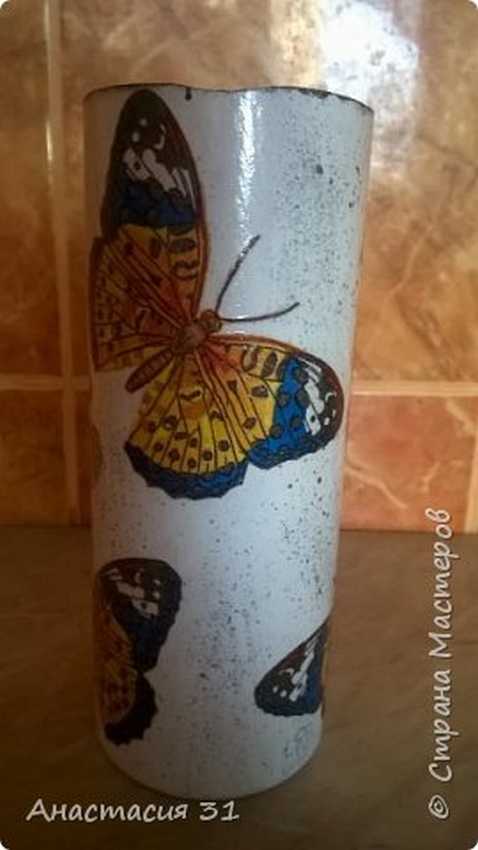
The photo below shows several options for creating original flowerpots. Anastasia - the creator of these amazing works and inspires new ideas
 These flowerpots are made from liter bottles.
 Matte varnished
A couple of interesting works:
Made of plastic
Deep flowerpot of horizontally stacked bottles
 As a basis, you will need to take a rigid support: a polycarbonate sheet, a barrel without a bottom or a large tire.
Production Order:
- prepare a solution of sand and cement in a ratio of 2: 1, rinse the bottles and fill them with sand;
- put a layer of cement along the inner edge of the mold;
- put the bottles using the resulting solution, put the second and subsequent rows in a checkerboard pattern;
- place drainage at the bottom, after which you can fill up fertile soil from above. Decorate the outside of the finished flowerpot with cones, shells or moss.
Flowerpot using a piece of roofing felt or roofing material
You will need: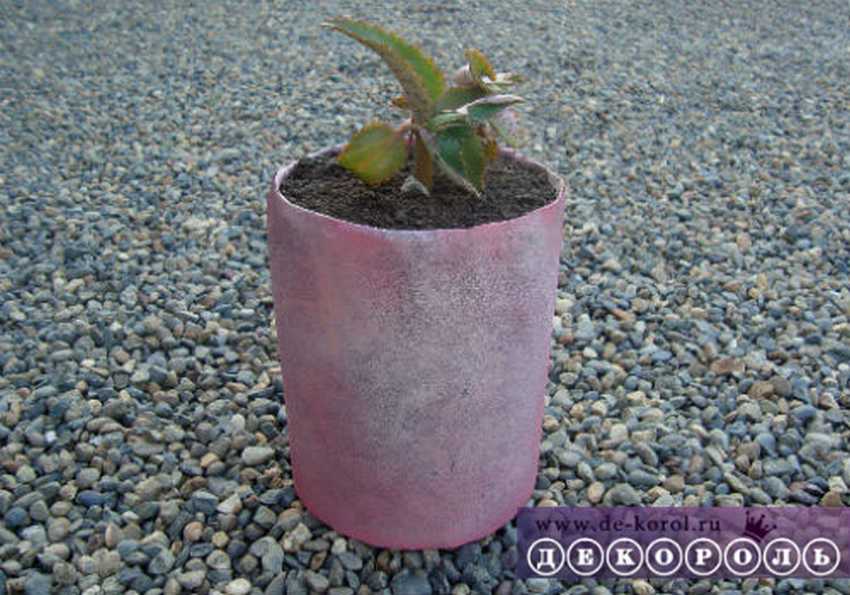
- five liter plastic bottle;
- scissors, polymer glue;
- piece of roofing or roofing material;
- measuring tape, ruler, pencil;
- paint in spray cans.
Progress:
- cut off the top of the bottle;
- put the sheet only on the back side, mark the diameter of the bottle on it and put down marks (above and below we make a margin of 1 cm);
- bend the sheet along the planned lines, cut the lower and upper folds according to the fringe type, apply glue to the back of the sheet and glue the sheet to the bottle;
- we also apply glue to the cut edges and glue them to the bottom of the bottle;
- First, cover the surface of the flowerpot with silver paint, then shade it with gold and pink. When the product dries, it will be possible to plant flowers.


https://i.expert-h.com/en/vazony/vazony-dlya-tsvetov-iz-butylok-svoimi-rukami#sigFreeId6472a7657d
The advantages of plastic products
- material availability;
- bottles are suitable for creating fences, they can be planted a variety of seedlings, they are easy to decorate the site;
- created fence helps retain moisture in the soil, so it does not dry out;
- reusable use of such products indirectly protects the ecological environment;
- plastic does not need special preparation before planting plants. Such products are very simple to process, for the manufacture of special skills and special tools are not required, they are also easy to modify and correct if necessary.
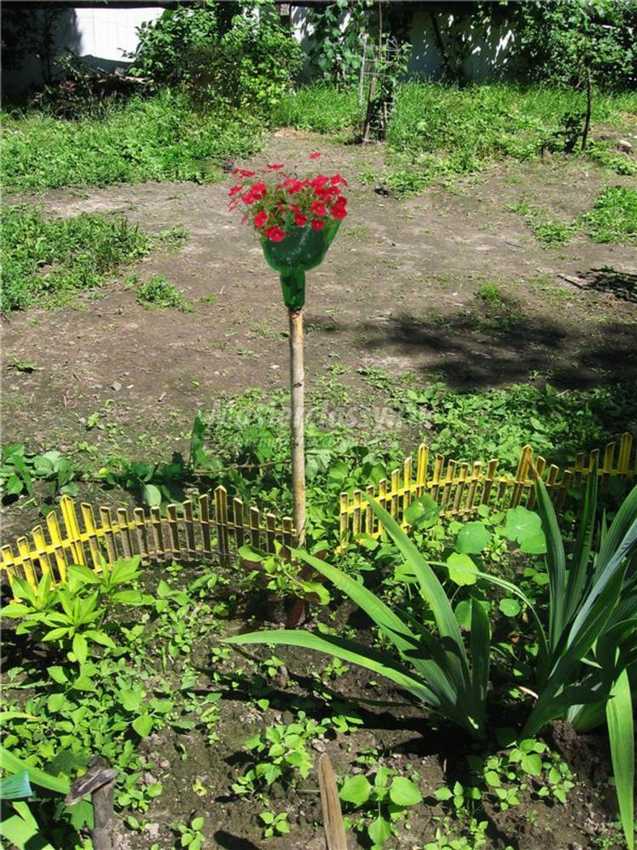
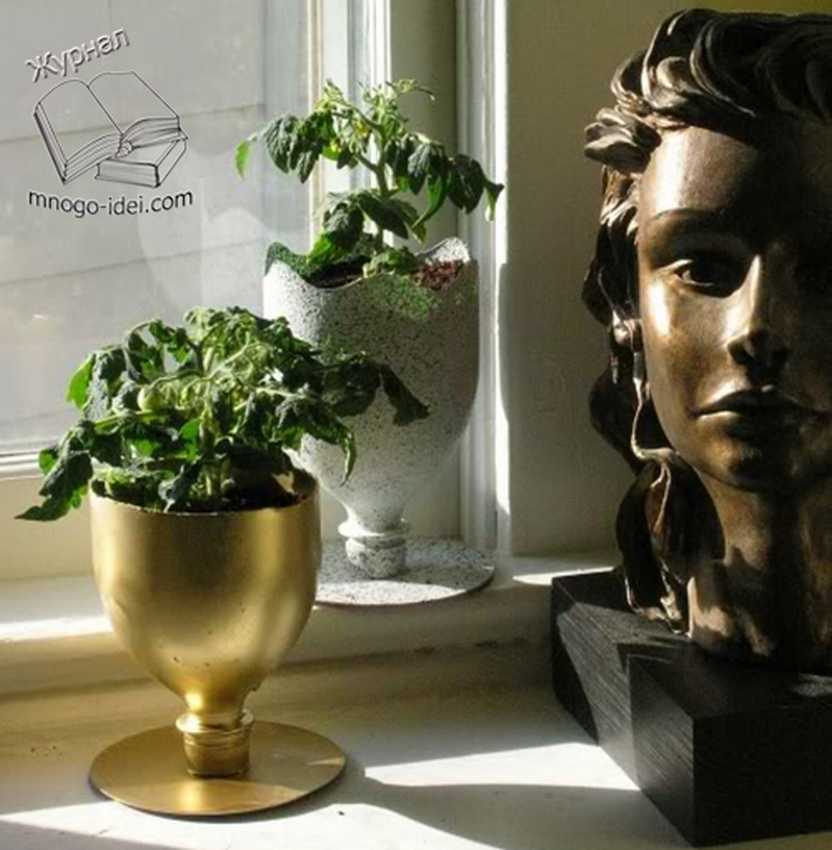
Flowerpot on a leg from plastic bottles
 Material Required:
- two two-liter bottles;
- wire;
- a piece of a tree branch (as a leg).
Manufacturing steps
- Cut off the top of the bottle with a narrow neck, as well as the bottom.
- Now we make three vertical cuts from the bottom to the neck so that the bottle is divided into three equal parts, while we don’t touch the neck itself.
- We trim the corners of each of the three parts so that they resemble leaves, on each part we make frequent cuts. To leaves took a beautiful natural shape, you can hold them over the fire.
- We cut the second bottle in half, but now not along, but across. The bottom part will serve as a bowl, cut off its edges, making them serrated.
- At the bottom of the bowl, we make two small holes for the wire, fix it, leave the long ends for attachment to the leg.
- Insert the bowl inside the first workpiece.
- We sharpen the tree branch selected for the leg (its diameter should coincide with the neck of the bottle) and fasten the resulting flowerpot onto it using the left ends of the wire. The free space between the leg and neck of the bottle can be filled with small pebbles.


https://i.expert-h.com/en/vazony/vazony-dlya-tsvetov-iz-butylok-svoimi-rukami#sigFreeId1cbd63457e
Flowerpot with a support from a CD
 Everything, that you will need for a similar flowerpot, it is:
- a bottle of 1.5-2 liters;
- CD
- glue;
- stationery knife;
- marker;
- spray paint.
Manufacturing process:
- mark a straight or wavy line in the middle of the bottle and carefully cut it into two parts;
- glue the part with the neck to the center of the disk (the lid must be tightly closed);
- if you do not plan to move the flowerpot, you can apply a little glue along the edges of the disk to give it more stability;
- Now you can paint an almost finished product with paint. The second part of the bottle with the bottom is also painted and used as a flowerpot.


https://i.expert-h.com/en/vazony/vazony-dlya-tsvetov-iz-butylok-svoimi-rukami#sigFreeId980eae8829
Technique for painting plastic bottles inside
- Inside the bottle you want to color, add a small amount of paint.
- Shake the container so that the bright pigment is evenly distributed on the walls.
- Turn it upside down and let the excess paint drain.
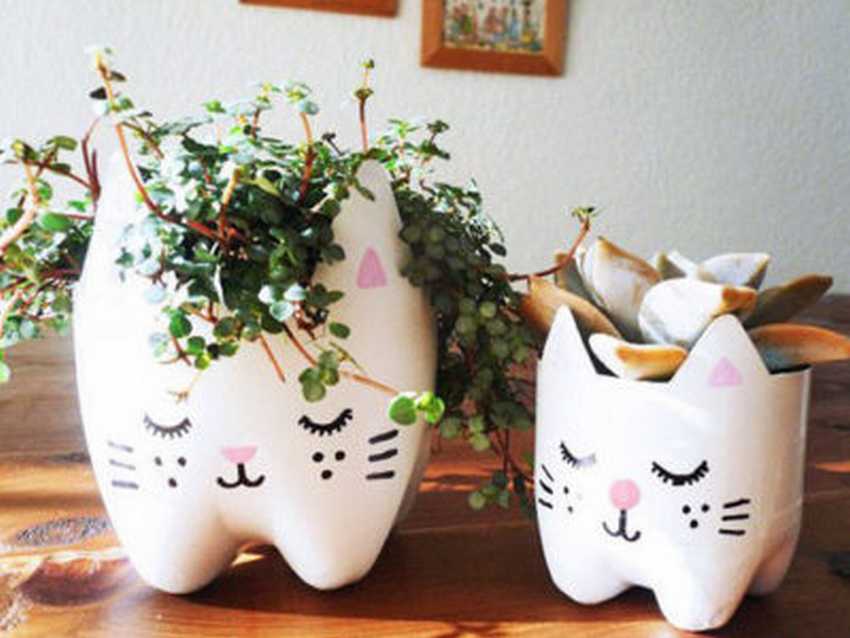
Flowerpot in the form of a cat's face
 Necessary materials:
- bottles (their quantity depends on how many flowerpots you want to make);
- marker;
- paint;
- stationery knife, awl;
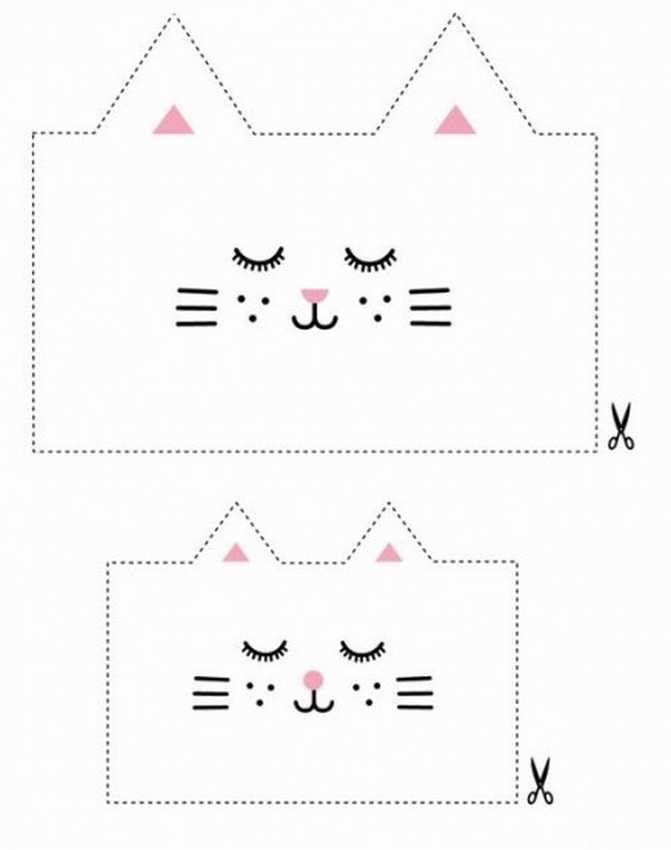
- prepared template.
Stages of work:
1. to make your work easier, prepare a template for yourself: draw and cut the ears on a thick sheet of cardboard;
2. cut the bottle in half (only the lower part will be used);
3. stick a cardboard template to the cut part of the bottle;

4. paint over the workpiece when it dries, paint with a marker the eyes, mustache and nose.
You can make such a flowerpot with images of any animals.
Another unusual version of such a flowerpot:

The choice of paint for decor
- It is best to color plastic products with the following types of paints:
- Acrylic: help protect the surface of the product and give shine.
- Color acrylic varnish: with its help you will get a bright shade from the first staining.
- Spray paint: easy to apply; its advantage is that no additional surface treatment is required.
- Car enamel: does not fade in the sun, the painted surface remains unchanged for a long time.
- Enamel compositions: a suitable option for painting large areas, so as not to acquire separately many colors and always get the right one, you can buy white enamel and add, for example, color pastes.
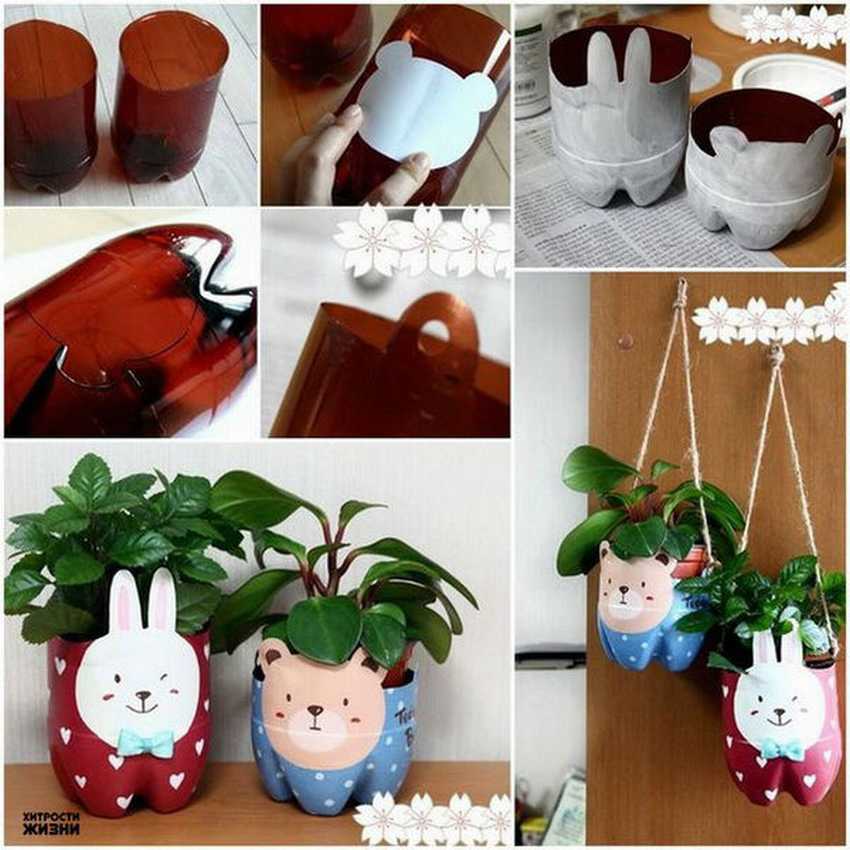
Flowerpot in the form of a pig
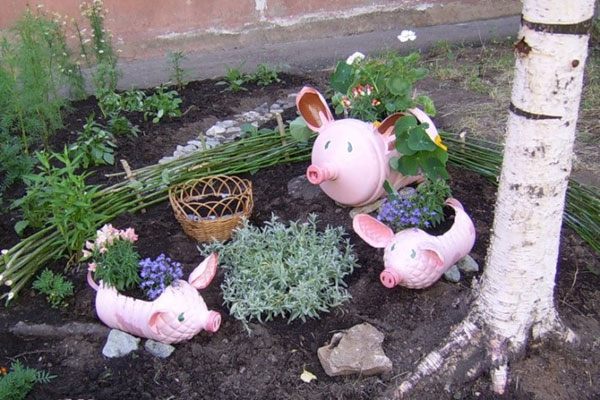 The beloved by many option of creating a beautiful flowerpot, you can make it both from bottles with a capacity of more than 5 liters, and from bottles with a volume of 1.5-2 liters. The only difference is that larger bottles will produce a larger flowerpot.Consider what materials will be needed to create it:
- one bottle with a capacity of 5 l and four pieces with a capacity of 0.5 l;
- scissors;
- brush and pink paint;
- blanks for eyes, ears and tail.
Progress
- From four smaller bottles, cut the legs into an oblique cut. (the length of the legs themselves should be approximately 10 cm).
- Prepare the templates (you can also make them from thin plastic), draw and cut the ears and tail of the future pig.
- Make small cuts in the bottle using the prepared templates, insert the ears and tail into them.
- From above, cut a hole where soil will be filled, from the bottom, insert legs into the cuts.
- Paint the product with pink paint from the outside, finish the necessary details.


https://i.expert-h.com/en/vazony/vazony-dlya-tsvetov-iz-butylok-svoimi-rukami#sigFreeId2e87a96888
Donkey Flowerpot
You will need:
- one 5 l bottle;
- a pair of containers of 2 l .;
- four bottles of half a liter - for the legs;
- yarn for mane and tail;
- acrylic paint, wire, glue, screws.
Work stages
1. Connect all cooked containers together. The largest bottle is the base (burro's torso) to it from below, through the holes made, we fasten 4 small bottles with a volume of half a liter, into which we pre-fill the sand so that the entire structure is as stable as possible.
2. One of the two-liter containers will be used as the head of a burro, the second container must be cut so that neck and ears are made of it. All these parts are also joined together and fixed to the base.
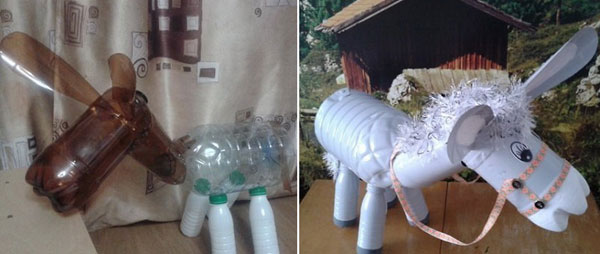
3. Next, we complement and decorate the product: we color the resulting figure, make the mane and tail of yarn, finish the necessary elements.
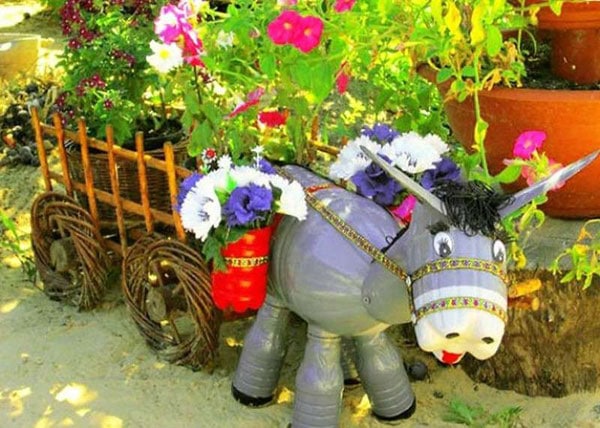
As you can see in the photo, a hole for planting flowers was not made in this case, all because the donkey is depicted in a harness, that is, you can attach flower pots to the figure itself or follow the given example until the end and make a small cart where You can arrange the flowers.
Methods for painting inside and out
Staining can be done in various ways:
- spraying from a spray can - in this case it is convenient to work with stencils and make gradient color transitions;
- painting with a brush - allows you to create a smooth coating, as well as apply patterns;
- painting with a sponge - allows you to achieve texture surface;
- staining with acrylic inside - the result is a deep saturated color.
Flowerpot in the form of a swan
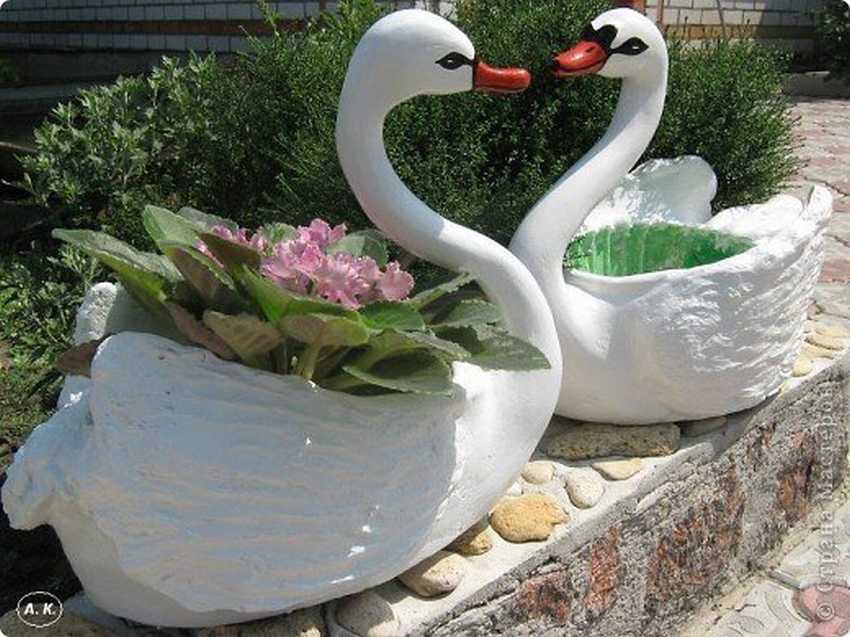 To make a similar flowerpot, prepare the following:
- bottles of 5-6 liters;
- durable wire; metal mesh for wings;
- putty;
- bandage; sand, brush.
Manufacturing process
- Cut the bottle lengthwise into two parts.
- Bend the wire so that it resembles the shape of the number two, and insert it into the hole made in the cork, fix this place on the back with glue, you can even fill the neck of the bottle with small stones. Then fill the cut bottle with sand, so it will quickly take the necessary shape.
- Cover the workplace with foil and prepare a putty solution.
- Put the first layer on the film, then put a bottle on it and gently smooth the solution with a spatula, soak it more often with water for more convenience.
- Cover the entire surface of the container with a solution, smooth out all the defects with a brush.
- Give the metal mesh a slightly curved shape of the swan wing, attach it to the side and apply a layer of mortar to fix it. Leave the work briefly; the putty should dry. When the solution has set, cover the surface of the grid itself with the solution.
- We form the neck: apply the solution to the wire and wrap it with a damp bandage on top. Also shape the bird's head and beak.
- Form the tail: bend a small piece of the mesh at an angle of 40-45 degrees and immediately fix it with a solution. Now the product is better left to dry for half an hour. After that, you can continue to work and cover the surface of the grid completely.
- Correct all errors with a solution; it will dry within two days. After that, you can clean the finished product with sandpaper, then apply the soil and cover with several layers of white enamel. Beak and eyes are highlighted with appropriate colors. After staining, coat the flowerpot with varnish.


https://i.expert-h.com/en/vazony/vazony-dlya-tsvetov-iz-butylok-svoimi-rukami#sigFreeId3ad1b49e77
Photo Gallery: + 100 different photos


https://i.expert-h.com/en/vazony/vazony-dlya-tsvetov-iz-butylok-svoimi-rukami#sigFreeIdc2e67446bf