Panel of cones. Do it yourself + 100 photos
 panel of cones and leaves
From cones interesting decor items are obtained. In this article you will learn how to make a panel of cones do it yourself. Such an article will be a pleasant memory of autumn and just a beautiful decoration for the home.
Use picture of cones You can also as a gift. It is especially nice to receive such a gift from children. Insofar as panel of cones simple enough, it will be a fascinating activity for the child. By the way, a good idea for a school competition. Take a look at the workshops below with step-by-step photos, maybe some examples will interest you.
How to make a panel of cones
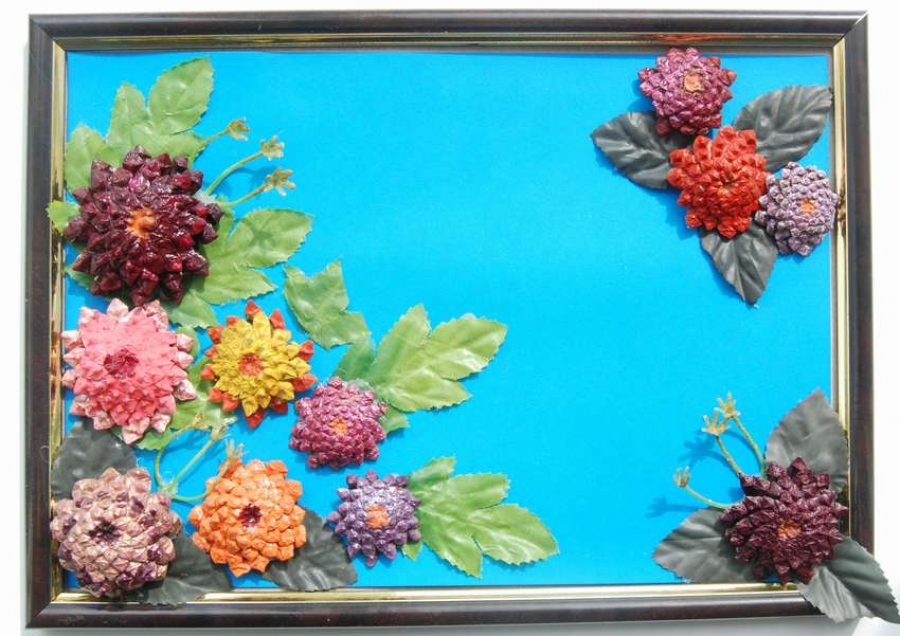
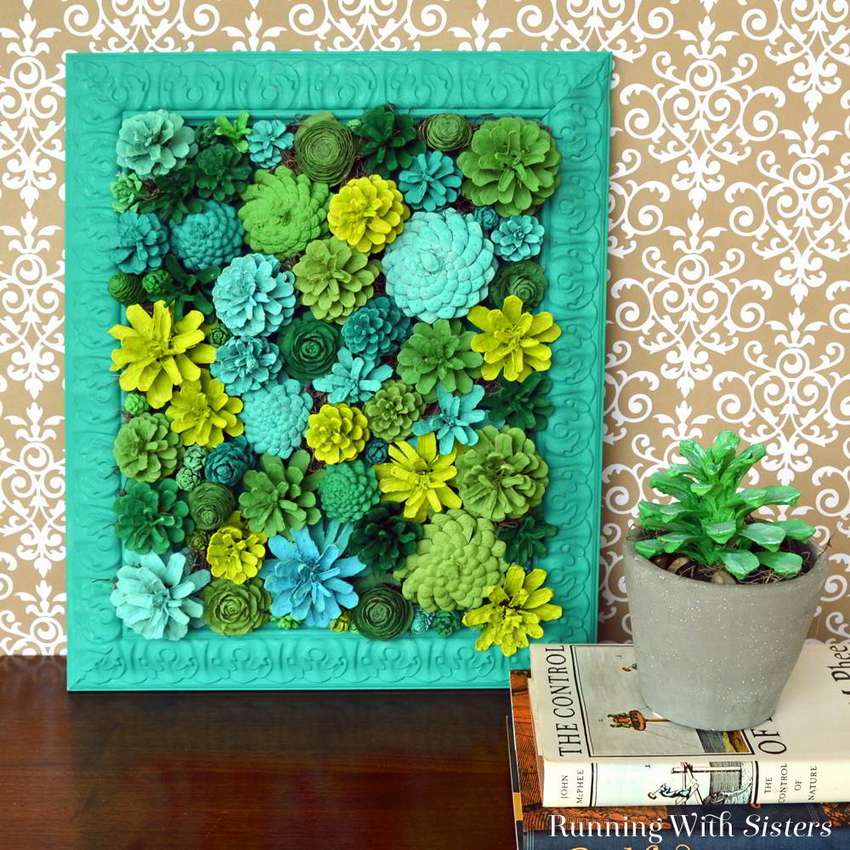 Shown here how to make a panel of cones in the form of flowers in a beautiful frame. The flowers in their structure resemble cones, and if they are painted in the appropriate way, the similarity is striking. Prepared and painted pine cones can be used in different ways. One option is to turn it into a vertical garden.
In addition to cones, you will need frame. Also prepare hot glue, green paint of various shades, a hacksaw for cutting cones. Further, perhaps everything is clear, just see step by step photos. Stick the bumps as you like, let them protrude a little beyond the frame. Between the cones, you can add a little dry moss.


https://i.expert-h.com/en/iz-shishek/panno-foto#sigFreeId622160a0a3
A panel of cones on the theme of autumn
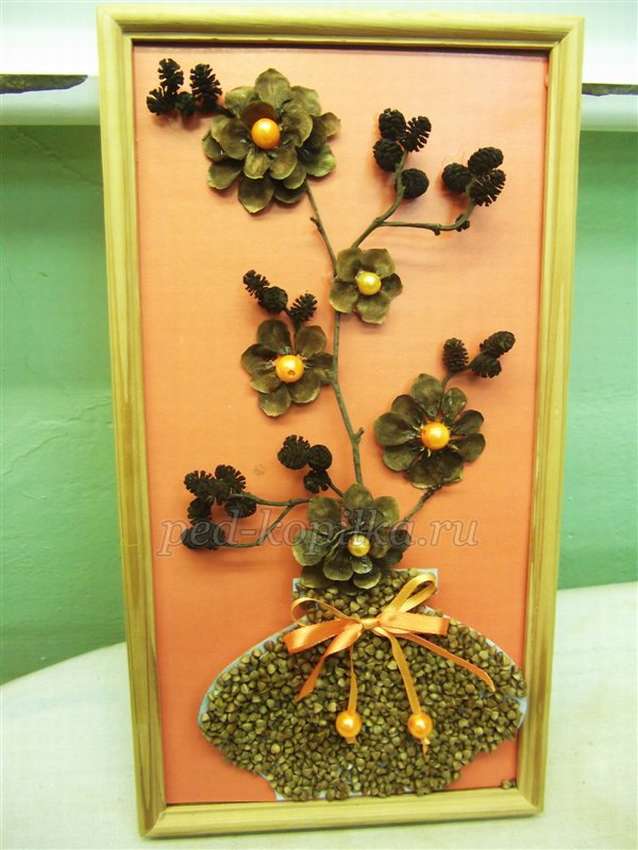 The meeting of autumn, summer memories - this is what symbolizes panel of cones on the theme of autumnDIY made. It does not take a lot of time to manufacture, but a sea of pleasure is guaranteed. The panel can serve as an original gift or be used to decorate the interior.
To make a panel of cones, you can optionally use any materials you want. In this case, it is buckwheat, alder twigs and beads (peppercorns of black pepper, cloves, anything to indicate a floral center are suitable).
The composition is fixed on a sheet of thick cardboard with PVA glue.
Picture of cones collect in this sequence:
- From a thick cardboard cut out a vase pattern of arbitrary shape. Cover with PVA glue, apply buckwheat on top.
- Disassemble the cones into scales.
- Stick the flakes on a cardboard base, depicting flowers.
- Mark the middle of each flower with a bead (pepper, clove).
- Lay out well-dried parts on cardboard and glue.
How to make a panel of cones, clearly shown below in step-by-step photos.


https://i.expert-h.com/en/iz-shishek/panno-foto#sigFreeId33b4931906
Panel of cones master class
 It's always nice to make flowers out of cones. More interesting to create panel of conesby combining asters made of cones into a single composition. it great craft for school competition, parents will need very little help. Also, flower arrangement of conesThis is a wonderful gift that does not fade, does not require watering and perfectly complements the interior. First you need to make a sufficient number of asters from cones. Then stick to the base in a thoughtful manner. The final chord is gluing artificial leaves. The instructions can be read on the website, see below for a detailed master class on how to make do-it-yourself crafts.


https://i.expert-h.com/en/iz-shishek/panno-foto#sigFreeId226d2d28e8
Panel of cones and leaves
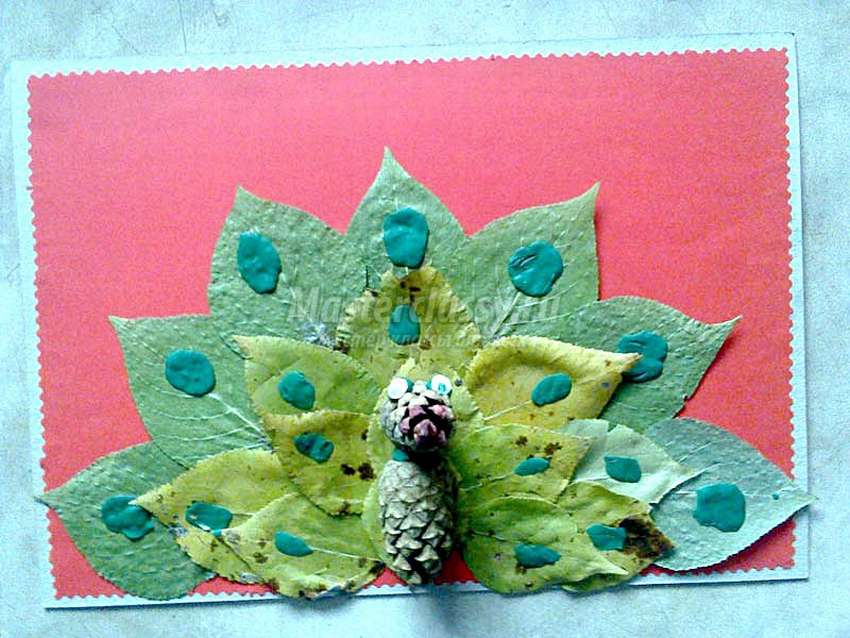 By doing this panel of cones and leaves do it yourself, you begin to better understand nature. The craft is intended for children, making it very easy. It is nice to work with adults involved in creating the picture. The main material is cones and autumn leaves. We also need a sheet of cardboard, on which all this splendor is pasted.
The panel depicts a peacock, the head and torso are cones, and the tail is autumn leaves.All the process of creating look at the step by step photos, the instruction is on the site, where all actions are described in great detail.


https://i.expert-h.com/en/iz-shishek/panno-foto#sigFreeId383f23fe4a
Picture of cones
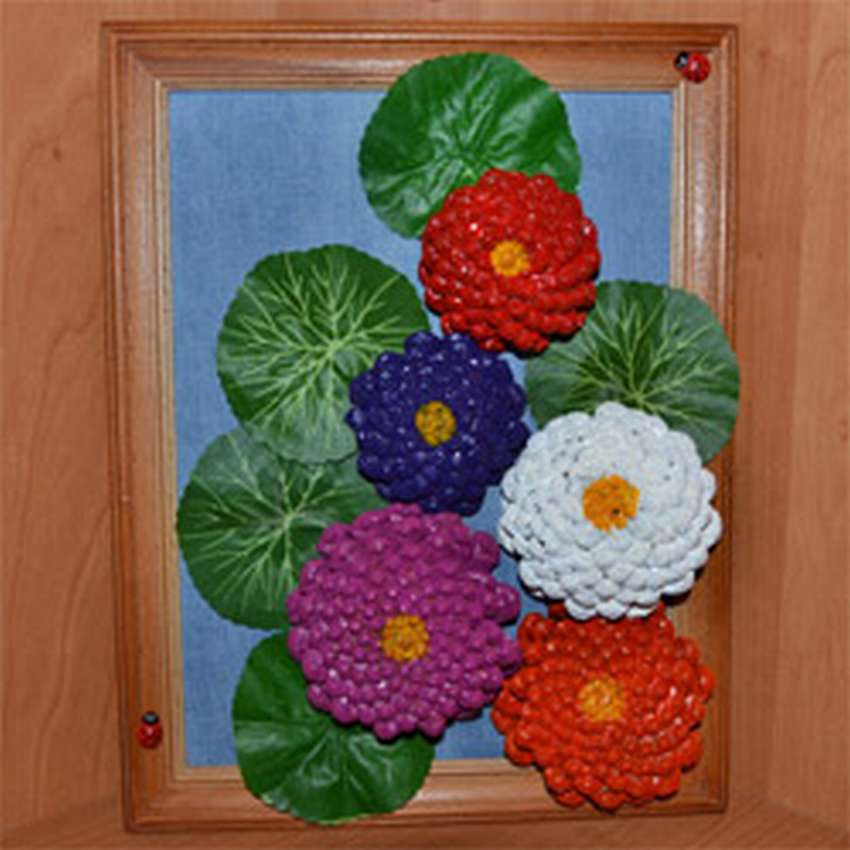
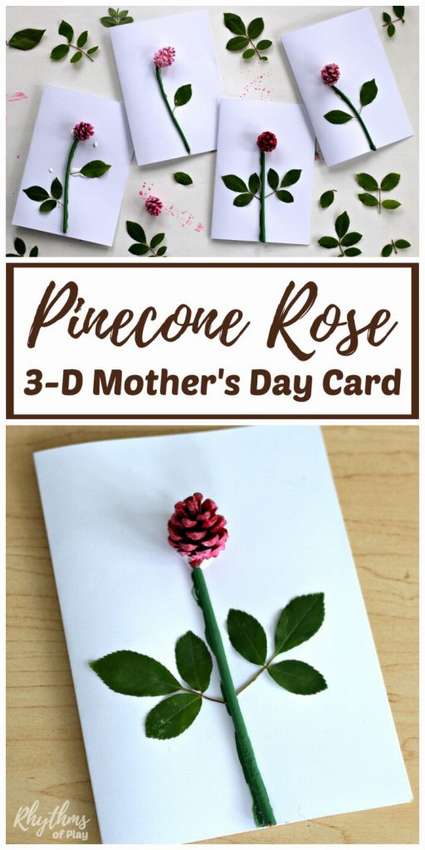 It is very simple. crafts picture of cones can do young children. In fact, ordinary applique, you just need to glue flowers made from cones and other natural materials in advance to any surface that can then be placed vertically.
Great idea to do DIY picture of cones For a festive decor or an original beautiful gift.
To make a picture of cones you will need:
- Small cones;
- Twigs;
- Flower petals (possibly cut out of paper and painted);
- Paints and brushes;
- Glue.
Having collected the necessary materials, they must be prepared for work. Cones and future flower petals, twigs, paint in the desired colors.
Then let them dry completely, further work is possible only with completely dry material.
Having attached a stem with a leaf to each “flower” - cone, stick the finished flowers on a paper or cardboard base.


https://i.expert-h.com/en/iz-shishek/panno-foto#sigFreeId2d6d708186
Panel of cones 100 photos


https://i.expert-h.com/en/iz-shishek/panno-foto#sigFreeId23312d7d85
Hello, I am the author of this article, so I look forward to asking questions for this article in the comments below, I will answer all !!!
If you have questions on another topic, ask them on our forum, we will answer you
- Two baskets of paper in 5 minutes (Master class)
- How to make a simple and compact table for a milling cutter from plywood
- How to make a soft headboard tile (Instructions + step by step photos)
- Cinder block benches: a convenient bench in 55 minutes
- How to make a bed with a niche: saving space (Master class)