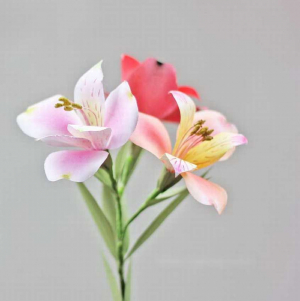
Flower made of paper lily. Do it yourself, instructions, master classes + 250 photos
A little bit about the flower .... Lily means admiration, which is why it is so good for a wedding, birthday, or just to tell someone how much you love them. Make a lily out of paper simpler than many types of other flowers, because the lily has a simple and expressive shape of the petals.
Here you will find ten great examples of how to make do-it-yourself lily flower out of paper. For the manufacture of various materials can be used. They look very beautiful corrugated paper lilies. If you are fond of origami or just want to learn this beautiful art, you will find several examples in the article, how to make an origami lily. Take a look at the master classes below and choose an option to your taste.
Content:
- Colored paper lily
- Corrugated Paper Water Lily
- Corrugated Paper Lily
- How to make an origami lily
- Origami Lily Scheme
How to make a lily out of paper
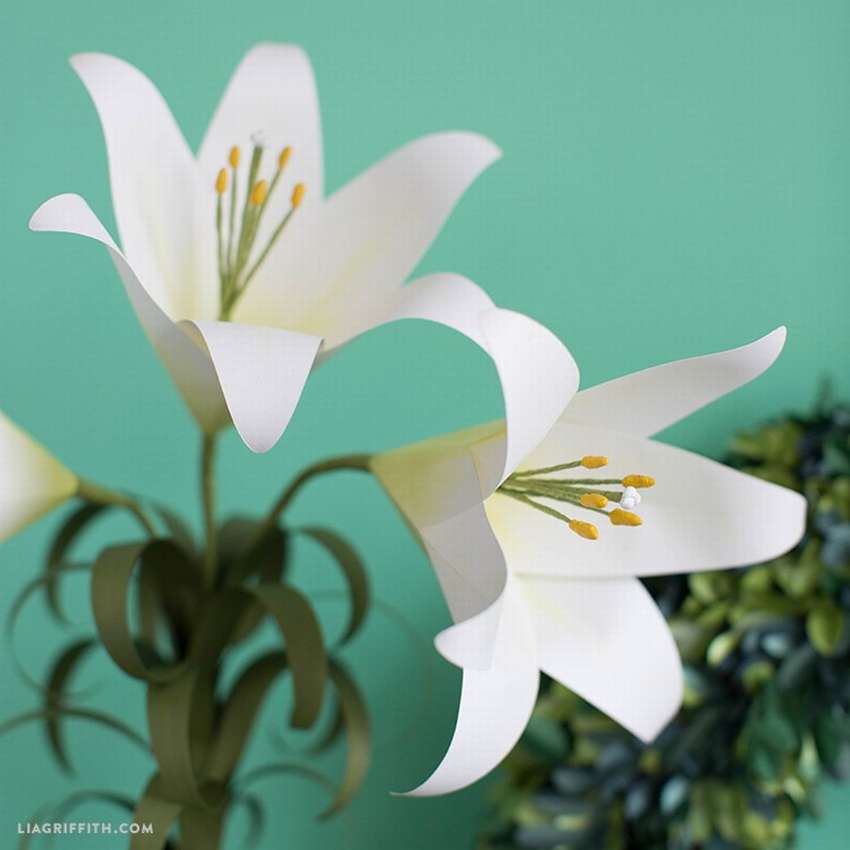 This elegant lily is no doubt beautiful. To make paper lily flowerdownload website templates, cut the paper according to the drawings using scissors or a cutting machine. Shade the bottom of the leaves. dark greenthen center on both sides yellow green. Fold along the marks. Glue the tab of one flower to the inside of the flower, on the other to the outside. Cut off eight pieces of wire 12 cm. Use hot glue to make a small ball of wire ends.
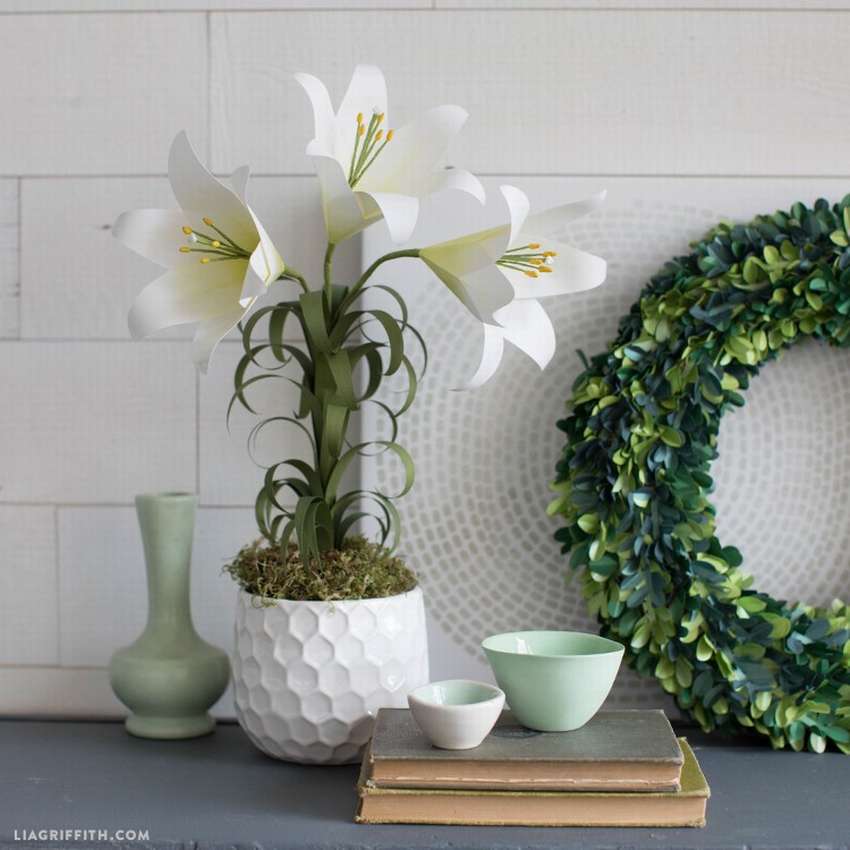 On the remaining wires, make an elongated ball shape for the stamen. Color 3 white balls of white color and 5 elongated figures of yellow color. Take 3 wires with white balls and fasten with a flower ribbon. Place 5 wires with yellow shapes around the white ones, use floral ribbon to attach them to the long wire. Glue the petal kit so that the tab is glued to the outside another set of petals, then put on the stalk and stamen.
https://i.expert-h.com/en/iz-bumagi/tsvetok-liliya#sigFreeId1791af9b0a
DIY paper lily flower
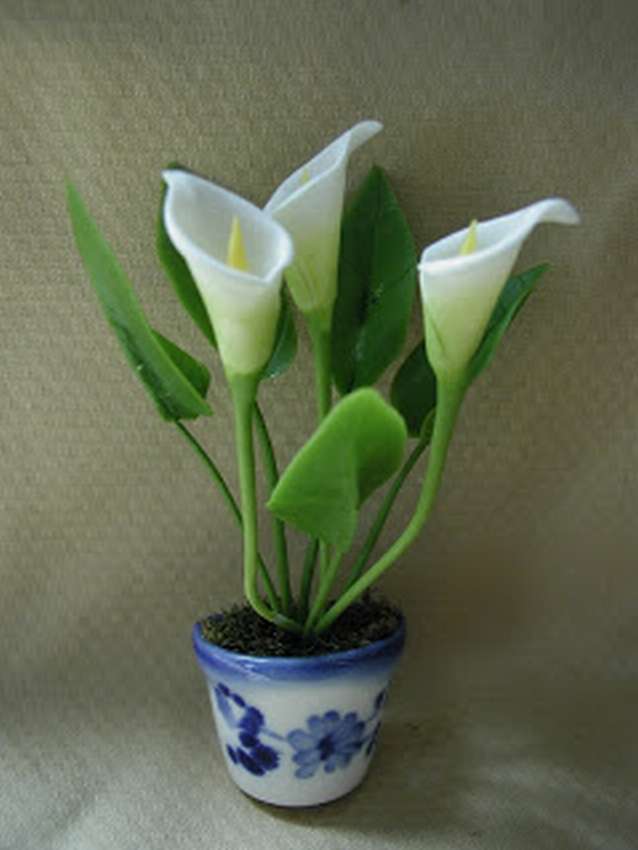 Calla lilies are usually found in white colors (as shown in this example), but are also available. in various shades cream, pink, yellow, purple, red, lavender, gold, peach, maroon and even black! Therefore, if you need a specific color for paper, you can choose any. Now, how to make a lily flower out of paper. Cut the required number of blanks as shown in the picture on the right. On a soft surface, use the stylus to emboss a line about 3 mm from the edge around the entire top of the flower. This will help create a roll. Paint the flower white at both sides. Apply yellow paint near what will be the center of the flower on one side.
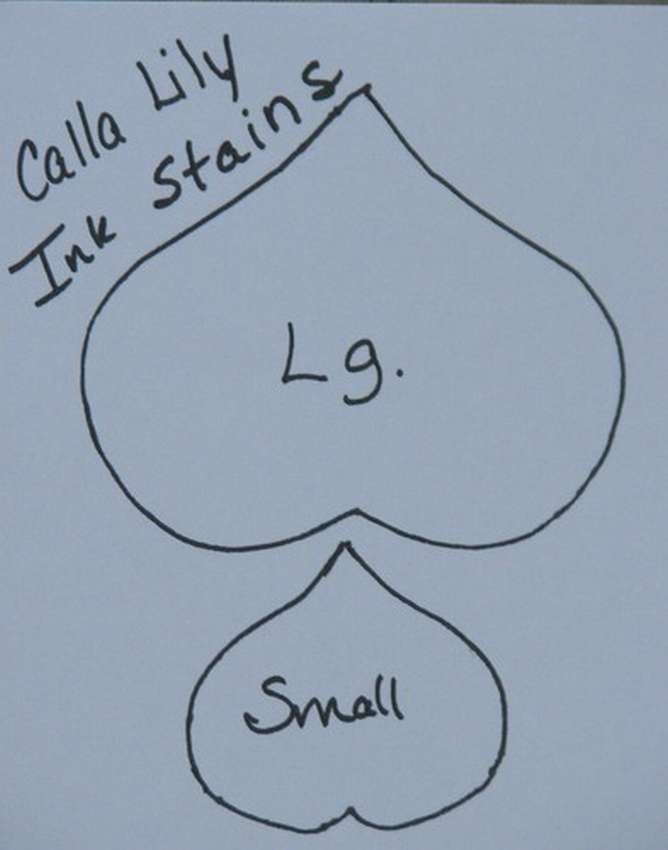 Flip and apply green paint near the center on the other side. Set aside a flower. Do colored stamens using alcohol ink. Make a knot at the end of the flower wire. Lay the petal on the work surface. Apply a strip of glue 5 mm near the center. Apply glue to the knotted flower wire and tuck a stamen into a knot. Let it dry. Once the glue has dried, fold the left petal to the center, add a strip of glue along the back edge. Fold the right side tab over the left and secure with a pinuntil the glue dries. After the glue dries, roll the edges of the flower. For a more natural look, wrap the flower ribbon around the flower and flower wire once or twice.
https://i.expert-h.com/en/iz-bumagi/tsvetok-liliya#sigFreeId2dd2e5e768
Colored paper lily
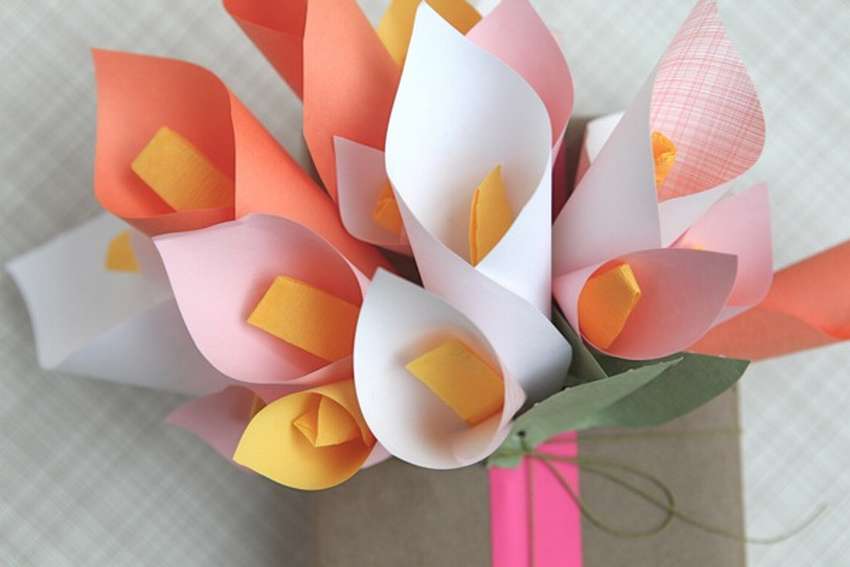 Here is an easy way to decorate a gift with cute colored paper lilies. Necessary materials: colored paper, tape, stapler, hole punch, scissors. First prepare a square sheet of paper. The size is up to you, depending on which lily flower you want to make. Then cut piece of corrugated paper approximately 8 cm, fold in width by a third and then half the length.
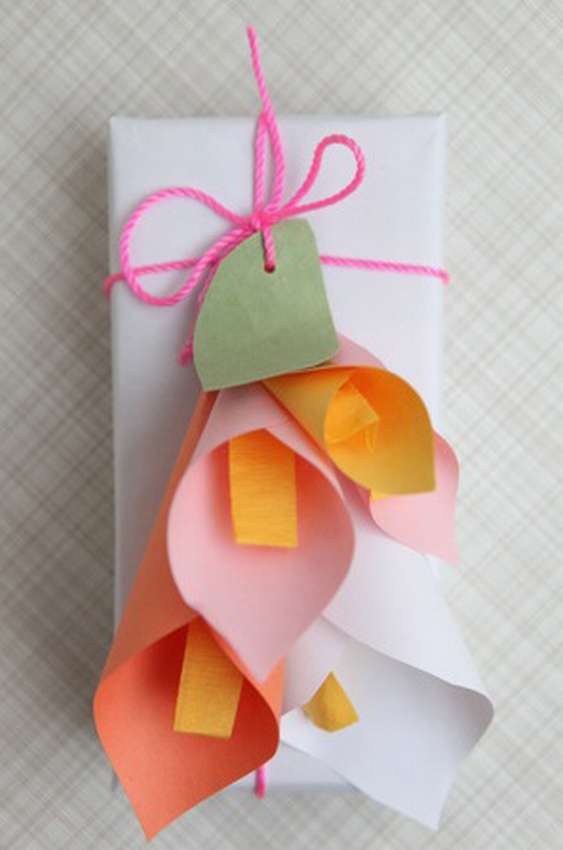 Take the petal-shaped paper and bend both sides, holding the rectangle out corrugated paper inside. Then fasten the resulting “funnel” from below with a stapler and set aside for now. Also make one more such flower yourself and attach to the first. When you have two or three stitched flowers, mask staplescovering them with a green leaf. You can use a small adhesive tape to attach the sheet to the flowers. Punch a hole in the leaves and flowers so that you can thread a ribbon, twine or thread. Wrap a gift and tie tightly on top colored paper lily flowers. You can fix as many flowers for each gift as you want. Here are a few photos in the gallery that show how to do this.
https://i.expert-h.com/en/iz-bumagi/tsvetok-liliya#sigFreeIdf0619059c7
Corrugated Paper Water Lily
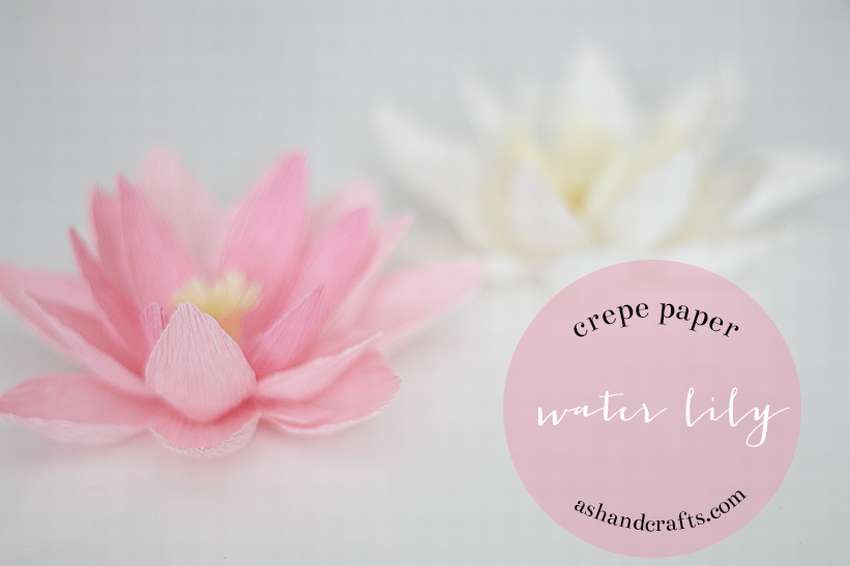 This is a very simple lesson, how to make a water lily from corrugated paper. For this flower was used pink corrugated paper for petals and light yellow for the central part. You will also need a small piece of cardboard for the base, you need to cut a circle with a diameter of approximately 5 cm. First you need to cut corrugated paper into 20 strips.
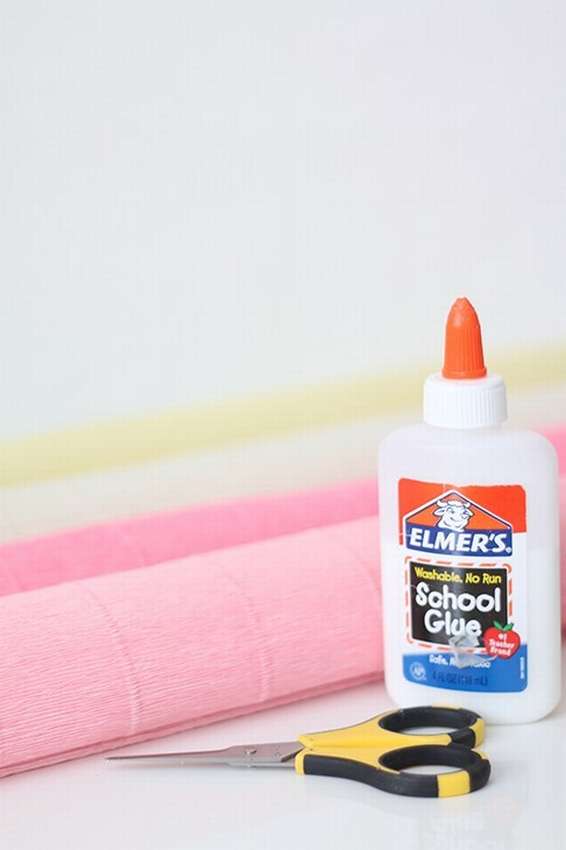 Make sure that the meanders are parallel to the length of the strip. Here, the outer layer has 7 petals, the middle and inner 6. Of course, your flower may have different number of petalsif the form will be different from the one shown in the photo. Cut the petals narrower than the previous ones so that the widest ones are on the outside and the narrowest inside are in the center. Using the thumb pad pull corrugated paper at the base of the petal before it begins to taper. Your petal should be in the shape of a bowl. Make a small cut at the base of the petal, where a black dotted line is drawn. So you will form two small flaps, painted in red and blue. Glue one valve over the other using a little glue. The more you overlap the flaps, the straighter the flap will be.
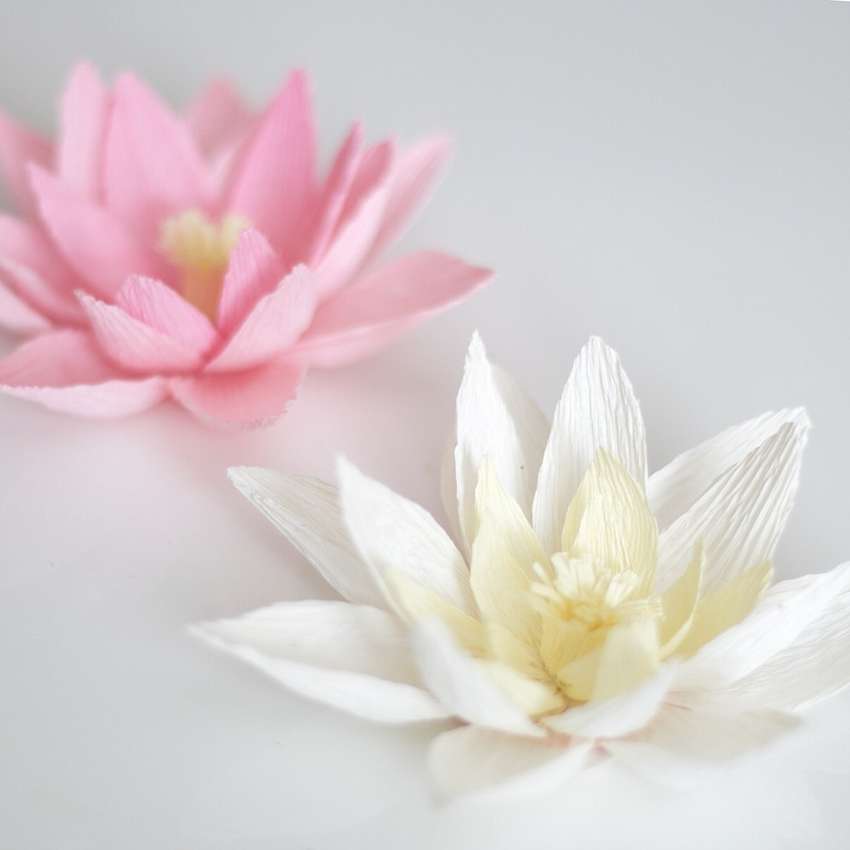 Stick the outer layer to the base of the circle. Then add a second layer of petals. You can add as many layers as you want. To make the center of the flower, you will need a strip of paper approximately 8 cm wide and 1.5 cm high. Make sure that the corrugations of the corrugated paper go parallel to short length. Carefully make a 3/4 length notch strip. Use your fingers to slightly wrap the edge away from you. Then roll the strip up and add some glue to the bottom. Extend the edges to make a full center, and then glue to the flower. And your paper water lily ready!
https://i.expert-h.com/en/iz-bumagi/tsvetok-liliya#sigFreeId1778ac2a12
Origami flower lily
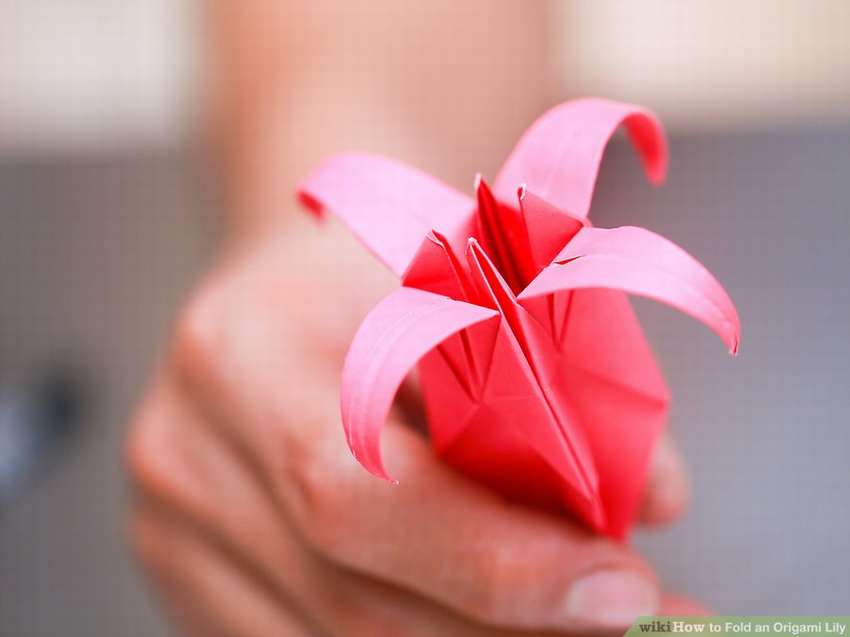 Here is an interesting model paper origami lilies. It will be the perfect decoration and can be used to decorate the table, gift wrapping and decoration of any crafts. To fold lily origami or any other form of origami, you need to use a square sheet of paper. If you do not have origami paper, you can take A4 paper and make it square. Lay A4 paper horizontally and flip the top left corner down to align it to the bottom edge. You should succeed folded triangle with a rectangular shape on the right. Cut or tear off the rectangle. Expand the paper and you will have a square. Farther, how to make an origami lily with your own hands look below in the master class for step-by-step photos.
https://i.expert-h.com/en/iz-bumagi/tsvetok-liliya#sigFreeId96088c4ef1
How to fold a lily out of paper
Lily is one of the symbols of spring. Although real flowers are gorgeous, this paper version offers a unique design in all colors of the rainbow.
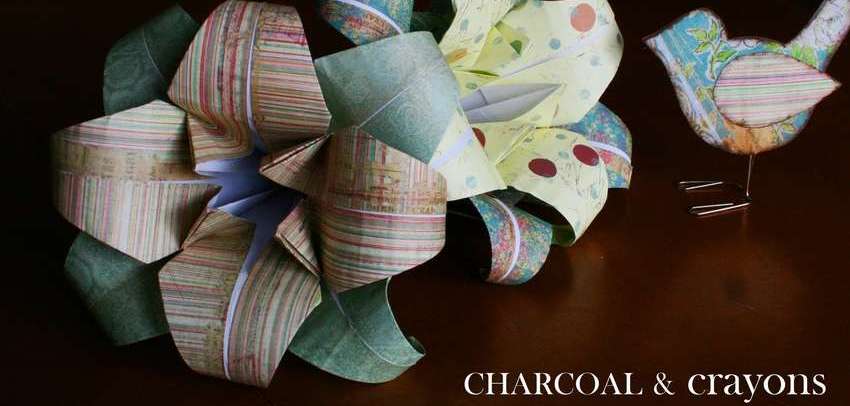 Just choose the right paper to suit your style, decor, or even your mood.
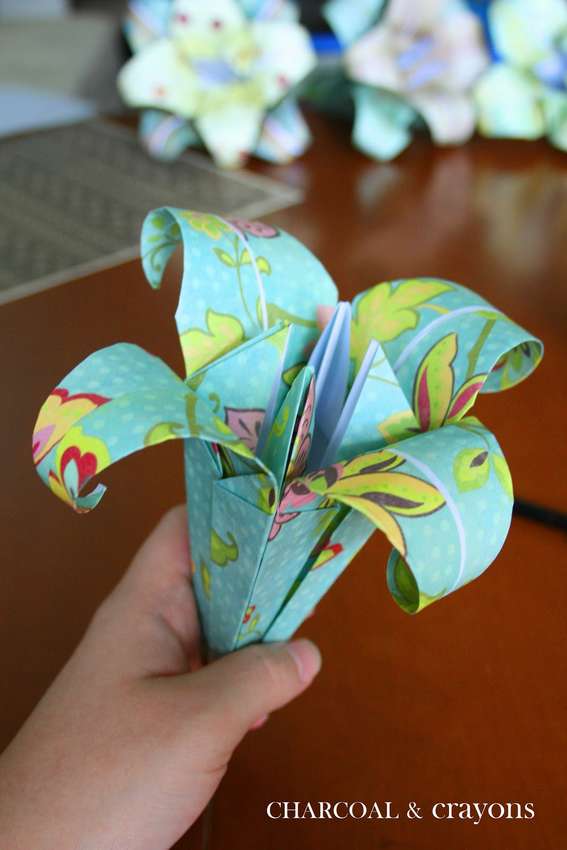 Prepare a square sheet of paper. Fold a corner into a corner to form a triangle. Then again to make a smaller triangle. Lift the upper crease. Press down from above, bending the edges. Flip over and do the same with the other side. You should get a square. Lift and open one of the folds. Squeeze the fold and fold in the corners, to make a rhombus. Expand the same corners and lift in the center. Pick up the sides. Fold the top triangular shape up and then back. Repeat on all sides. Turn to one of the flat sides and fold each side to the middle. Repeat on the other 3 sides. Pencil or pen twist the tips of the petals. That's inse, you should succeed paper lily. On the step by step photos the folding process is shown in great detail. If you get something else, you can see the tutorial video on the site, link under the gallery.
https://i.expert-h.com/en/iz-bumagi/tsvetok-liliya#sigFreeIdd65c6635d9
How to make an origami lily
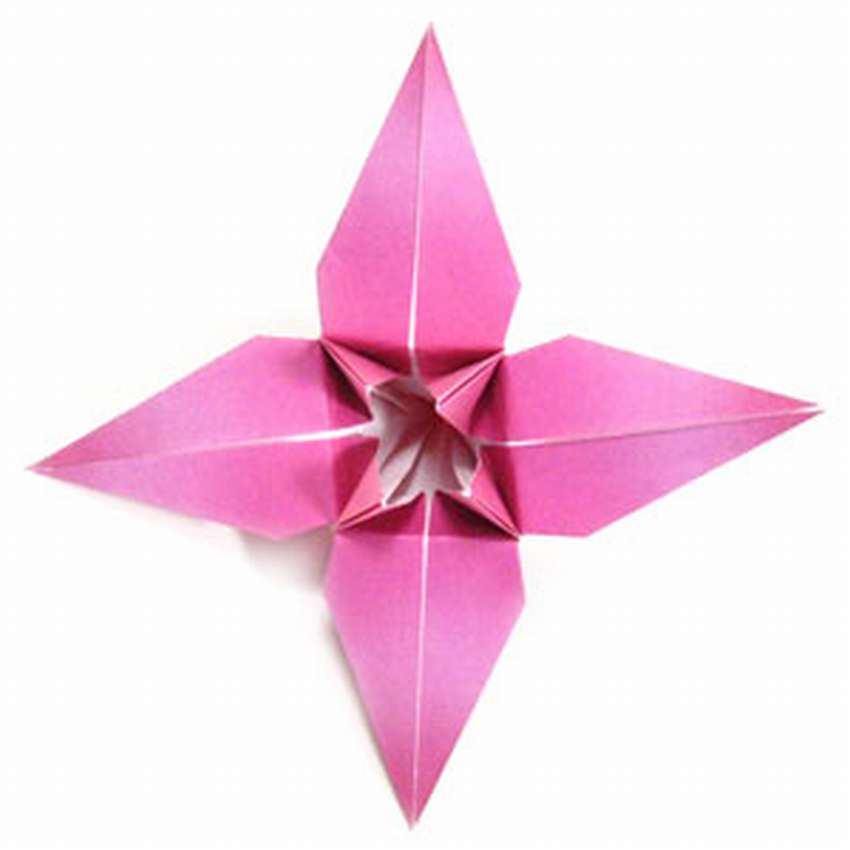 Lily origami It’s not difficult to do, but many steps have to be taken. You will need to go through everything 48 steps and your flower is ready. The main origami technique that is used here is “pleated squash"Which is based on basic form of origami balloon. But before you start working with this model, you need to know what is folds valley and mountain. If you know these two folding techniques, you won’t have a problem making origami lilies. All 48 step-by-step photos and diagrams, how to add DIY Origami Lily see below in the gallery.
https://i.expert-h.com/en/iz-bumagi/tsvetok-liliya#sigFreeIdea74df85e3
Origami Lily Scheme
These diagrams show how to make an origami lily from six petals. There are classic variations of origami lilies that are quite easy to put together. But such models have a limited number of petals, i.e. four. This version Origami Lilies with Six Petals imitates the real one shown below in the photo.

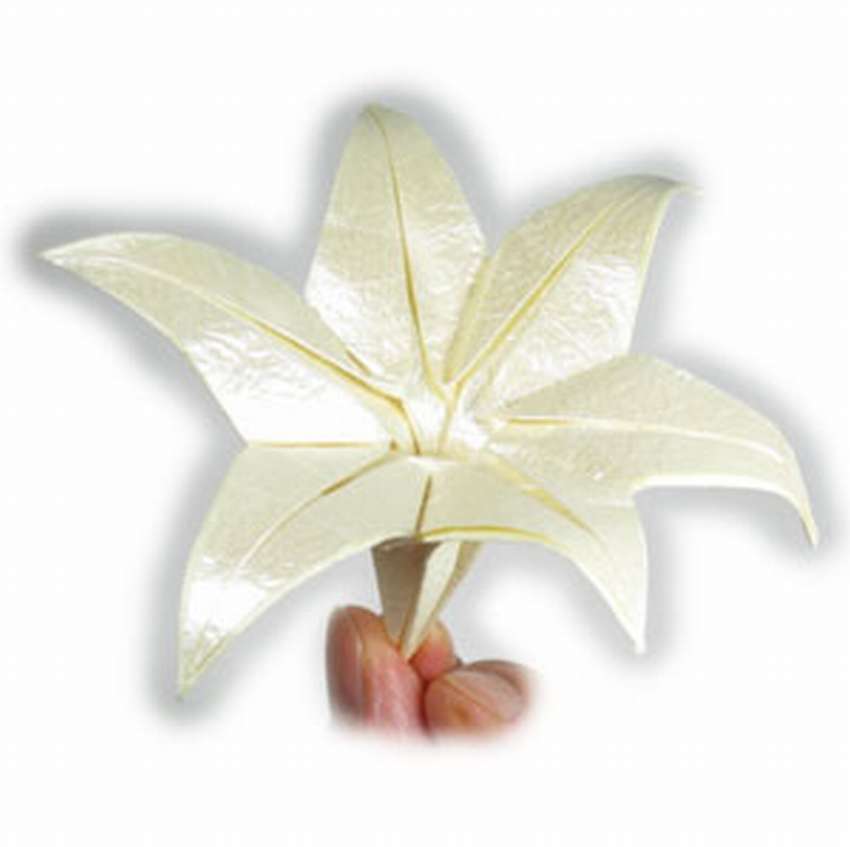 Here on this site there is an instruction on which you can learn to do regular hexagon made of square paper www.origami-make.org/origami-paper-hexagon.php, this is necessary to correctly fold the lily with six petals. See step by step photos in the gallery.
https://i.expert-h.com/en/iz-bumagi/tsvetok-liliya#sigFreeId6b2f8e0143
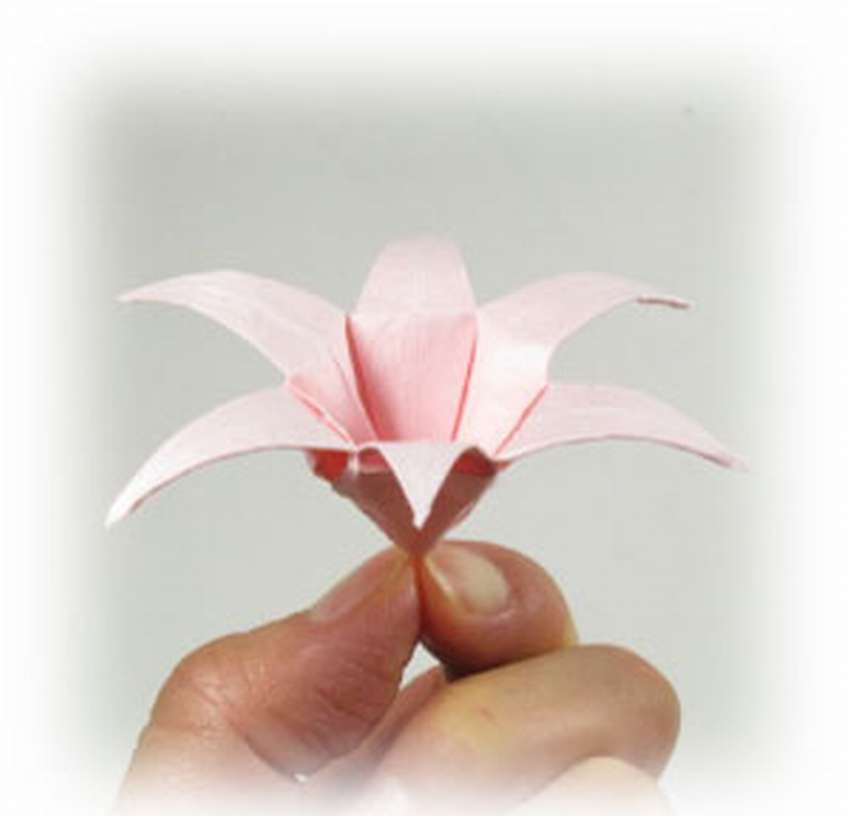 There is another option how to make an origami lily with six petalsbut a little more complicated. This model requires two square sheets of paper instead of one, and each of them needs to be converted in the shape of an equilateral trianglebefore you start folding the flower. You can use any paper to make this origami model, but it will be easier if the front and back sides of the paper are slightly different in texture or color. For a flower, you will need two square sheets of paper 10 cm x 10 cm. See the master class below on step-by-step photos diagrams with arrows and fold lines are shown, so folding the flower will not be difficult.
https://i.expert-h.com/en/iz-bumagi/tsvetok-liliya#sigFreeId29b23236d1
Paper lilies 30 photos
https://i.expert-h.com/en/iz-bumagi/tsvetok-liliya#sigFreeIdf089c47564
Hello, I am the author of this article, so I look forward to asking questions for this article in the comments below, I will answer all !!!
If you have questions on another topic, ask them on our forum, we will answer you
- Two baskets of paper in 5 minutes (Master class)
- How to make a simple and compact table for a milling cutter from plywood
- How to make a soft headboard tile (Instructions + step by step photos)
- Cinder block benches: a convenient bench in 55 minutes
- How to make a bed with a niche: saving space (Master class)

