A simple way to remake a wooden table in a sewing table
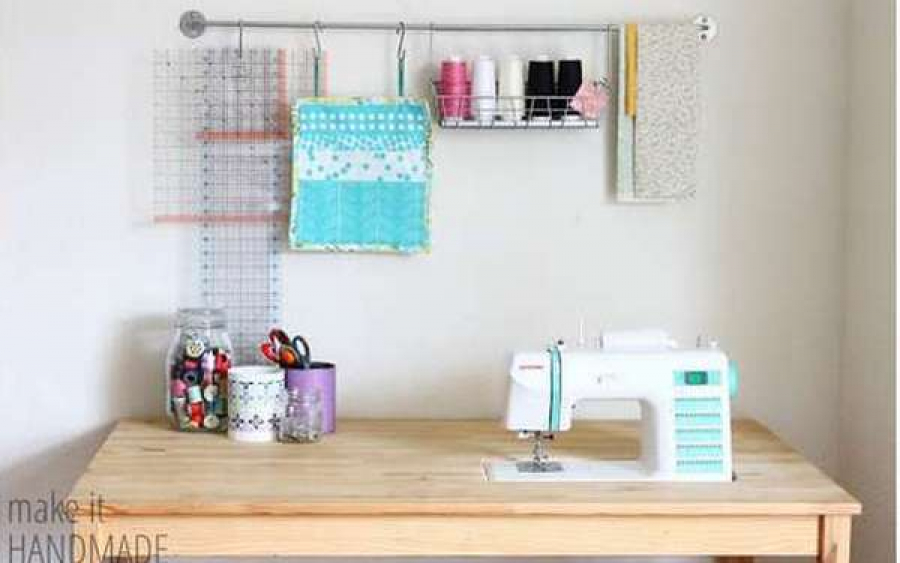 table for a sewing machine
You can also sew on the dining table, but if you do this all the time, your back and wrists will begin to strongly resent. But to buy a professional sewing table, of course, not everyone can afford it and even make table for a sewing machine not so simple. The best solution is to buy the cheapest wooden table or take the old one and convert it to a sewing one. It is cheap and not complicated.
Below read the instructions with step by step photos, as convert a regular table into a table for a sewing machine.
- First make all the necessary measurements and mark the hole on the countertop for the sewing machine. Note. Make sure there is enough space on the right to install the backing board (about 7 cm from the edge). It may be worth cutting a hole in the side to get to the cords and the switch.
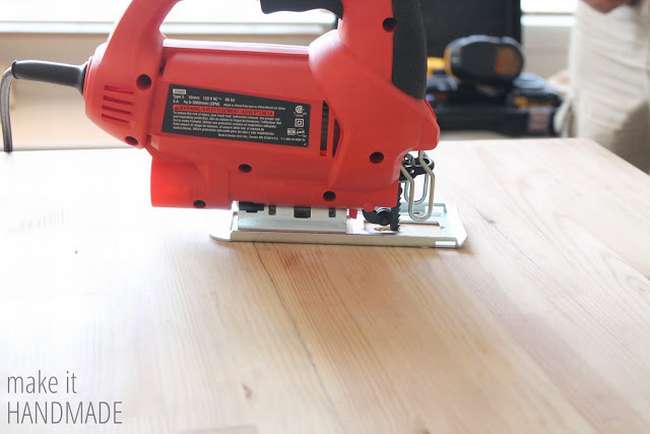
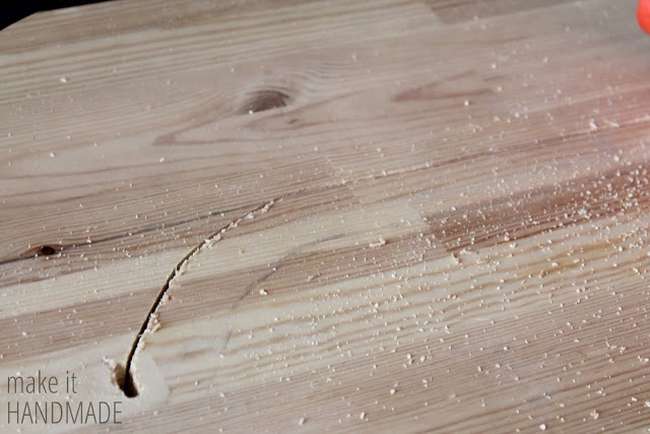
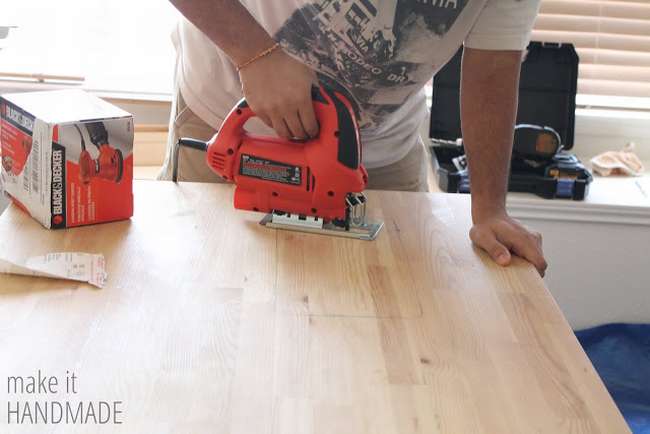
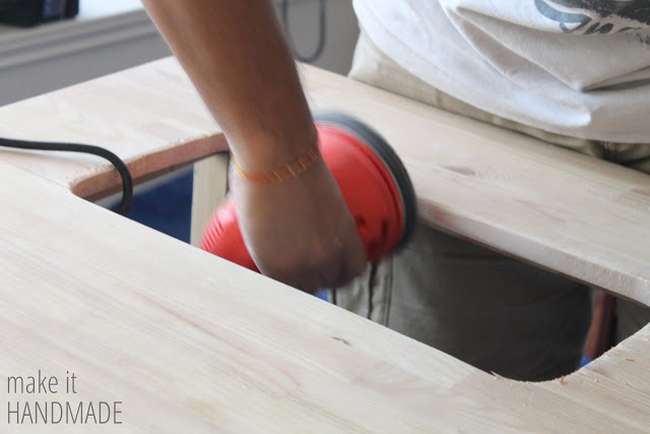
- Make a hole with a drill and, according to the marks, use a jigsaw to cut out the necessary area, like this shown in the photo. At first, the hole looks rather intimidating, but the grinder will smooth everything out. Continue sanding until you reach the desired size, then smooth with fine sandpaper. If you accidentally make the hole too wide, glue it around the edges. polystyrene strips, so the machine will hold on better and this will weaken the vibration.
- Then cut the stand for the machine. Note. If the cords are below the table, do not attach them directly to the side, because there will not be enough space for connecting cars.
- Mark 4 points for the bolt holes (used to support the machine) only inward of the width. Then drill through holes and countersink with a depth of approximately 1 cm.
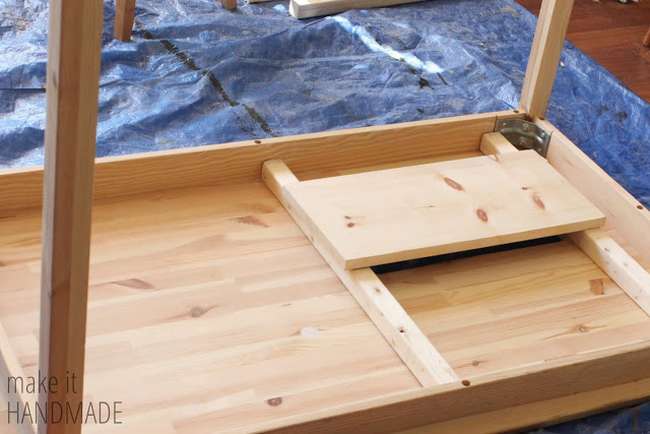
- Exists two ways to mount support. Drill two holes at each end of the baseboards. Insert the bolts and turn the table over, put the supports in place. Attach the board to the front and back of the table.
- Second option. Insert the bolts into the holes and turn the table over, put the supports in place. They should be within a centimeter of the recess, but should not be flush with the edge of the hole. After installation, screw the bars to the top of the table. Use screws better. Make sure that the screws go deep enough, but not through the cover!
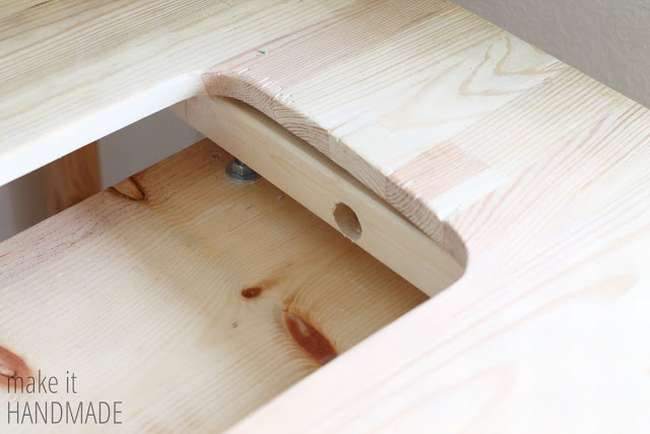
- Cut the long side of the platform about 3 cm more than the distance between the bolts. Sand the edges.
- Drill holes in the platform, aligning the distance between the bolts. This is key pointso measure twice.
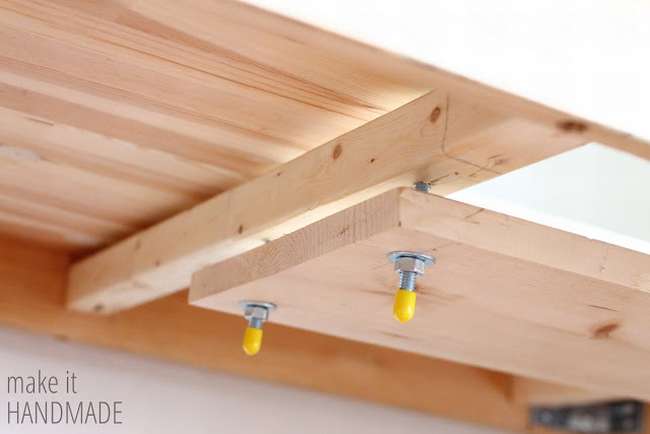
- Turn the table over and lift the platform with bolts. Lightly bait with a washer and nuts.
- Place the sewing machine on the platform and tighten the locknuts until the machine is flush with table surface. If the bolts go far below the platform, cut with a hacksaw.
The table for the sewing machine is ready.
Sewing table, expensive but fun to do table for a sewing machine, although not an easy task, but quite feasible. Although there are quite simple options. If you are interested in this issue, here is a great article "DIY sewing table 500 photos, drawings, instructions» https://i.expert-h.com/en/stol/shvejnyj-stol-svoimi-rukami-500-foto-chertezhi-instruktsii, which presents various budget options for small apartments.
Hello, I am the author of this article, so I look forward to asking questions for this article in the comments below, I will answer all !!!
If you have questions on another topic, ask them on our forum, we will answer you
- Two baskets of paper in 5 minutes (Master class)
- How to make a simple and compact table for a milling cutter from plywood
- How to make a soft headboard tile (Instructions + step by step photos)
- Cinder block benches: a convenient bench in 55 minutes
- How to make a bed with a niche: saving space (Master class)