How to make an inexpensive greenhouse (instructions + step by step photos)
 wooden film greenhouse
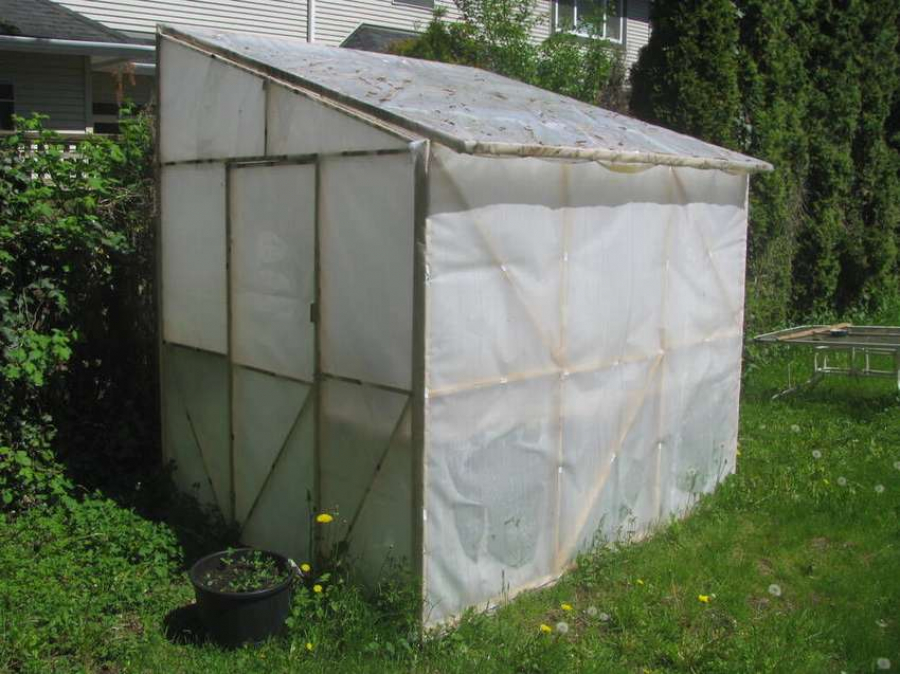
There are many different ways to do do-it-yourself greenhouse made of wood. Here is a design option that can be assembled at minimal cost. This is an ordinary frame, covered with a polyethylene film of increased strength. The greenhouse was built in Vancouver, Canada, and stood in the winter with moderate wind, rain and a few centimeters of snow. That is a perfectly suitable option for our climate.
Materials:
- Planks 1 x 2 250 cm long
- Six boards 1 x 4 250 cm long
- One board 1 x 3 250 cm long
- Three 1 x 1 planks 250 cm long (1 x 2 planks also work)
- A lot of screws 5 cm
- A few dozen staples (for the gun)
- Five sheets of 3 x 76 m of high-strength polyethylene. This is approximately 60 grams per square meter - stiffer than a plastic bag, sold in rolls.
- A few meters of electrical tape
- Wood glue
- Two metal loops
- Metal bolt (for door)
- Four corner brackets (for door)
- One 4-foot x 8-foot (122 x 244 cm) sheet of OSB 10 mm (chipboard, cheaper than plywood)
Tools:
- Stapler
- Variable speed cordless drill (hand drill and screwdriver are suitable)
- Table saw
- Hammer (for nail boards)
- Tape Measure (approximately 5 m or so)
How to make a greenhouse from a tree with your own hands
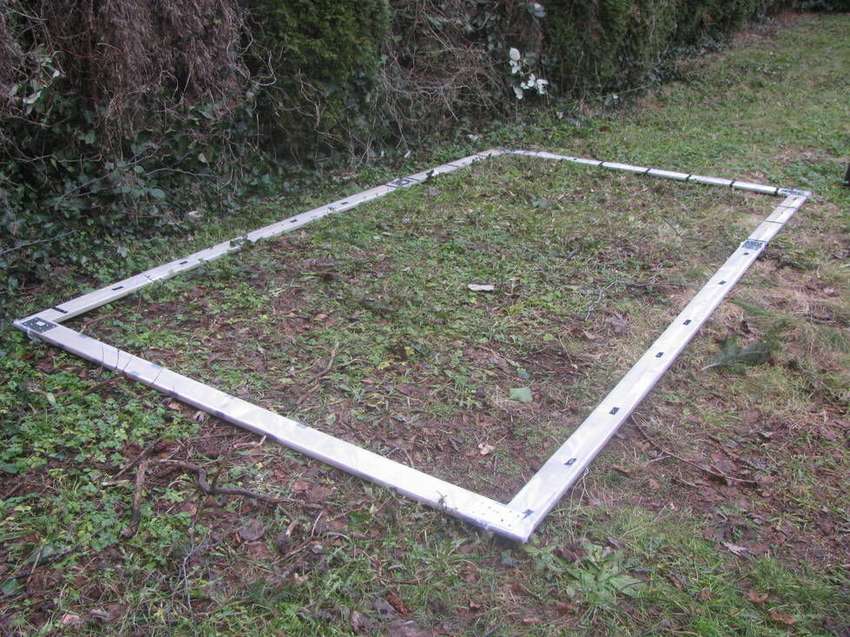
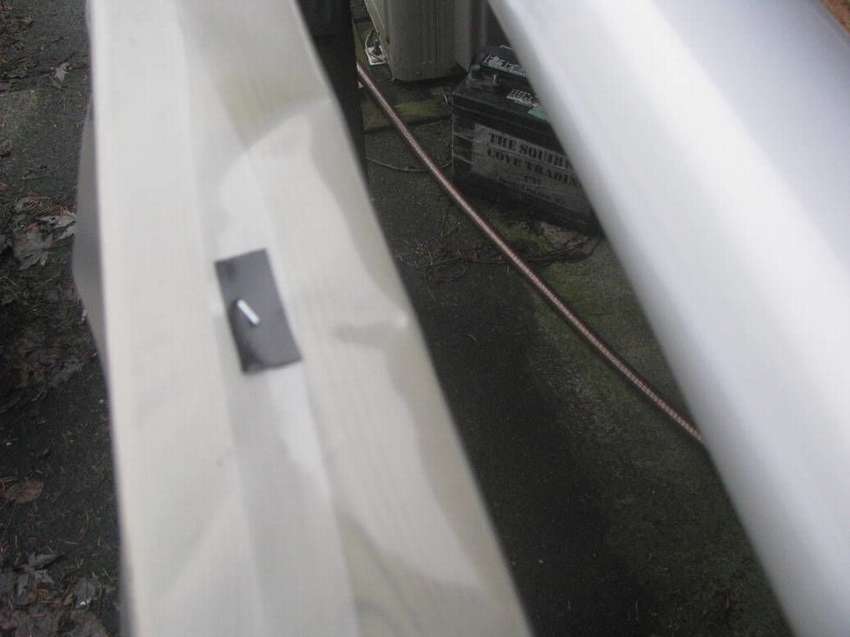
- Base creation. The base is made of 1x4 treated boards, wrapped in plastic sheet and laid directly on the ground. The platform should be fairly flat.
- Cut the polyethylene to overlap the planks. Secure with electrical tape, and then fasten through part of the tape to extra strength.
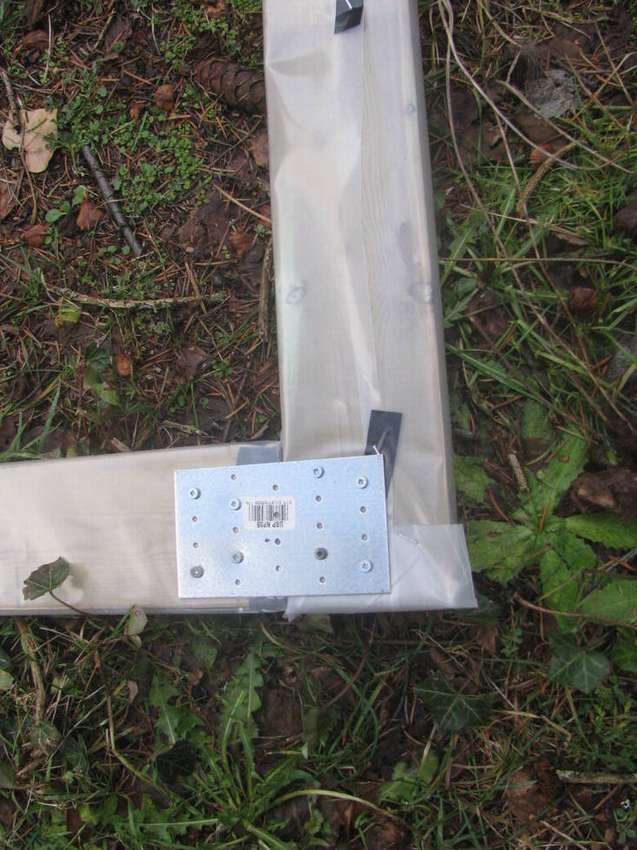
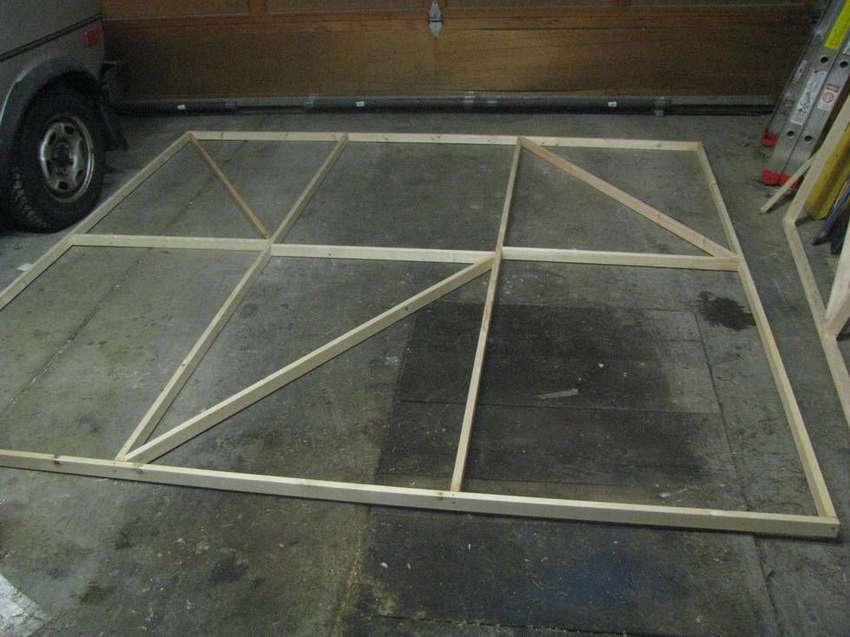
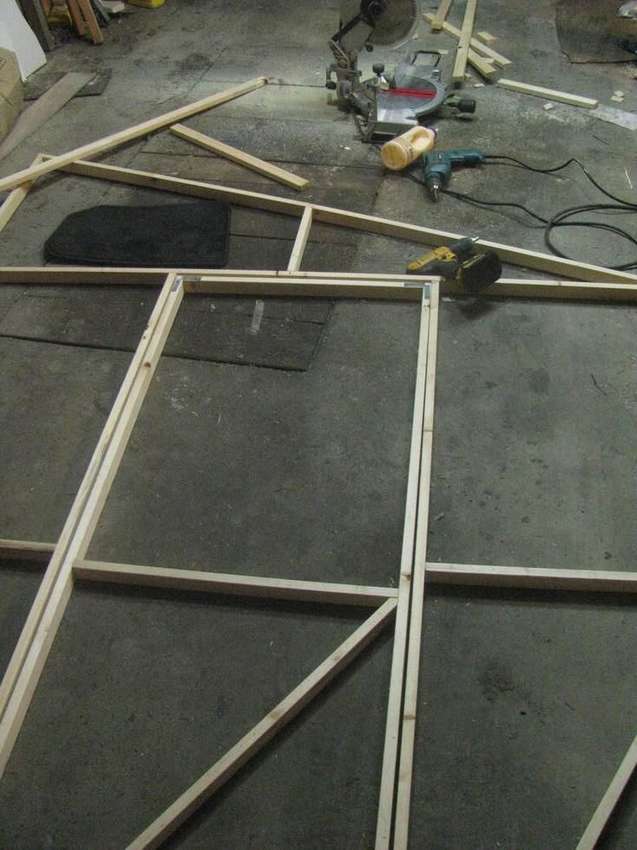
- Lay the planks on a flat surface. Using the stove, if it is on a soft surface, fasten the corners with nail plates driven into the wood and add screws. Fasten the crossbars evenly.
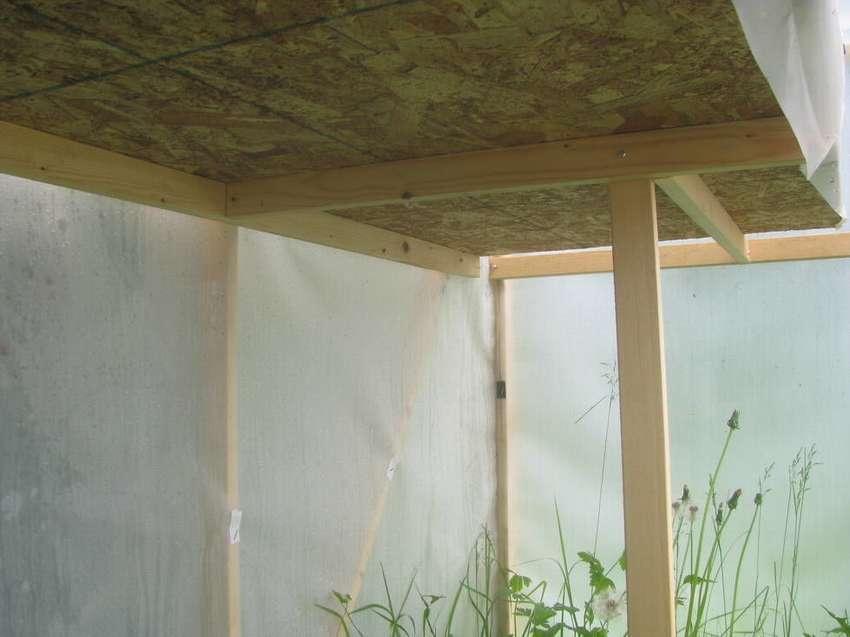
- To make a roof, lay the planks on a flat surface. Cut along the length and fix the corners with glue and screws. Align the frame at right angles, crop and fit the cross elements. Structural strength depends on triangular elements, so add at least one diagonal bar in each direction.
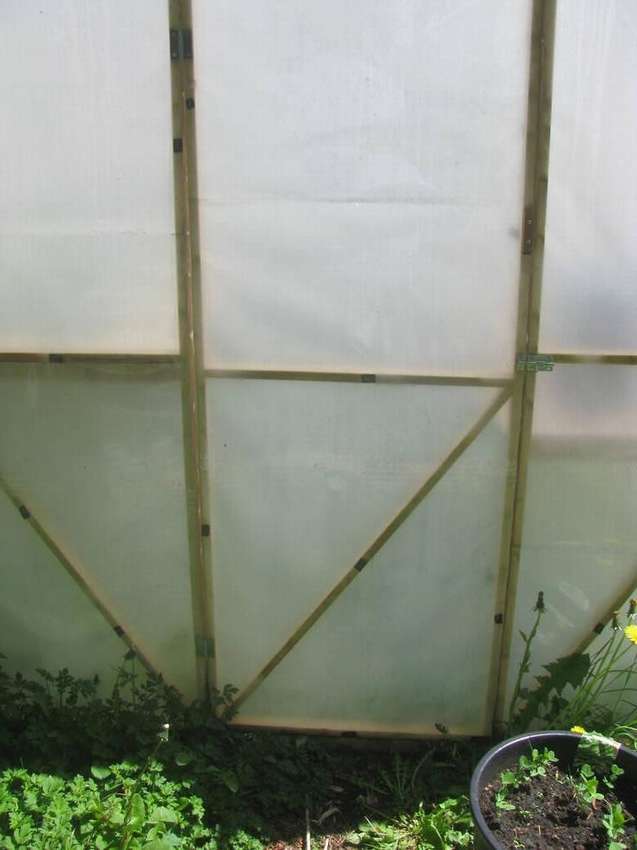
- Door. The diagonal bracket must be compressed to support the weight of the door itself and fit properly (without gaps), otherwise the door will sag and get stuck in the frame. To strengthen angles, you can add metal brackets. Attach the door to the end wall with hinges and install a bolt - make sure it is closed to hold the door in place when building the wall.
- Roof. Lightweight 1x1 slats are flush with the top surface. Here diagonal elements are not needed.
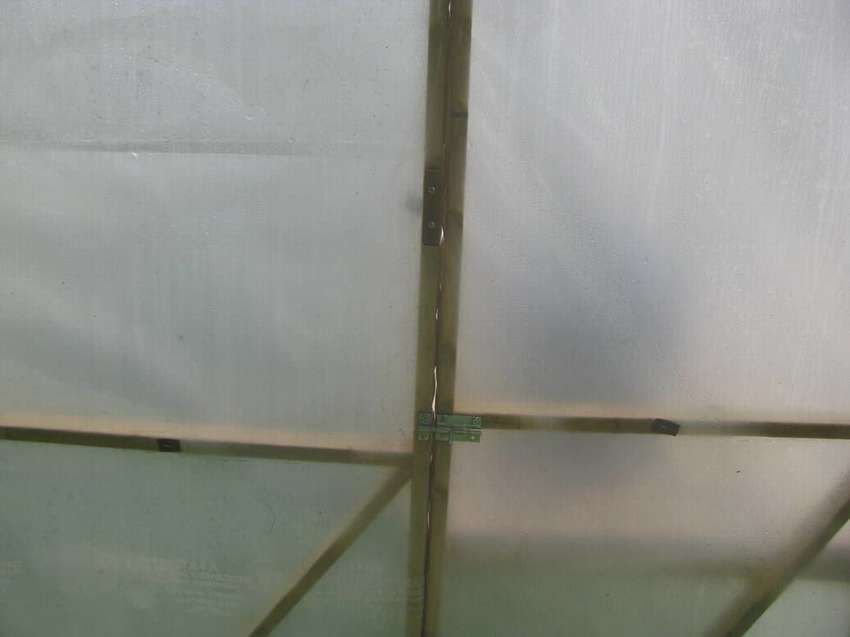
- Walls. Ask someone to hold the walls while you fasten. If there is nobody to help, do diagonal bracket, temporarily screw one end to the wall and the other to something heavy enough. After installing two adjacent walls, twist the corners with screws. Attach the walls to the base. When the walls are ready, place a block along the center so that support the middle of the roof.
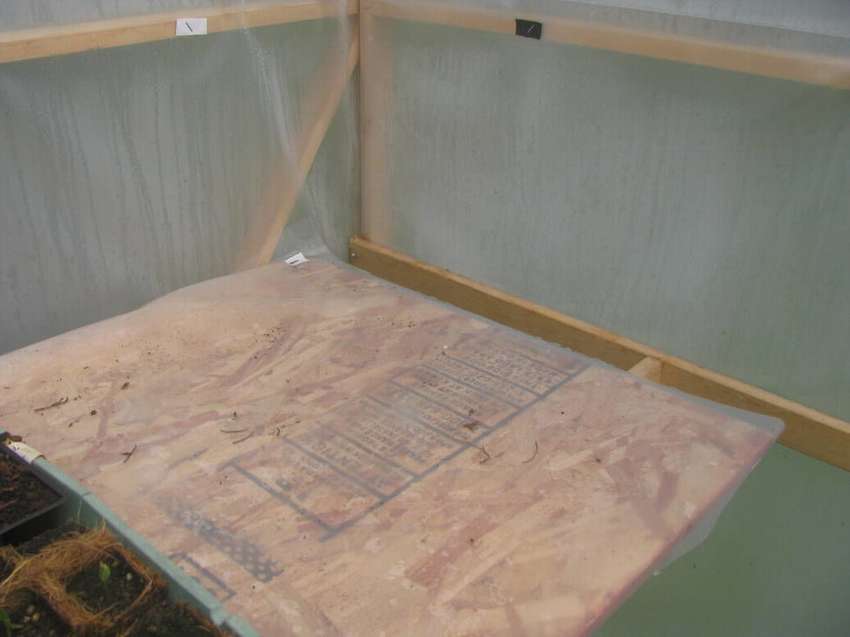
- Install shelving. With shelves bolted to the supports, the structure will be rigid enough that it does not require additional cross ties.
Wooden greenhouses are still quite popular due to the simple design and relative cheapness of the material. If you plan to build a greenhouse on your site, here is a big article “DIY greenhouse made of wood. Drawings + 700 photos. Step by step instructions» https://i.expert-h.com/en/parniki-teplitsy/iz-dereva-sdelai-sam, which will help you make the right choice.
Hello, I am the author of this article, so I look forward to asking questions for this article in the comments below, I will answer all !!!
If you have questions on another topic, ask them on our forum, we will answer you
- Two baskets of paper in 5 minutes (Master class)
- How to make a simple and compact table for a milling cutter from plywood
- How to make a soft headboard tile (Instructions + step by step photos)
- Cinder block benches: a convenient bench in 55 minutes
- How to make a bed with a niche: saving space (Master class)