Flowerbed of blocks 58 photos
 Round flowerbed of colored blocks
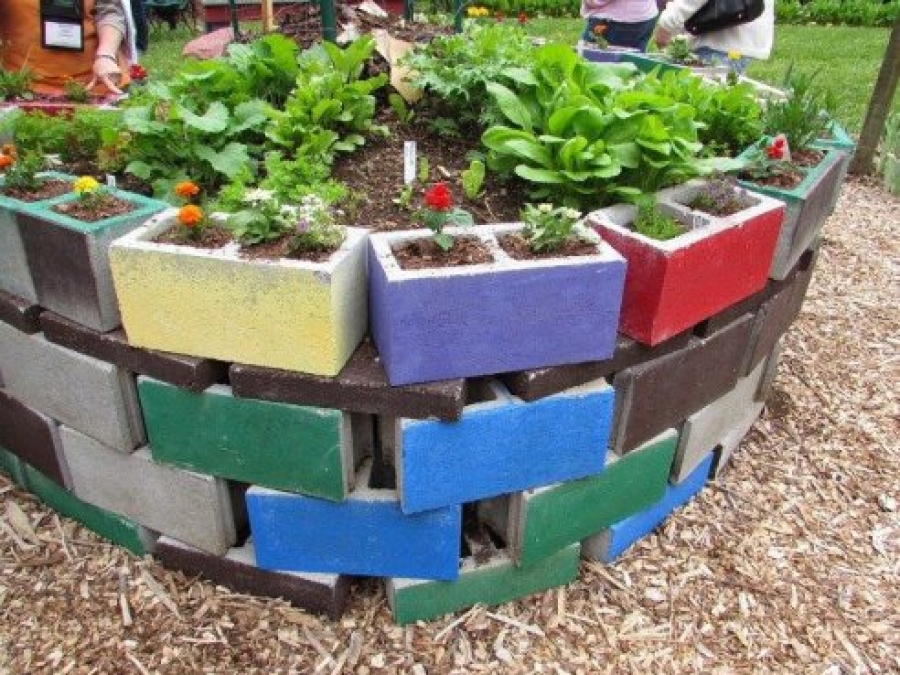
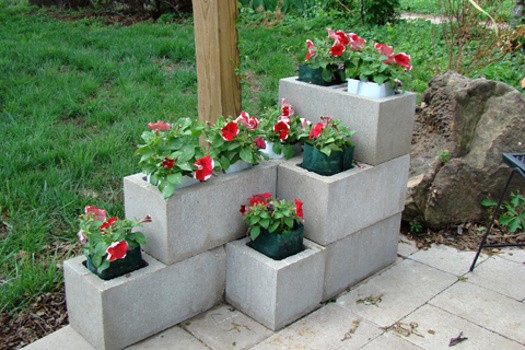
A vivid version of a flowerbed of blocks that remained, for example, after the construction of a cottage
Let's look at the interesting features of such a flower bed:
- The blocks are painted in different colors, which gives additional color to the flowerbed
- In the stand, not only dlocks were used, but also, most likely, paving slabs
- Flowers are planted not only in a circle formed by blocks, but also in the blocks themselves, not bad right?
- Judging by the photo, it was built without a wax solution, so you can disassemble such a flowerbed and use the blocks for their intended purpose at any time
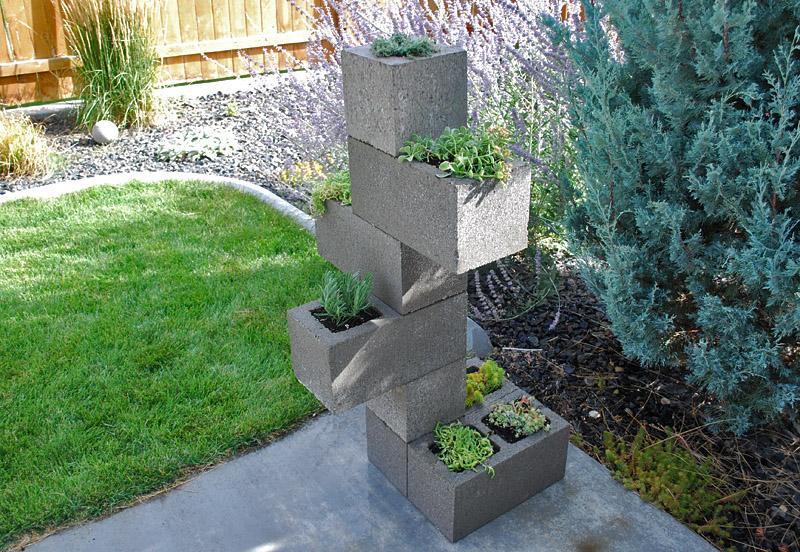
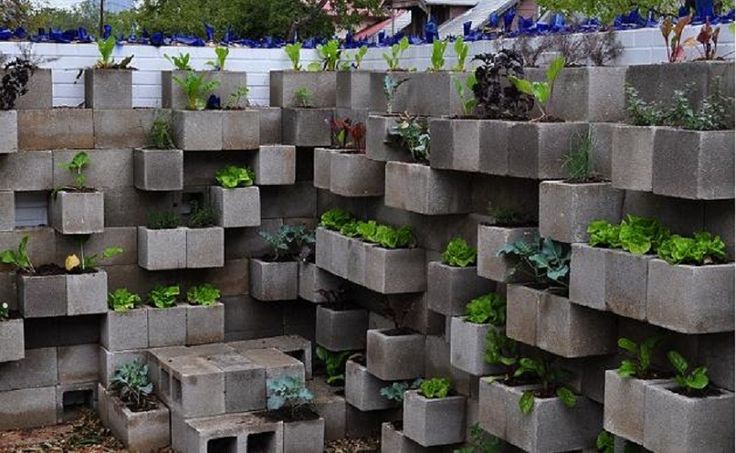
Vertical bed of cinder blocks
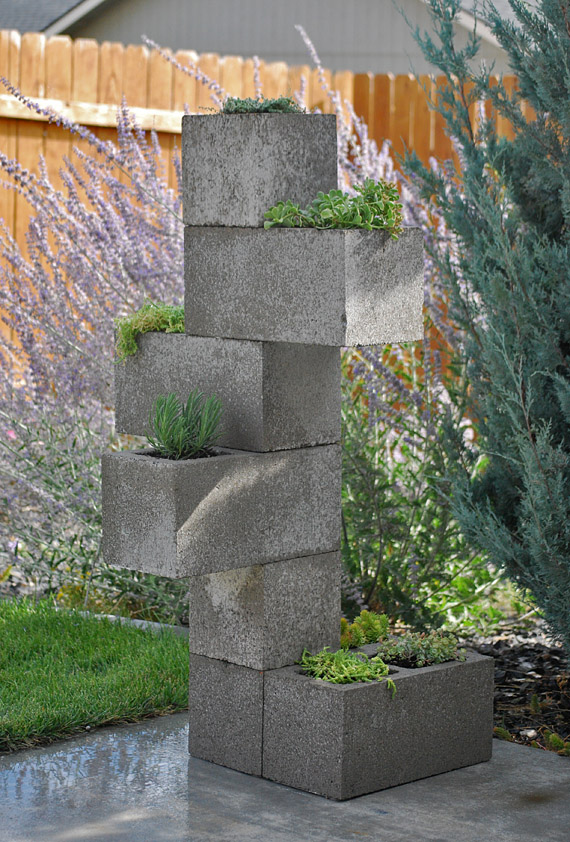
Cinder blocks universal material and from them you can make flower beds of various configurations. For example, as in this photo, such a vertical design. A very comfortable flowerbed in all respects, practically does not take up space, but looks like a real work of art. In this embodiment, you can use not only building blocks, any material that has a fairly spacious cavity is suitable. For example, hollow bricks or aerated concrete blocks. The main thing is that there is great scope for creativity, you can deploy the blocks, as you wish, to make a suitable height and shape.
What do you need to cook? It’s clear the blocks themselves. As already mentioned, anyone will fit, so that there is only a cavity where you can pour soil to plant flowers. The space should be sufficient in volume.
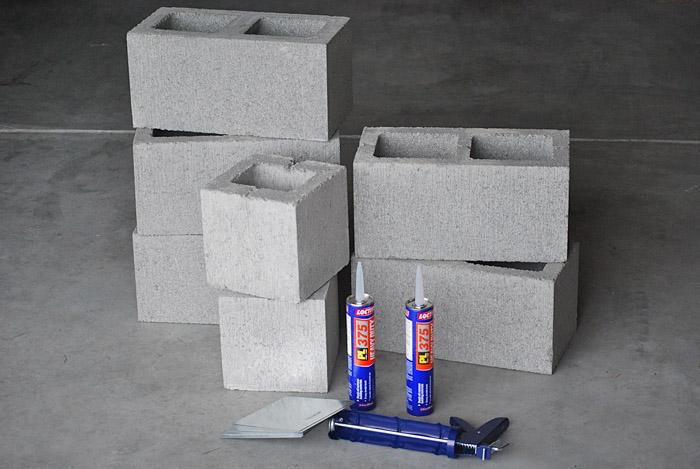
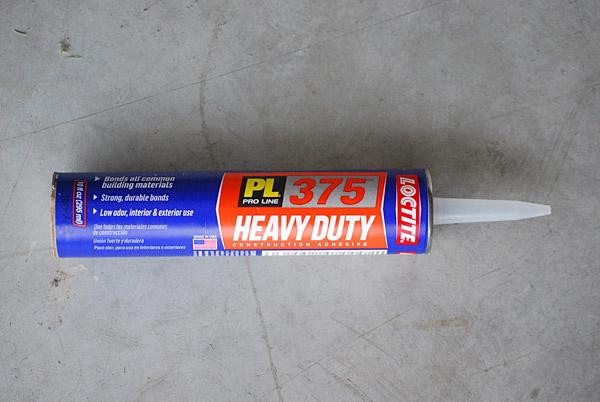
Construction glue
First, it is necessary to cut the plates of tin and stick them to the lower edge to close the through cavity. There are blocks where the holes are not through, then of course the task is simplified.
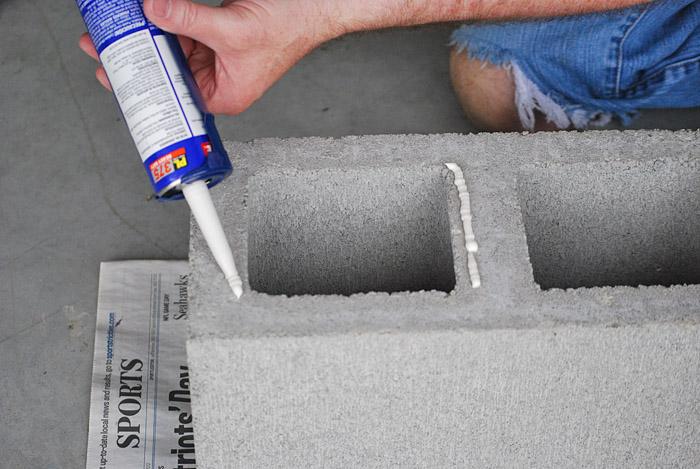

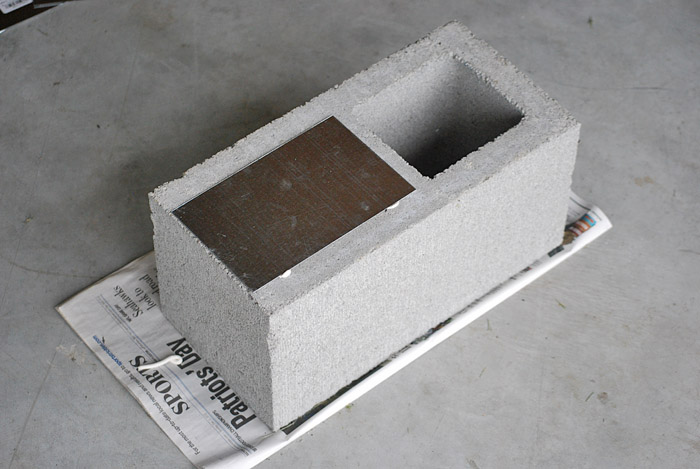
Having fixed the plate, it is necessary to make small holes in it so that water can drain. You can do it easier by leaving a narrow gap when sticking the plate on the block. But if the block has a through hole, holes for drainage will have to be drilled. After applying the glue, attach the plate and turn the block over onto the newspaper, under the press the glue will seize faster and will be more secure to hold.
Now that the glue has dried, you can collect the flowerbed. It is clear here, apply glue to the lower block, put the next one on it. The design must be balanced, so first you should collect it “dry”, without glue. In theory, the blocks should balance each other, if the structure does not fall apart, it can be fixed.
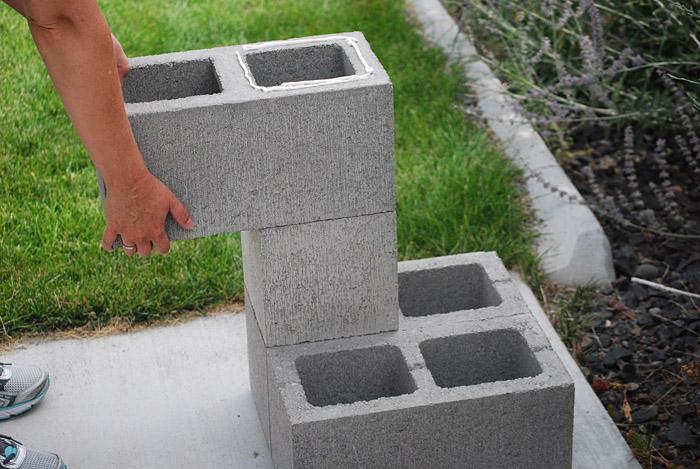
It remains to fill in the cavity of fertile soil and plants can be planted.
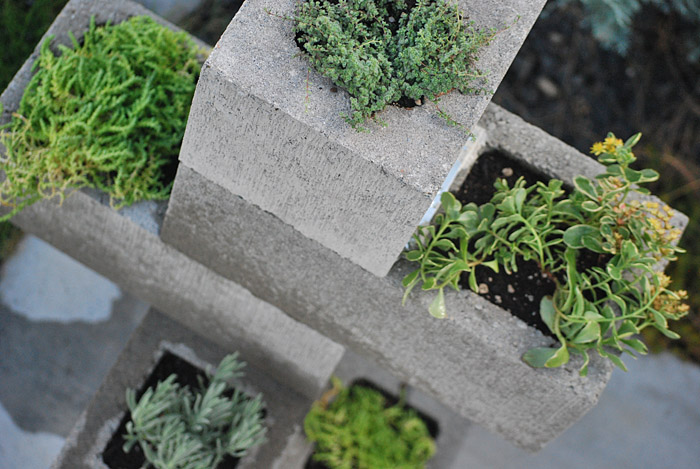
Well, how do you like such a vertical flowerbed of blocks. This is only one of the options, it can be higher and wider and a completely different configuration, at your discretion.
Block decor
To make it more fun, gray blocks can be decorated. You can do this in different ways, for example, simply paint with a special paint or stick relief patterns from some suitable material. Or as an option, apply a triangular stencil with a film and spray paintas in the photo.
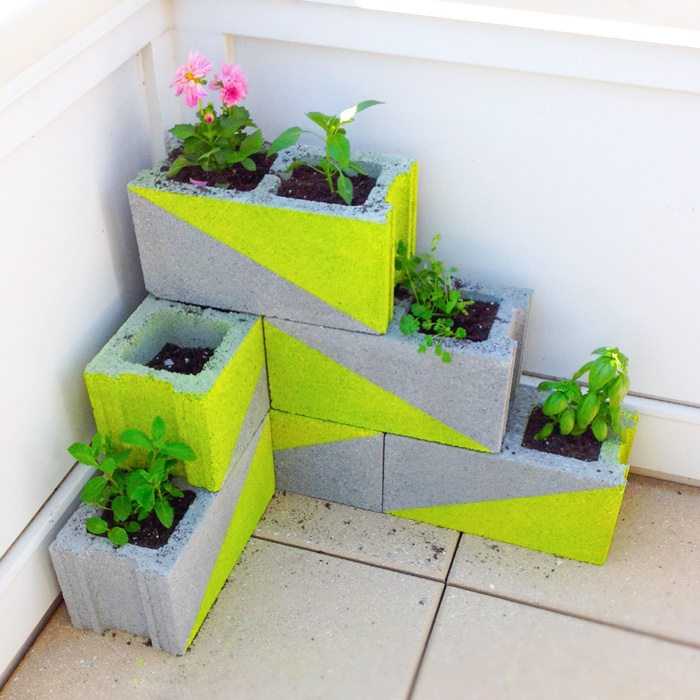
This is perhaps the easiest option, how to decorate blocks, look at the photo.


https://i.expert-h.com/en/klumb/klumba-iz-blokov#sigFreeIdc4e64a4634
Forms of flower beds from blocks
Compositions of blocks can be very diverse
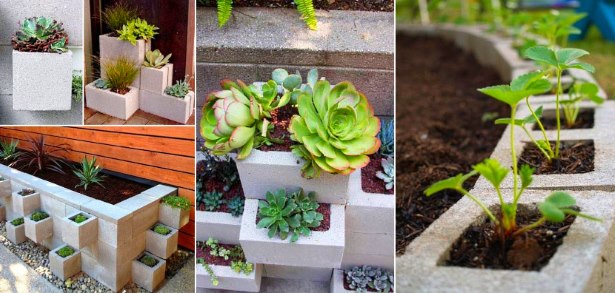
You can make a small mini-bed of 4 - 5 blocks
Or build an entire flowerbed wall.
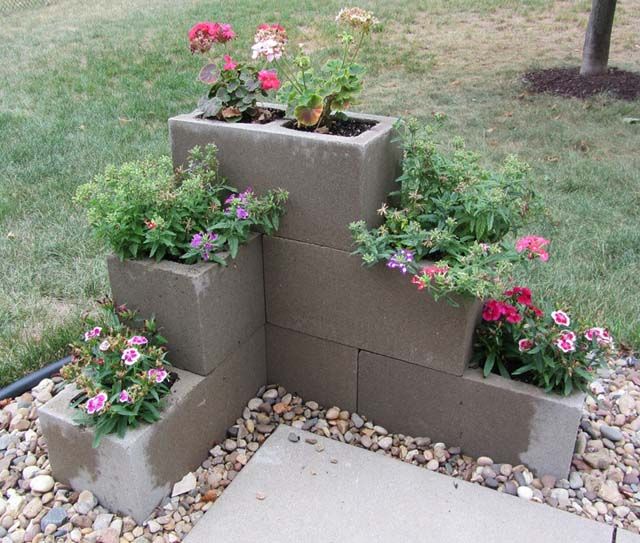
Block flowerbed fence
Small fences can be turned into a flower bed. Low walls are often built from blocks, for example, as a support for a site where there is a height difference. Or just as a fence at home or in separate areas of the plot. And if you turn such a wall into a vertical flower bed of cinder blocks? Look at the pictures, it can look very pretty.

The main advantage of such a wall is its simplicity. It is just necessary to find tongue-and-groove blocks, and to build a fence from them is no more difficult than to assemble a children's designer. In addition, the price of a wall made of blocks will be cheaper than the same construction of brick or stone.
Stages of work.
- Prepare the place, hammer the poles into the ground along the line of the future fence and pull the twine between them.
- dig a trench at least thirty centimeters deep into the width of the block;
- put a layer of sand 15 - 20 cm into the trench;
- from the boards you make the formwork frame flush with the ground;
- fill the trench with a solution, using a small plank level the surface;
- on a slightly dried, but still moist foundation, lay out the first row of blocks;
- using the spirit level, check the laying of the blocks;
- install the first block of the second row from the middle of the first lower block so that there is an offset of the masonry seam.
- if this part of the fence is a wall, lay the slabs on top of the mortar;
- if you make a flowerbed, the scheme is the same, only hollow blocks are used
- the bottom row is filled with a drainage layer (usually sand);
- the second row also begins to expose from half of the first lower block;
- fill the last blocks with soil.
- it remains to plant flowers and water them well, the flowerbed is ready.


https://i.expert-h.com/en/klumb/klumba-iz-blokov#sigFreeId6cdd7fc74a
Blossom bed from blocks
Cinder blocks are often used for such flower beds, beds, so to speak, two in one. In the middle, plant vegetables, and use the cavity as a flower bed. Or vice versa.

In general, who have not yet discovered the possibilities of concrete blocks for the construction of flower beds, be sure to try. In this small selection you can see what other options are.


https://i.expert-h.com/en/klumb/klumba-iz-blokov#sigFreeId99751f2062
Sounds like a constructor assembly, right? It seems that such a design is easy and simple to fold. Do not hesitate, it is really easy and simple.
- Brick grill: 44 drawings, 18 projects + photos
- Collapsible barbecue: 50 drawings, 20 master classes +300 DIY photos
- ✿ Flowerbeds:> 34 turn-based master classes + photos (248 ideas) - do-it-yourself
- DIY sauna in the apartment: bathroom, balcony, storage room. Projects and photos
- Shelves in the bath with your own hands: +200 photo. Drawings of bench benches in the steam room