Brick and stone corner flower beds 118 photos Favorite
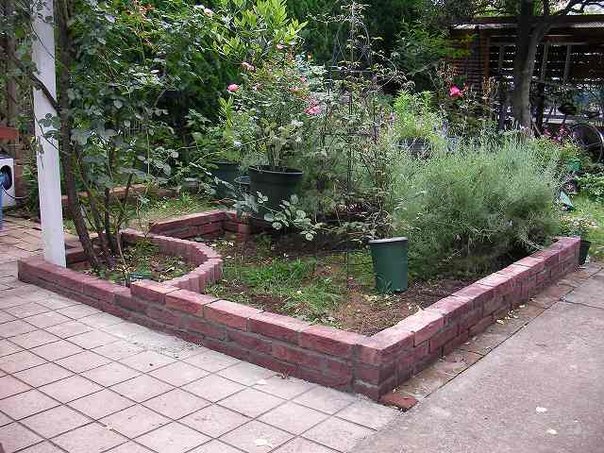
 flowerbed in the corner of the fence
You rarely see a country house, wherever there is a flower garden. Often the owners begin to equip the flower bed before they even break the first beds, such is the people's craving for beauty. In general, a flower garden is, of course, the pride of the site, sometimes you just wonder how many people have imagination. But it happens that there are a lot of ideas, but there is not enough space and at least a small bed, but I want to have it.
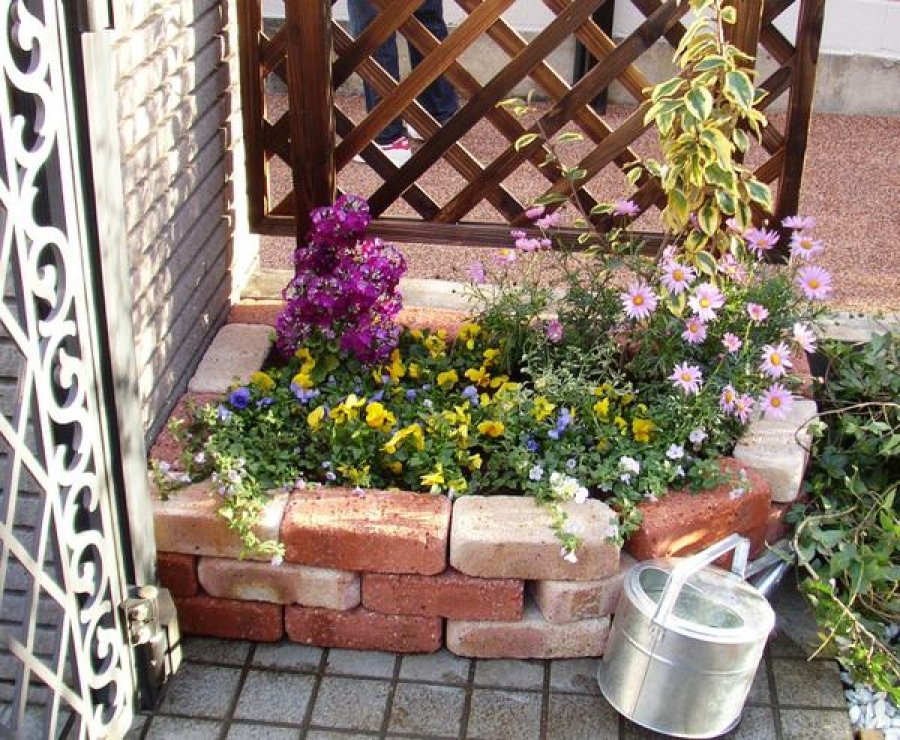
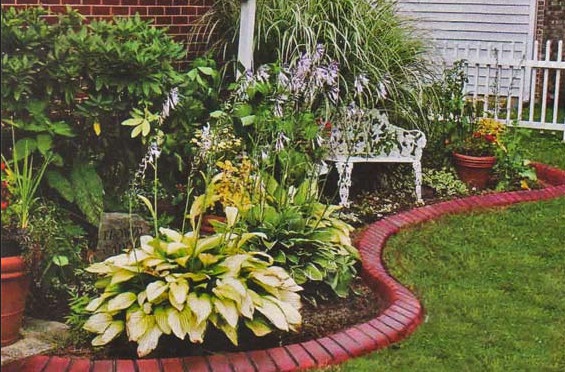
So they break the flower garden in such a place that it does not take up a lot of space. Just corner flower beds successfully solve this problem., like this one, for example, a couple of bricks in a corner and a flowerbed is ready.
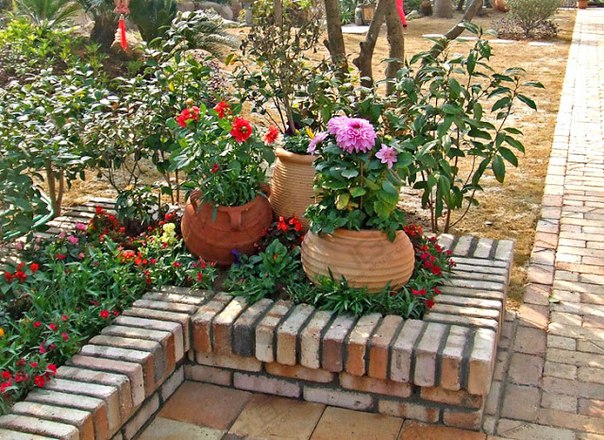
Small flower beds made of bricks
Of course, saving space is not the main reason why flowerbeds are placed in a corner or along a fence. More often this is included in the general design concept of the site, but the practical side undoubtedly also plays a role. For the same reason, flowerbeds are often used for fencing beds, as a multifunctional material and convenient for decoration. Here are some nice options.
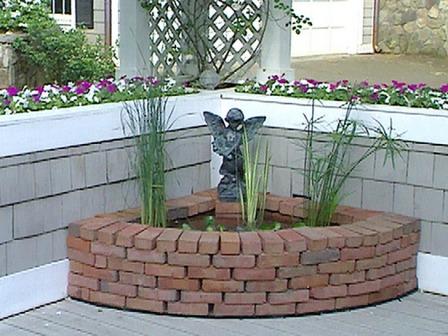
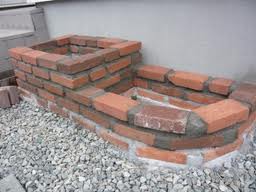
Different forms of flower beds
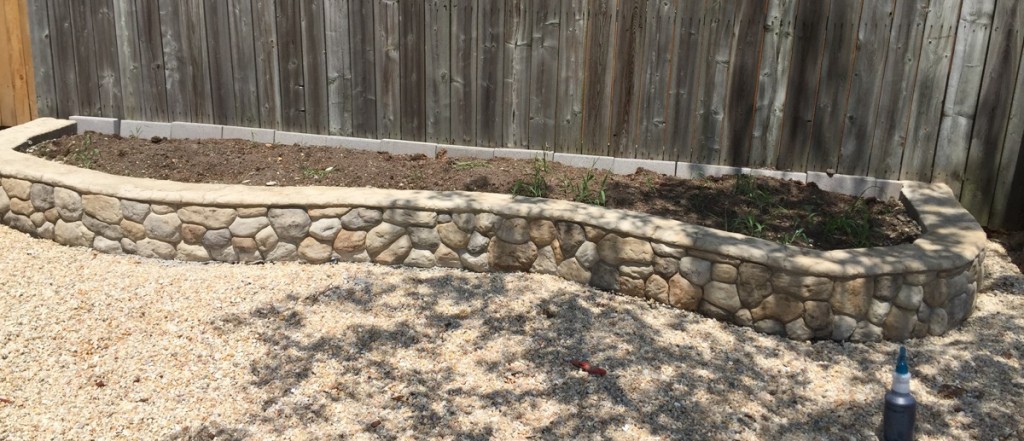
Basically, flower beds can be of various configurations and from different types of bricks, but not silicate, and then after several rains, then nothing will remain of it. They can be made tall, long, with recesses and roundings.

Brick or stone corner flowerbeds are good for small areas.where there is no way to break a large flower garden. Look at a small selection of photos of corner beds, maybe some option is suitable for your site.


https://i.expert-h.com/en/klumb/584#sigFreeIdea25cef157
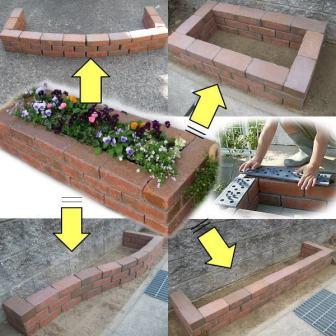
Do-it-yourself border for a flower bed made of bricks
Height doesn't really matter if there is room, You can make a border for a flower bed with brick yourself
You can use this method. It is necessary to prepare a brick, you can use the old one, but the better the bricks look now, the better they will look when the project is completed, the method is good because only the upper part is visible, if one side is defective, this will not be noticeable. We need cardboard, putty knife, brush, cement and understandably a shovel.
Step by step photo sequence
- It is necessary to mark a place under the flowerbed
- Dig a deep trench, the height of the brick end
- We do the styling so that the bricks are placed at the width of a finger
- The next day, if the earth is not very wet, you need to carefully sweep the curb without swaying, so that the brick is better compacted
- Prepare boards from cardboard and lay bricks as in the photo in the gallery
- With a dry mixture (cement and completely silent fine sand) pour a small layer on the laid bricks
- Smooth the mixture with a brush so that all the cracks fill
- Take a hose and install a nozzle for a fog and slightly spray water on the top of a brick.
- Twenty minutes later, pick up the cardboard fence
- Carefully remove excess cement with a spatula until it is dry.
Visual sequence of work, see the photo in the gallery.


https://i.expert-h.com/en/klumb/584#sigFreeIdf8b67febe6
Do-it-yourself border for a flower bed made of stone
It is very beautiful and of course more durable to make a border for a flower bed of stone. If not every brick is suitable for these purposes, then with stones it is much easier. You can use almost any species and everyone will look great, giving natural landscape to any landscape.
You can put a flowerbed of any shape out of stones, but to make a tall or multi-tiered flowerbed, you need experience and skill, there are a lot of its own nuances. But there is also a very simple way to overlay a flower garden by simply pressing stones into the ground. Everything is simple here, no special instructions are needed. Simply:
- do not dig a deep trench around or around the perimeter of the flower bed;
- give a layer of small gravel, tamp;
- if you have all the stones of the correct form, you can make it as a foundation on a cement mortar;
- pick the right size stones
- if necessary, some stones can be adjusted using a conventional tool;
- stack the stones.


https://i.expert-h.com/en/klumb/584#sigFreeIdc2c37e53e6
You can spread it as you like - for example, in the form of plates, and if the stones are different, then like a mountain landscape.
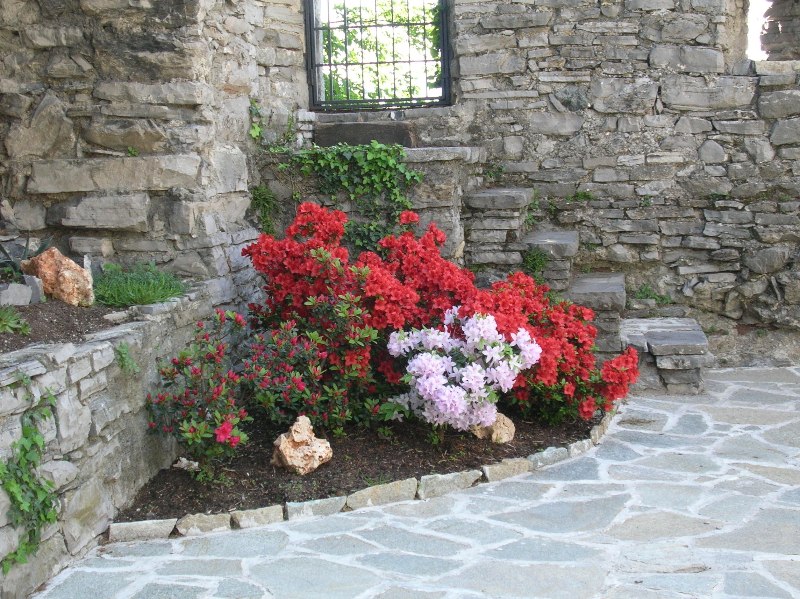
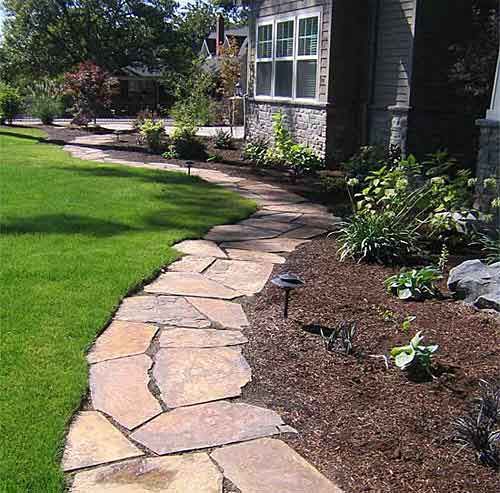
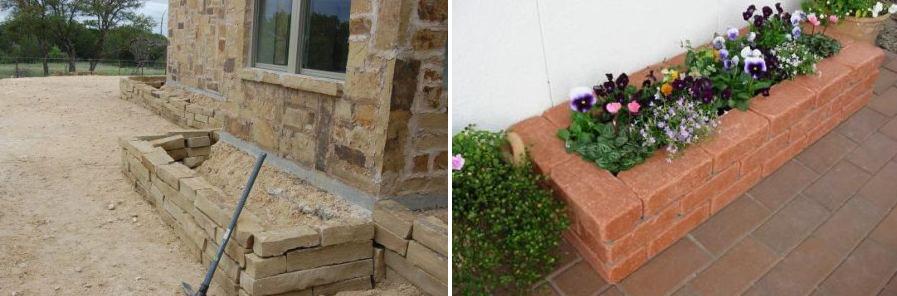
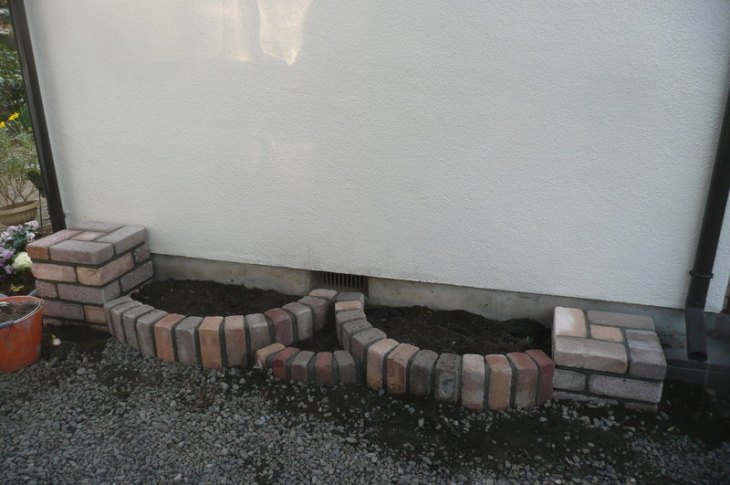
Flowerbed along the house
Classic version when a flower bed is broken along the house, or along the fence, as in this photo, in the form of steps. If you plant the flower garden close to the wall, it is important to observe the technology, that is, take care of waterproofing so that the foundation of the house is not damp.
If you plant the flower garden close to the wall, it is important to observe the technology, that is, take care of waterproofing so that the foundation of the house is not damp. Flower beds along the wall can be of different options. You can see the classic brick flower bed in this photo. It is important to properly prepare the foundation. For a wall height of five bricks, a small depression of 15 centimeters will suffice. If the foundation is planned to be made long, from two meters, it is advisable to reinforce it.
Masonry can be made of stone, blocks, bricks, any material is suitable if used correctly.
 Brick is a convenient material, it is small, so the flowerbed can be made of any shape. You can make additional masonry between the soil and the wall of the house, then it is less likely that the foundation will become damp. If space is limited, then under the wall itself, simply insulate with waterproof material. Choose a border line to your liking, so that the flower bed fits beautifully into the design of the site.
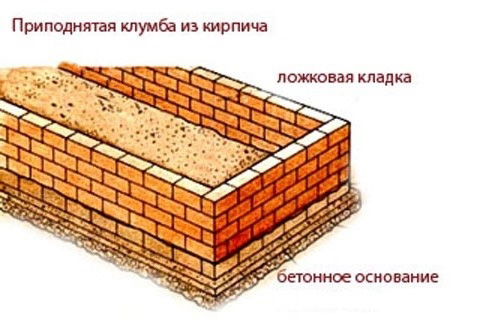
To make a classic flowerbednecessary:
- Mark the outline.
- Dig a small pit along the contour.
- Fill it with drainage (sand, pebbles, gravel, crumbs).
- Make a masonry, while the bottom row of the solution is not fastened, so that moisture does not accumulate under the wall, this is bad for the building and for plants.
- If the flower bed is high, we do the masonry a little with an inclination inward.
 You can make a more complex configuration, like this, for example. The principle is the same, only the way of laying the brick is different. This gallery shows how to do this.


https://i.expert-h.com/en/klumb/584#sigFreeIdb920b53c56
It remains to plant flowers. Semicircular flower beds along the wall houses look very beautiful.
Flowerbed of building blocks with decor
Can make a flower bed along the wall of blocksand then beautifully decorate, this option will be cheaper. Cinder blocks, although voluminous, but still the flower bed can be of any configuration.
How it's done.
- Decide where the wall of the flower bed will be installed, dig a trench to a depth of a third of the block. Put a thick plastic film in it and install the blocks in the desired configuration on top. Do not worry about the gaps at the joints, we will solve this issue later. Make sure that the blocks on the first level are installed securely and as close to each other as possible.
- Install the second layer using structural glue.
- To close the triangular gaps, you can use pieces of cardboard, it will close the slots so that the solution does not leak. To hold the cardboard, use a support, in this case, as you can see in the photo, the cardboard was supported by a block.
- Then fill the V-shaped voids with a solution.
- After the solution has dried, remove the cardboard and trim it with a spatula if necessary. The surface for decoration is ready.
- To design a "stone decoration" as in the photo, you can use ordinary concrete or special mixtures. The process itself is not complicated, you can just make a solution of the desired consistency so that it sticks, like plasticine, and throw balls on the wall with your hand, then give the desired shape with a spatula or other tool. Or you can just apply the solution so that it is held on a vertical wall and crush the entire wall in succession with a crumpled piece of cardboard or paper. You get an unusual drawing, in general, fantasize, for sure you will find your own original ideas.
- When the “stones” have dried, fix your “sculpture” with sealant. Before this, the finished wall can be painted or coated with a special varnish.


https://i.expert-h.com/en/klumb/584#sigFreeIdab19fbbb2e
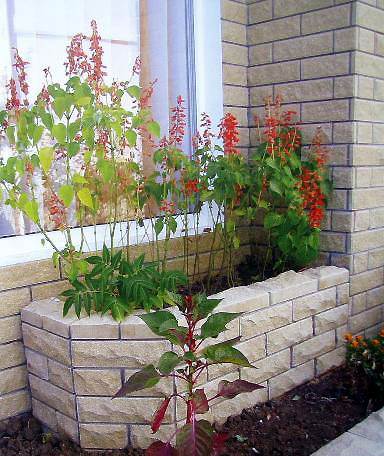
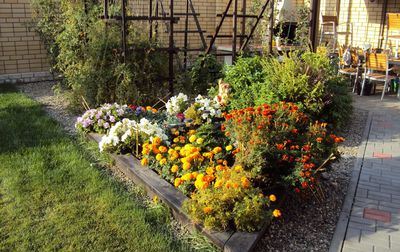
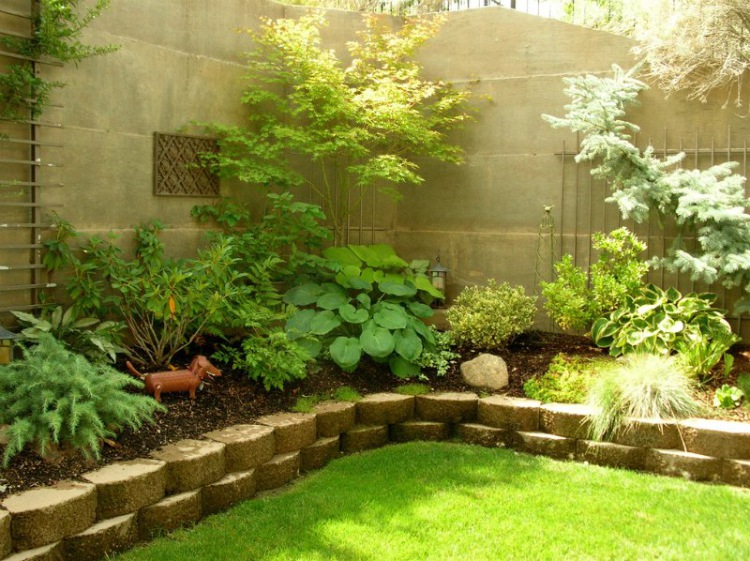
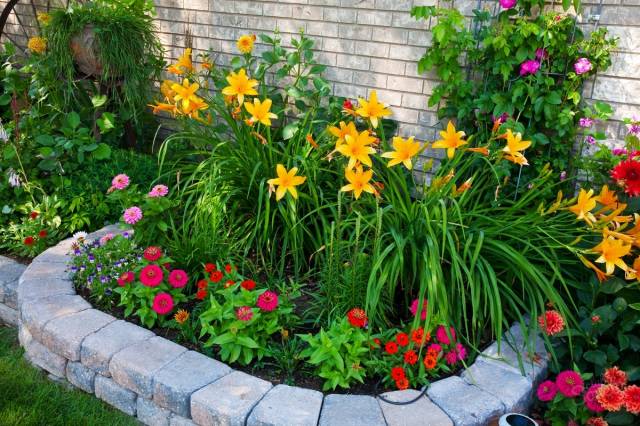
Brick flowerbed in the yard
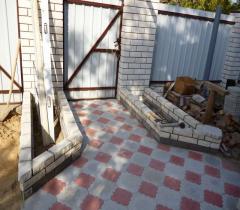
In the courtyard of the house you can come up with different options with flower beds, place not only along the wall of the house, but along the fence or near the gate.Configuration, of course, depends on the situation. Near the gate, the flower garden can be made as a continuation of the support pillars, they will look like a beautiful frame of the track. True, you have to equalize and cut the brick, you can do this with a simple grinder. Near the house, of course, more opportunity to do with the prospect.
Look at the options for arranging flower beds in the yard.


https://i.expert-h.com/en/klumb/584#sigFreeId95b55b3c61
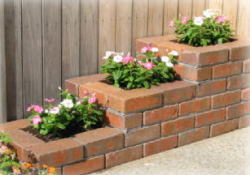
DIY brick flowerbed
Brick flower bed near the house, a good solution for landscaping the yard. Make it yourself is not difficult, especially as small as in the photo. Although some skills, of course, you need to have. If you do a higher masonry, then you need to do everything correctly so that it does not fall apart. But even without the skills, you can try to lay out the masonry for the flowerbed using this instruction.
Before you get started
Choose bricks that tolerate moisture well, ordinary ones for the long term are not suitable. For decoration, facing bricks with a beautiful texture are best suited. For a small flowerbed as in the photo you will need about 50 bricks and 30 kg of mortar. If you want to do more, say in six rows, one and a half meters long and half a meter wide, then one hundred bricks and 80 kg should be enough. solution.
Do the masonry
Make a marking, drive in pegs with a tightened twine. Prepare a trench.
Step 1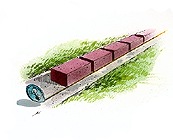
Lay bricks without mortar at even intervals. This will tell you if you need to insert a short brick at the end of the masonry. If necessary, you can increase the space between the bricks, in case you will miss quite a bit, so as not to insert a very small piece of brick. Mark the location of the first and last brick.
Step 2
Install the first bricks. Mix a small portion of the solution. Install the first two bricks, at the beginning and end of the future masonry. Check the level in both directions by tapping the spatula knob to make adjustments.
Step 3
Lay the first row. Grab a full mortar spatula and lay on a row of three bricks across the entire width, a layer thickness of approximately two centimeters. Smooth the solution from the front side up.
Step 4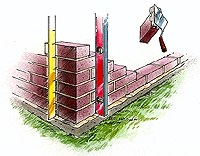
Level the corners and plumb them .. After completing the first row, start laying out the second lap over the first. Constantly check the level of the horizontal surface of the masonry, and the order of the thickness of the joints.
Step 5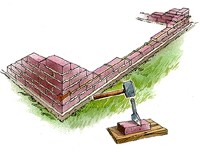
Fill each row to the end. Use twine to keep the line flush with the front side. If the necessary piece is missing, you can cut it off with a grinder, if not, then file the right size and then chop it off with a hammer on a wooden plank.
Step 6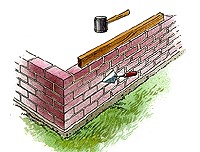
Check the masonry level again. To adjust the level continuously, tap with a hammer. As you move, remove excess mortar from the trowel. To form a beautiful seam, the excess can be removed with a piece of a garden hose.
 Do not miss such a moment as waterproofing flower beds. After the masonry dries, in dry weather it is about a day, treat the inner walls with a bitumen emulsion, then the bricks will not absorb moisture from the ground.
Also necessary provide drainage holes in the masonry, for this, do not fill the solution with three vertical gaps in the first row of bricks. At the base of the future flowerbed, remove five centimeters of earth and fill it with a layer of fine gravel. Lay on top the sod that you removed to cover the gravel. To sag the soil, let the flower bed stand in this form for ten days, after which you can fill up the fertile layer of soil and plant flowers or other plants.
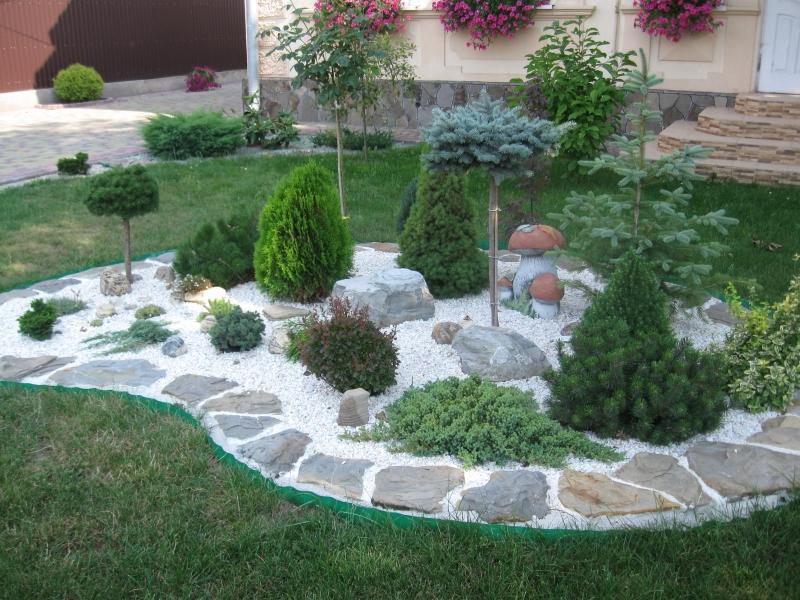
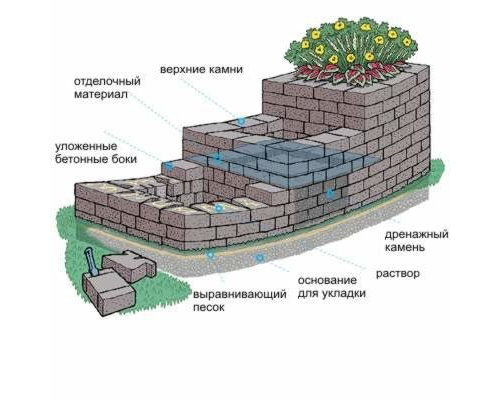
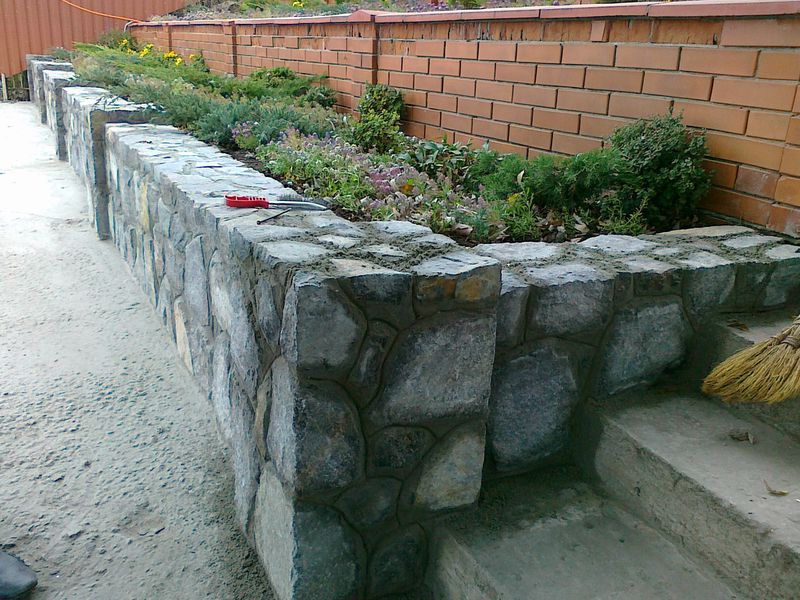
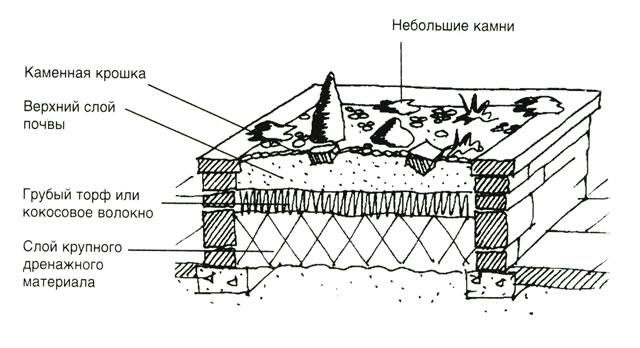
Brick and stone multi-tier flowerbed
If you try, then somewhere in the corner of the courtyard you can arrange a small oasis, for example, a flower bed in three tiers, if you choose the right plants, you get a good composition. Here we also see a highlight - a small pond. The second option is a composition of stone, although quite large, but you can always make it smaller if you wish.
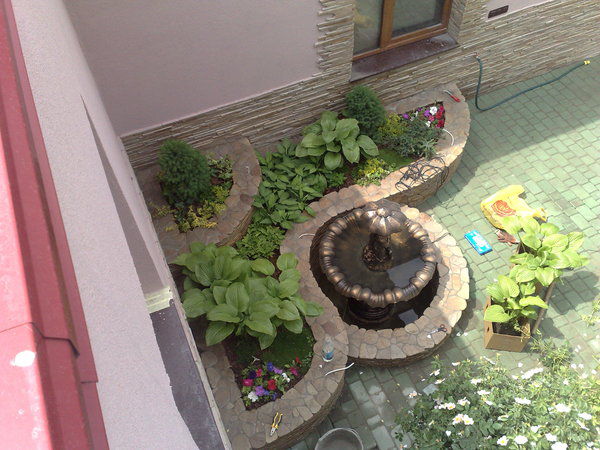
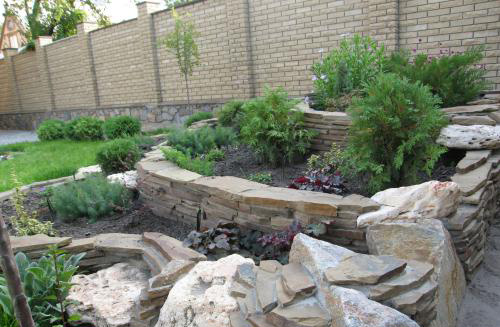
A multi-level flower bed undoubtedly looks very beautiful. The only problem is, it can take up a lot of space, but it ultimately depends on you, if you so much desire, even in a small area you can create a compact multi-tiered flower bed made of brick or stone.Although for a real masterpiece, it is certainly better when there is, where to deploy. 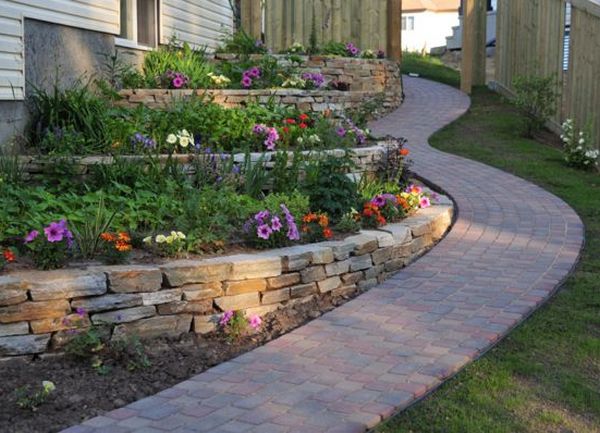
A design feature of any multi-level flowerbed is that water from the upper tiers will accumulate in the lower. From this we can make a logical conclusion that on the upper tiers it is necessary to plant plants that grow well in dry soil, and in the lower tiers - more moisture-loving. Also necessary select plants that bloom in one period, so that the flower garden looks harmonious. Or pick in such a way that they bloomed one after another. Although someone likes it, some prefer to constantly change flowers, some faded - others planted, in general, a matter of taste.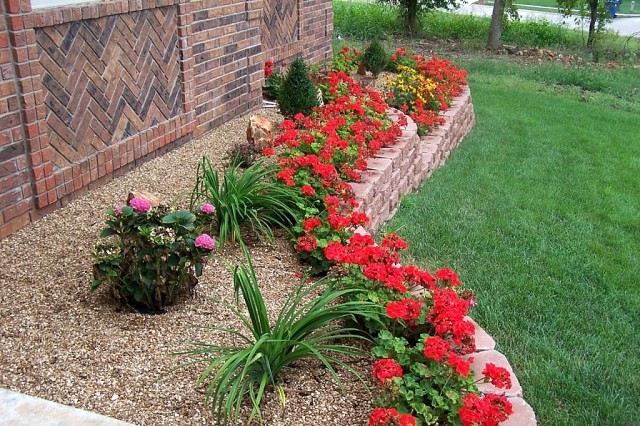
Of course, it is very important to make the right color schemeso that your flower garden looks harmonious. It requires experience, too colorful flowerbed, not very good, and if the flowering period goes differently, it’s also not beautiful. If you are a beginner gardener, carefully study the information on the package with seeds, which indicate the flowering time, and experience will come over time, no one is born a gardener. For example, you can use such a simple scheme for a multi-level flowerbed of perennial flowers.
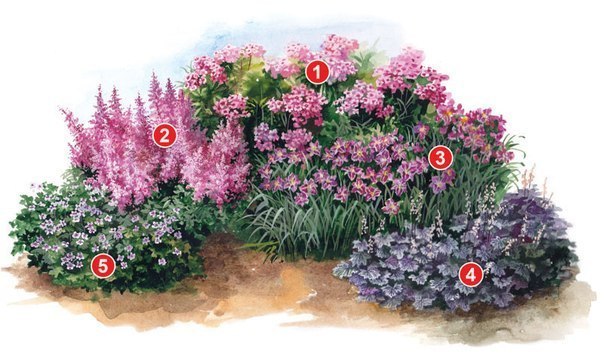
Here:
- panicled phloxplanted in March, it will bloom from July to cold October;
- the flowers pink astilbewill begin to bloom from late June to September;
- the flowers purple daylily planted in early spring;
- heichera will delight you with its flowering from May to the end of July;
- magnificent geranium will bloom in July, and will bloom all season.
If you have a large flowerbed, approximately 3 by three meters, you can try a pink flower garden of nineteen kinds of flowers.
In these photos you can see options for multi-level flower beds, as well as some ready-made schemes for planting flowers.


https://i.expert-h.com/en/klumb/584#sigFreeIda0973186a6
So, experiment yourself or sign up for landscaping courses, it will always come in handy.
Hello, I am the author of this article, so I look forward to asking questions for this article in the comments below, I will answer all !!!
If you have questions on another topic, ask them on our forum, we will answer you
- Two baskets of paper in 5 minutes (Master class)
- How to make a simple and compact table for a milling cutter from plywood
- How to make a soft headboard tile (Instructions + step by step photos)
- Cinder block benches: a convenient bench in 55 minutes
- How to make a bed with a niche: saving space (Master class)