DIY joiner's workbench: convenient - durable
 DIY joiner's workbench
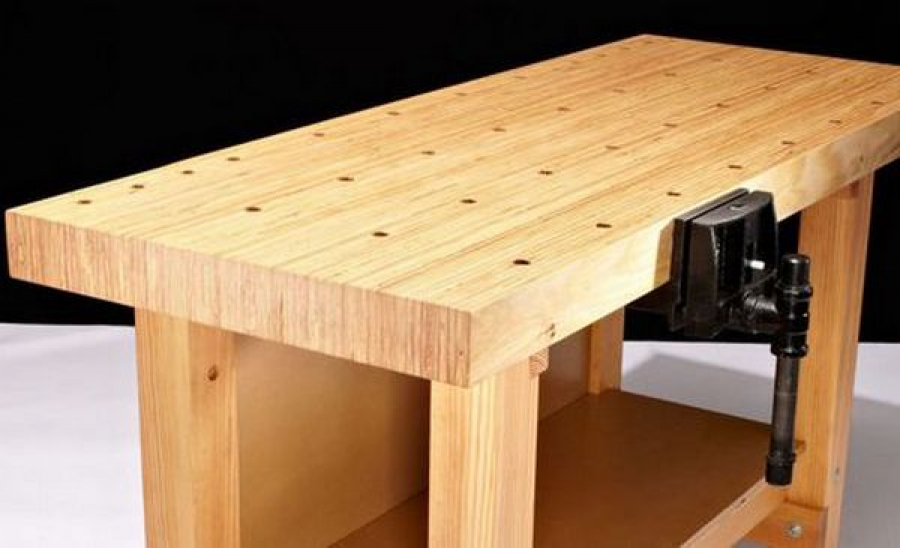
You can do anything on this workbench. This magnificent carpentry bench is an ideal platform for creating all types of woodworking projects. The design is not difficult to assemble, but requires a methodological construction process. Most importantly, the workbench must be functional. The idea is a little ambitious, but make a joiner's do-it-yourself workbench maybe a beginner at home, owning a small table saw and a desktop planer.
Materials:
- A) Multilayer top 1 7.6 x 60 x 152 cm 1 pc.
- B) 4 boards of fir 3.5 x 8.5 x 51 cm (transverse supports).
- C) 4 spruce boards 8.5 x 8.5 x 76 cm (legs).
- D) Shelf 2 x 40 x 105 cm
- E) Two spruce boards 3.5 x 10 x 114 cm (long supports).
- F) Rear panel 2 x 52 x 98 cm
Here scheme of carpentry workbenchwhere the materials will go.
 How to make a DIY carpentry bench can read in detailed instructions on the site, you will find the link under step by step photos. Briefly separate points.
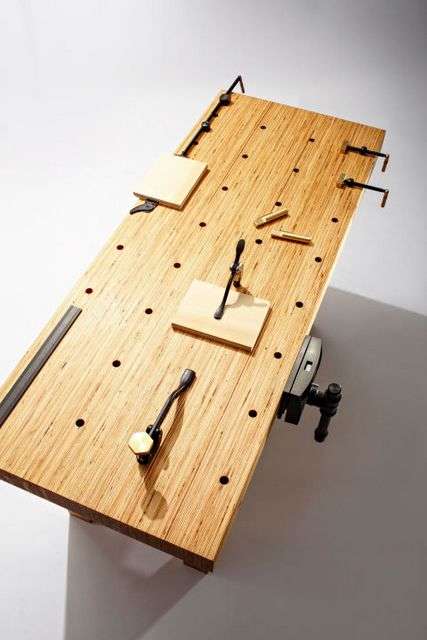
- First you need to make a countertop. How the multilayer structure is arranged is shown below in the photo. At the top there are four rows of holes where special equipment is inserted, and in combination with other accessories and a vice for woodworking, the countertop can hold the workpiece almost any form reasonable size. Top production begins at the warehouse. You need two LVL glued veneer beams. It's like massive sheets of plywood. Each is 4.5 x 24 cm and 480 cm in length. Cut in a warehouse or in a store into two pieces of 150 cm and one 180 cm.
- Install the fence 8.5 cm and make the first pass. Be sure to use a pusher.
- Make one pass. Close the saw and set the fence to 7.5 cm. Take each of the six parts that you saw, set the edge on the saw fence and again pass through the saw. What for? This method eliminates minor flaws..
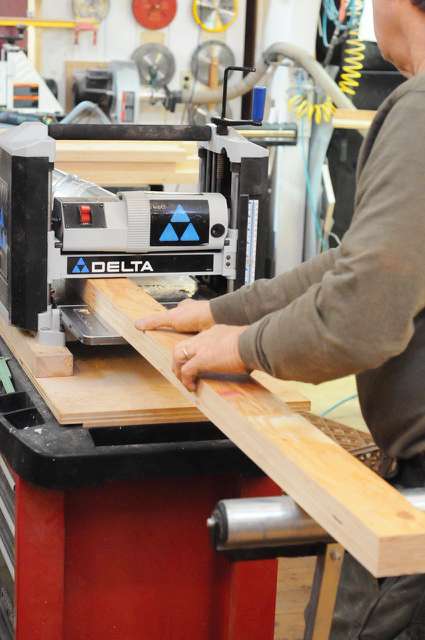
- Pass each part through the benchtop planer to get a uniformly even and straight surface without the waxy protective coating that is applied to the beam.
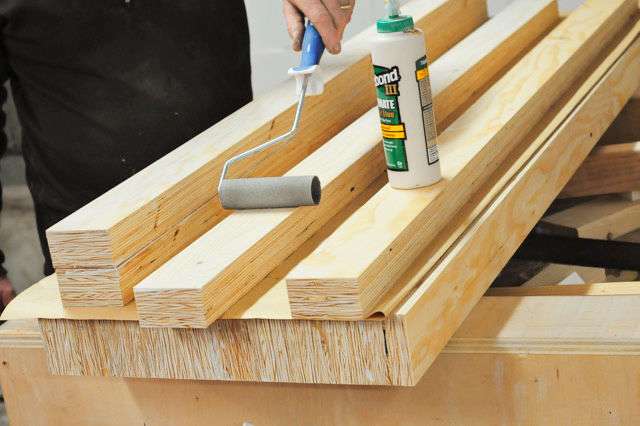
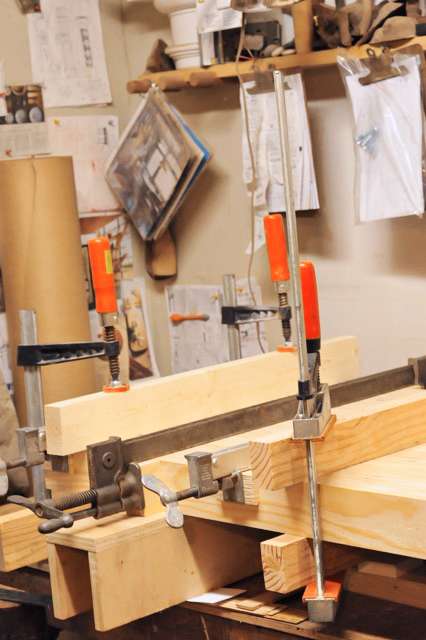
- Place the four parts of LVL on a flat work surface and apply glue to the surface of each part using a paint roller. Lock the parts using the remaining parts of the countertop as the reference plane and clamping unit.
- Use strong lumber parts. So that the glue does not stick, cover the parts with wax paper.
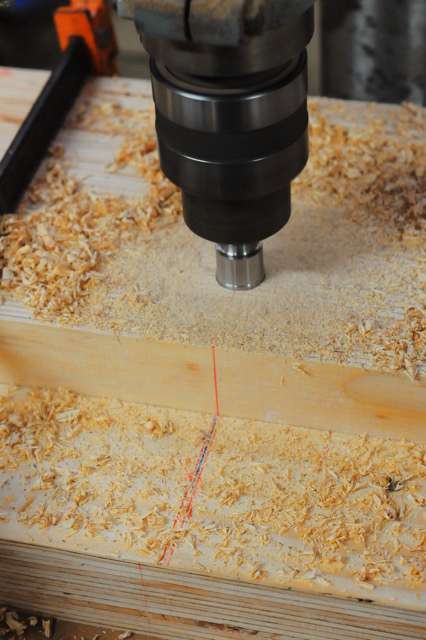
- Put glued knots on a flat surface. Separate the parts and draw a guide line for the holes on the surface of each part. Finish the top by gluing and clamping the four sections.
- After clamping, use a scraper to remove hardened adhesive balls. Then flip the countertop and mark the contours of the vise mounting pads to cut 1.5 cm deep.
- Then make a base and mount the top as shown in the diagram.
- Dry fit your legs and lateral legs while holding them together. Use the square to check the assembly. Without tearing parts, drill through holes for carriage bolts.
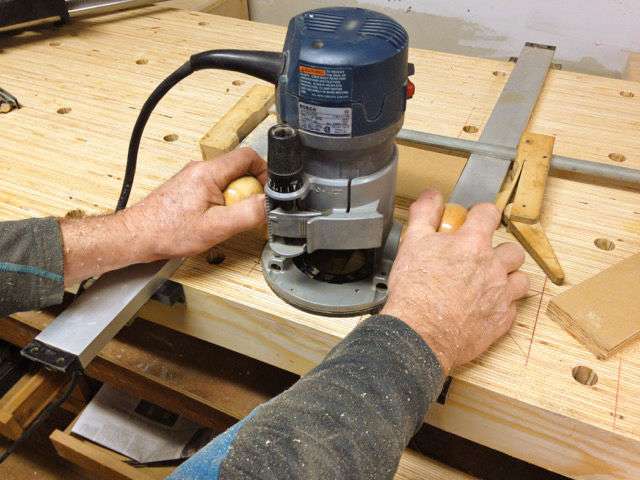
- Lock the legs and cross supports. Use a router and a little chamfer to loosen the corners on the legs and transverse supports.
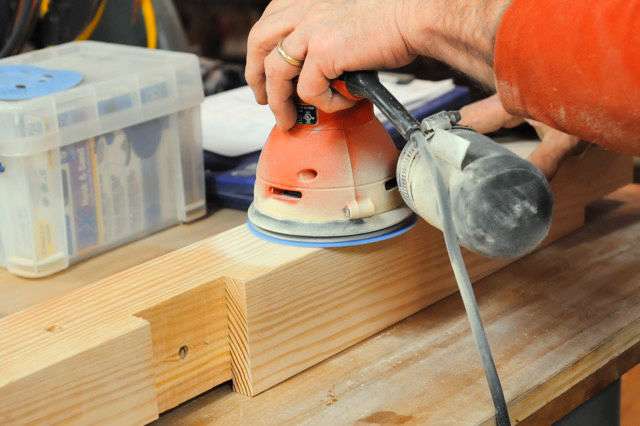
- Sand the legs and cross supports with sandpaper.


FROMdo carpentry do-it-yourself, of course, not the easiest task, but if you set yourself the specific goals of independent home improvement, teaching children and just the proper organization of the workspace, then the article “DIY joiner's workbench, drawings, step-by-step instructions» https://i.expert-h.com/en/verstak/verstak-stolyarnyj-svoimi-rukami-foto-chertezhi you will come in handy.There really is a lot of interesting information, and how to make a children's workbench with your own hands, equip a place for tools, make a workbench for a face saw, a table for a grinding machine and many other useful information.
Hello, I am the author of this article, so I look forward to asking questions for this article in the comments below, I will answer all !!!
If you have questions on another topic, ask them on our forum, we will answer you
- Two baskets of paper in 5 minutes (Master class)
- How to make a simple and compact table for a milling cutter from plywood
- How to make a soft headboard tile (Instructions + step by step photos)
- Cinder block benches: a convenient bench in 55 minutes
- How to make a bed with a niche: saving space (Master class)