Form for a garden path. Step-by-step photo instruction. Video
 How to use a form for a garden path
So, let's learn how to use a form for a garden path. After all, the Clever Master must be able to do everything himself !!!
The garden path form will help you manually pave the paths in the courtyard of the house or cottage, and the money saved on the wages of hired workers can be spent on pleasant purchases.
Track size 40 * 40 * 4 cm.
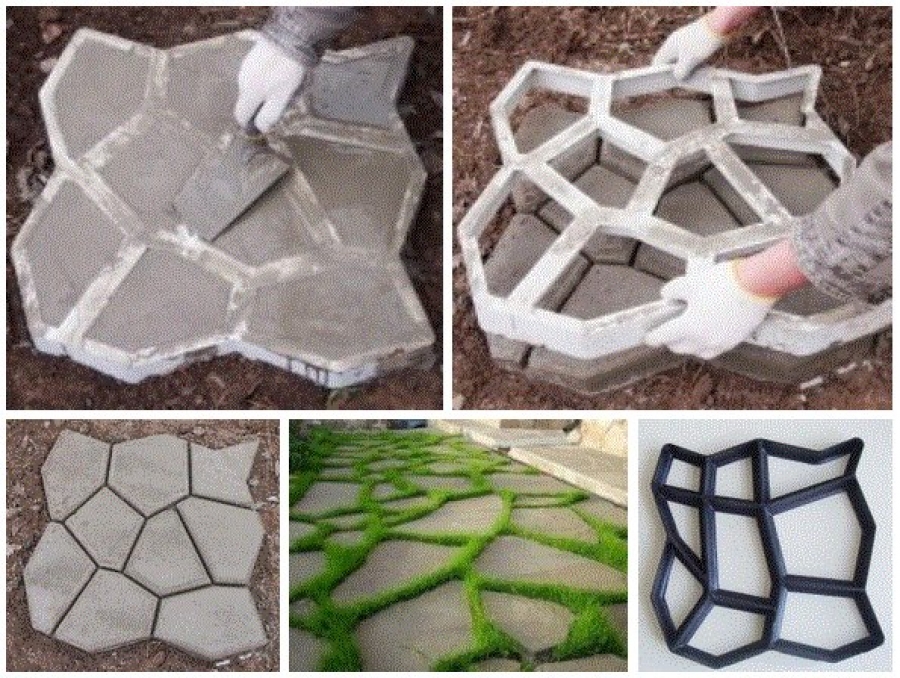
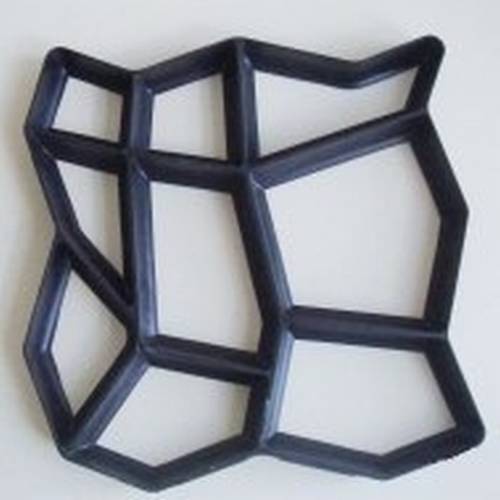
Here is the form for the track
Using the form is very simple: place it on a pre-selected and prepared place, fill it with a solution, level it with a spatula, wait 10-15 minutes, remove the form - you're done!
Add pebbles to the solution or tint it - and your yard will be different from others, and the neighbors will envy you. When the track is dry, pour sand or lawn grass seeds into the cracks.
With one mold, you can make several thousand plates. The plates are joined together in any direction - and you can direct the path in any direction, choosing its width - 40, 80 or 120 cm, etc., as well as create platforms of any size.
How to make a track using this form. Step-by-step instruction:
- Knead the mortar - 1 part cement (grade 500) into 3 parts sand.
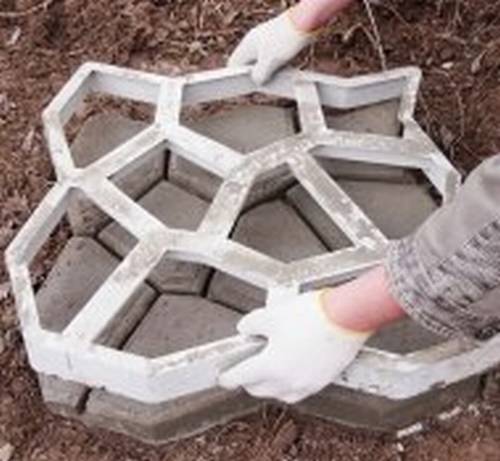
- Level the pad, spill with water and lay one or more plastic molds.
- Set the mold by level, pour a large fraction of crushed stone into one layer on the bottom of the mold.
- Fill the form with a solution and carefully remove the excess with a rule, trowel, or other suitable tool.
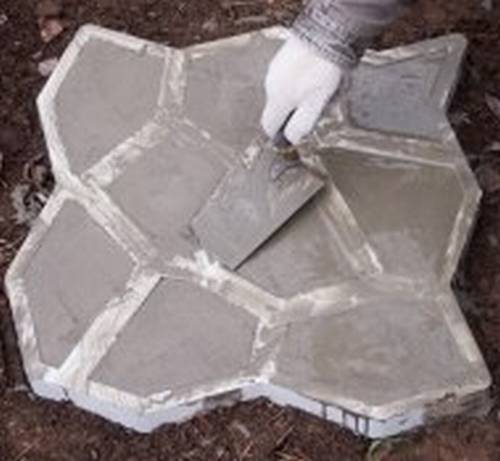
- The form filled with the solution must be kept for 10-15 minutes, and then carefully rearranged to a new place.
Here is what you should get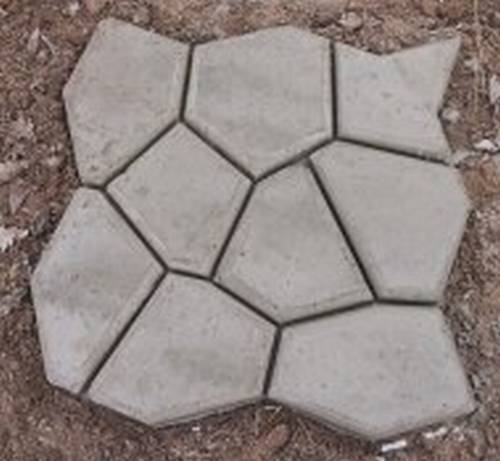
- If you are creating a platform for parking or car access, first prepare a sand and gravel bedding 10-12 cm thick.
This is how the track will look after a while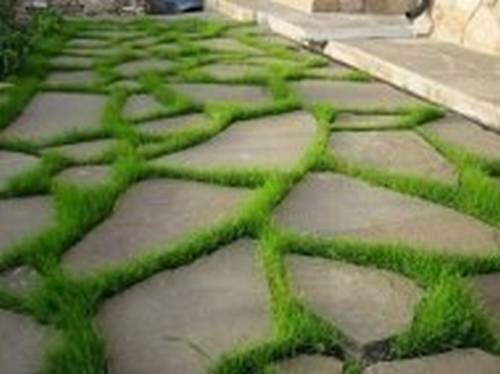
Video How to Use a Garden Path Form
Video 1
Video 2
Video 3
- Brick grill: 44 drawings, 18 projects + photos
- Collapsible barbecue: 50 drawings, 20 master classes +300 DIY photos
- ✿ Flowerbeds:> 34 turn-based master classes + photos (248 ideas) - do-it-yourself
- DIY sauna in the apartment: bathroom, balcony, storage room. Projects and photos
- Shelves in the bath with your own hands: +200 photo. Drawings of bench benches in the steam room