How to make a bar counter for the house (Step-by-step instruction for beginners)
 home bar
Who does not dream of their own bar, even if it is considered a luxury. Although to do do-it-yourself home bar not so difficult, much harder to find a suitable place. In this example, you can see how to make a relatively simple rack for a small room. Of course, it is desirable to have basic skills in working with wood, but this is a very simple design, so that you can combine work with training.
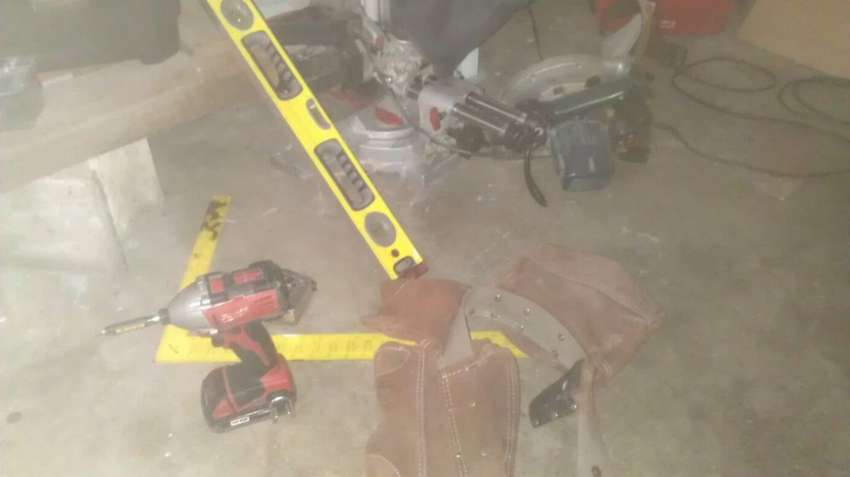
Necessary tools and materials
If you do not have basic tools, it is not necessary to buy them, borrow from neighbors or relatives.
- Screw gun (impact screw)
- Drill
- Small finish nails
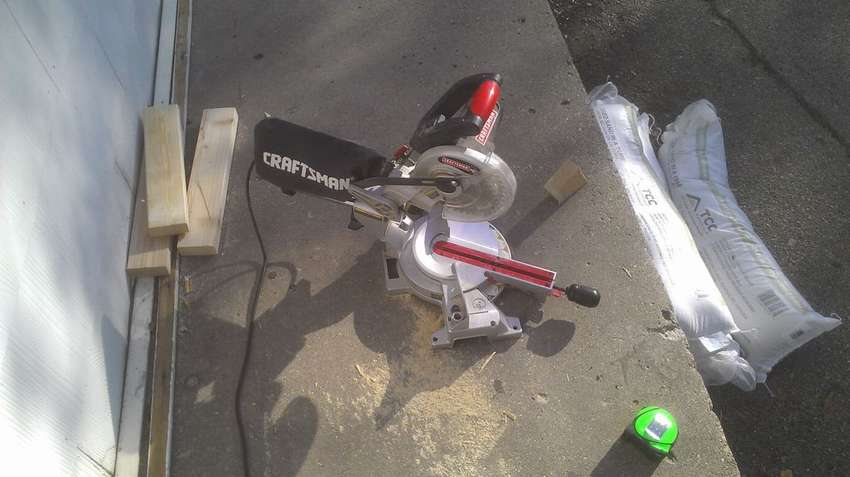
- Table saw
- Miter saw
- Tape measure and pencil
Lumber: Please note that the sizes may be larger or smaller depending on the size of the room.
- 6 bars 2 x 4 5 m long
- MDF sheet
- Sheet of plywood or similar material 120 x 240 cm for the front.
DIY bar counter
- Determine where you want to install the rack and measure the distance from the wall.
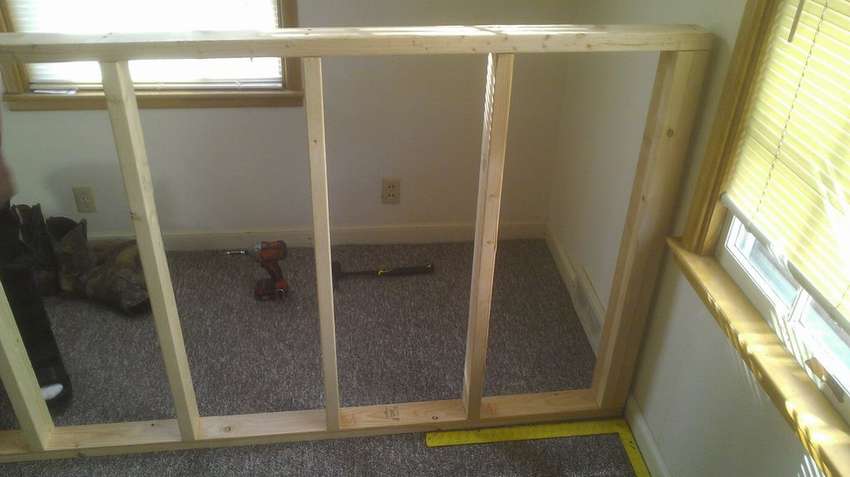
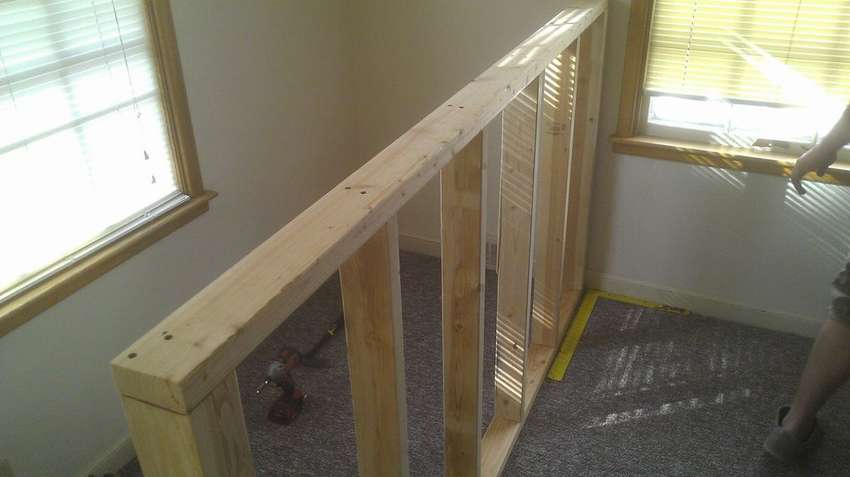
- Saw the bars 2 x 4 in half. When you have two identical parts, you are ready for the layout where the studs should go. Make a mark with a pencil on both plates every 40 cm. Align the lines.
- Now you need to decide what height will the bar be. (120 cm here). Calculate 122 cm - 8 cm (for the upper and lower plates) - 2 cm (thickness of the MDF board) = 112 cm <---- This will be a cut for the "hairpins". Make as many incisions as needed for all marks on the upper and lower plates.
- When you make enough “pins”, you need to screw them between upper and lower plates.
- Make sure that the frame is “square” (at an angle of 90 degrees to the wall), now you can attach it to the wall by twisting the end hairpin (use a level so that the frame is sheer). NOTE: here the counter runs along the entire length of the room. If your bar is smaller, attach the bottom plate to the floor.
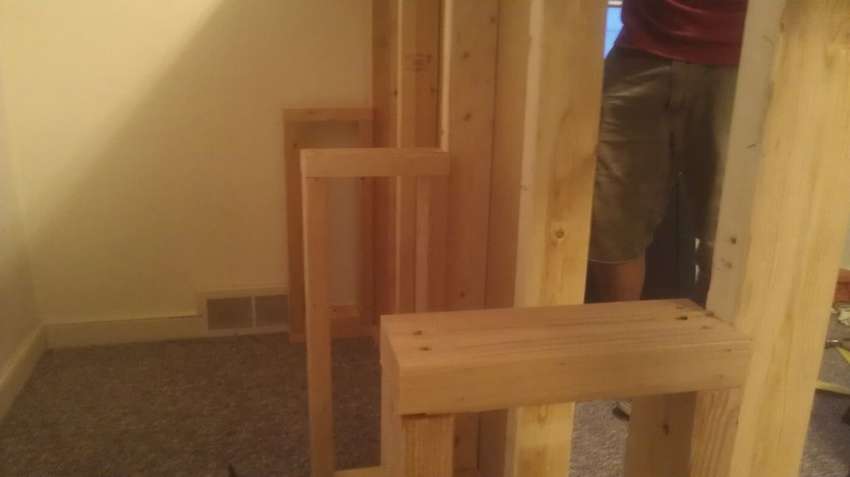
- To add support as well as shelf space behind bars, make two or three block structures (as shown in the photo). For this bar it is 65 cm. Make three pairs of 25 cm (they will work as the top and bottom plates for the structure). You will collect rectangular structures from four 2 x 4 bars.
- The next step is to install the stops on the top plate to ensure core stability. By adding a few 2X4 bars to the top of the panel, you will create a place to attach the MDF board. Cut enough pieces to have one stabilizer (one board) above each hairpin on the main frame.
- Use four screws to attach these stabilizers directly to the top plate.
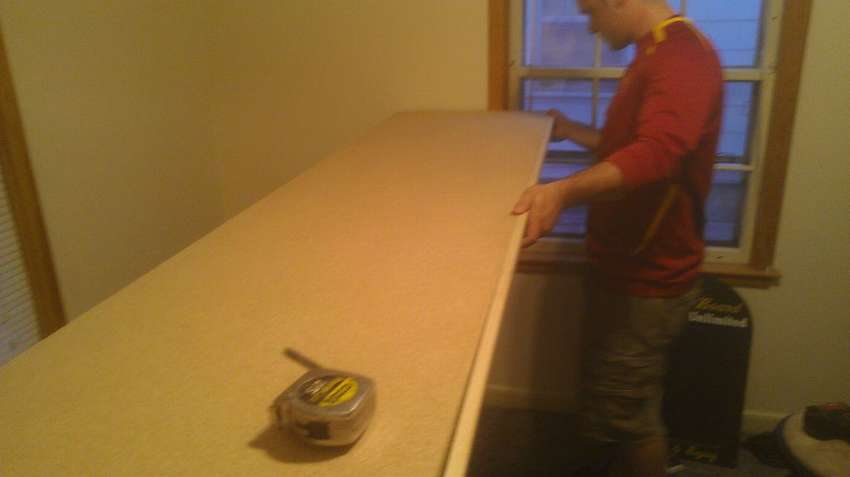
- Now assemble the whole structure. Here for notches you will need a table saw. You will need to make your dimensions equal to the size of the upper and lower plates along the length and size of the stops. To hold this plate, unscrew it from the stop up through the MDF plate.
- Cut a piece of the same length as the MDF plate you installed. Use trim nails to fasten the skin flush with its top.
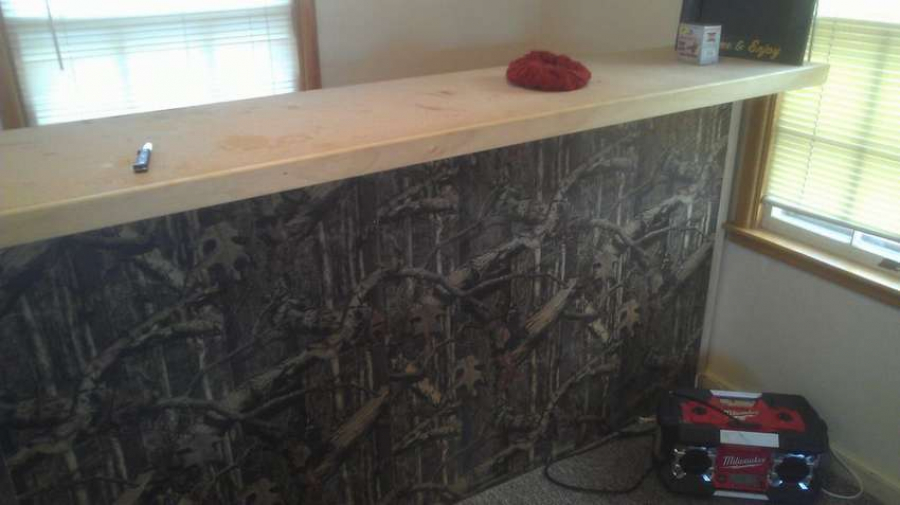
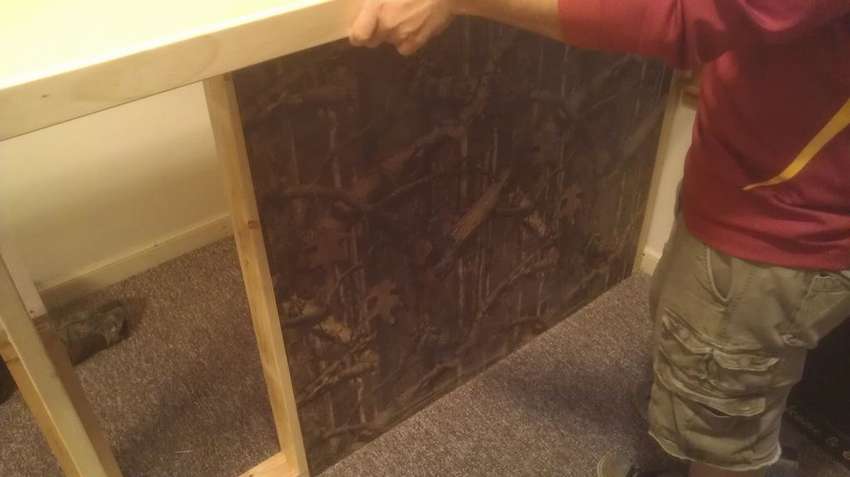
- Then attach the front casing.
The bar is ready, although it will most likely be different from the one in the photo. Now your task is to find bar stools and other bar accessories! I hope this was an interesting project, and you learned something about woodworking. Now you can and relax with friends.


Home bar, it is convenience, style and privacy. For many, the idea resembles a dream, but to realize it is much easier than you think. In this article you will find different options "DIY bar counter. 700 photos, drawings, step-by-step instructions» https://i.expert-h.com/en/shkaf/barnaya-stojka-svoimi-rukami. There you are 35 examples with drawings and step-by-step photos for every taste.
Hello, I am the author of this article, so I look forward to asking questions for this article in the comments below, I will answer all !!!
If you have questions on another topic, ask them on our forum, we will answer you
- Two baskets of paper in 5 minutes (Master class)
- How to make a simple and compact table for a milling cutter from plywood
- How to make a soft headboard tile (Instructions + step by step photos)
- Cinder block benches: a convenient bench in 55 minutes
- How to make a bed with a niche: saving space (Master class)